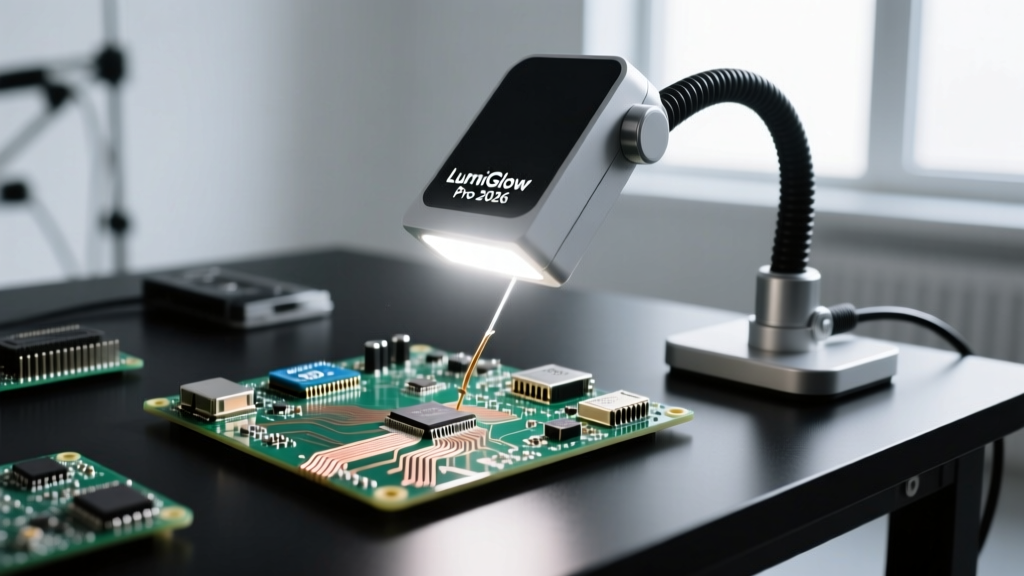

Why Standard Desk Lamps Fail at the Soldering Bench
When assembling complex printed circuit boards (PCBs) or reworking 0402 SMD components, the illumination over your workstation is just as critical as the temperature profile of your soldering iron. Many hobbyists and even seasoned technicians make the mistake of using standard architectural desk lamps or overhead room lighting. These generic fixtures often suffer from low Color Rendering Index (CRI) ratings, improper color temperatures, and severe shadow casting.
Using the wrong LED for soldering can lead to catastrophic quality control failures. For instance, a low-CRI LED with a harsh blue spectrum spike can make a dull, oxidized, and brittle cold solder joint appear artificially shiny, tricking the eye into passing a defective connection. In 2026, as component sizes continue to shrink and lead-free alloys like SAC305 become the undisputed standard, precision task lighting is no longer a luxury—it is a mandatory bench tool.
The Physics of Solder Inspection: CRI, Kelvin, and Lux
To select the best LED lighting for electronics work, you must understand three core photometric metrics. Ignoring these will result in eye strain and missed defects.
1. Color Rendering Index (CRI)
CRI measures a light source's ability to reveal the true colors of objects compared to natural sunlight (which has a CRI of 100). For soldering, a CRI of 90 is the absolute minimum, but 95+ is highly recommended. High CRI allows you to distinguish between the subtle grayish-purple hue of a perfectly wetted eutectic joint and the grainy, matte-gray finish of a disturbed or cold lead-free joint.
2. Color Temperature (Kelvin)
Warm light (2700K - 3000K) masks oxidation and flux residue. Cool white light (5000K - 6500K) mimics midday sunlight and provides the highest contrast for inspecting PCB traces, silkscreen, and solder fillets. The ideal LED for soldering sits right at 5500K to 6000K.
3. Illuminance (Lux)
While lumens measure total light output, lux measures the light intensity hitting a specific surface area. According to general occupational guidelines and detailed task requirements outlined by OSHA illumination standards, detailed precision work requires significantly higher lux levels than standard office work. Furthermore, the IPC-A-610 standard for PCB inspection mandates a minimum of 1000 lux at the inspection surface to reliably identify micro-cracks and insufficient wetting.
Top LED Soldering Light Configurations for 2026
Based on bench ergonomics and optical clarity, here are the three primary configurations dominating professional and advanced hobbyist workstations this year.
The Magnifying LED Ring Lamp (Best for SMD Rework)
Ring lamps provide omnidirectional, shadowless light, which is crucial when using tweezers and a fine-tipped iron on dense QFN or BGA packages. The Hakko OLM-5000 remains a gold standard, featuring a 5-diopter glass lens and adjustable LED arrays that allow you to dim specific quadrants of the ring to reduce glare off liquid flux. Priced around $280, it is an investment for serious rework.
The Dual-Arm Task Lamp (Best for General Through-Hole & Wiring)
For broader bench work, wire harness soldering, and general assembly, dual-arm lamps offer unparalleled flexibility. The Daylight Company Daylight Duo 2 (approx. $140) features two independent LED heads. You can position one head at a 45-degree angle to illuminate the back of a connector while the other lights the front, entirely eliminating hand shadows.
The Overhead Panel Light (Best for Production & Inspection)
If you are running a small production line, overhead LED panels with diffusers prevent the intense specular highlights that cause eye fatigue. The OttLite Ultimate Craft Floor Lamp (approx. $180) utilizes proprietary ClearView technology that balances the blue spectrum spike common in cheap LEDs, yielding a natural 5500K output with a CRI above 92.
2026 LED Soldering Lamp Comparison Matrix
| Model | Type | CRI / Kelvin | Max Lux (at 15in) | Est. Price (2026) |
|---|---|---|---|---|
| Hakko OLM-5000 | Magnifying Ring | 90+ / 6000K | 2,200 lux | $280 |
| Daylight Duo 2 | Dual-Arm Task | 95 / 5500K | 1,500 lux | $140 |
| OttLite Ultimate Craft | Floor / Overhead | 92+ / 5500K | 1,100 lux | $180 |
| Brightech LightView Pro | Magnifying Swing | 85 / 5000K | 900 lux | $65 |
Step-by-Step: Positioning Your LED to Eliminate Flux Glare
Even a $300 lamp will cause eye strain if positioned incorrectly. Modern no-clean and water-soluble fluxes (like Amtech NC-559 or Chip Quik SMD291) become highly reflective when heated, acting like tiny mirrors. Here is how to set up your lighting to defeat specular glare:
- Never place the light directly overhead (90 degrees). The reflection of the LED diodes will bounce straight off the liquid flux and into your pupils, creating a blinding white-out effect right when you need to see the solder wetting.
- Adopt the 45-Degree Rule. Position your primary LED task light at a 45-degree angle to the left (if you are right-handed). This casts shadows behind the components, highlighting the 3D profile of the solder fillet without reflecting into your eyes.
- Use a Secondary Fill Light. Place a lower-intensity, highly diffused LED on the opposite side at a 30-degree angle to fill in the harsh shadows created by the primary light.
- Employ Polarization (Advanced). For microscope-based rework, place a linear polarizing film over your LED panel and a matching cross-polarized filter on your camera or eyepiece. This entirely eliminates surface glare from flux and conformal coatings, allowing you to see the actual metal interface.
Troubleshooting Common LED Soldering Issues
Issue: The 'Strobe Effect' and Eye Fatigue
Cause: Many budget LED lamps use Pulse Width Modulation (PWM) to dim the lights. At lower brightness settings, the LED turns on and off hundreds of times per second. While imperceptible to the naked eye, your brain processes this flicker, leading to severe headaches and eye fatigue after a 4-hour soldering session.
Solution: Always run your LED at 100% brightness (where PWM is usually inactive) and use a physical diffuser sheet or a neutral density gel filter to reduce the intensity without triggering the flicker circuit.
Issue: Solder Joints Look Different Under the Lamp vs. Sunlight
Cause: You are using an LED with a CRI below 85, which lacks the red and deep yellow spectrum bands necessary to accurately render the metallic luster of tin-copper intermetallic compounds.
Solution: Upgrade to a fixture explicitly rated for CRI 95+. Look for 'full-spectrum' or 'museum-grade' LED diodes.
Issue: Magnifying Lamp Distorts the Edges
Cause: Using a cheap acrylic Fresnel lens instead of optical glass. Acrylic scratches easily from flux fumes and suffers from severe chromatic aberration at the edges.
Solution: Invest in a lamp with a true glass diopter lens (like the Hakko or Daylight optical lines) and clean it weekly with isopropyl alcohol to remove sublimated flux residue.
"In micro-soldering, your eyes are your primary inspection tool. If your LED lamp renders a cold, grainy SAC305 joint as shiny due to a blue spectrum spike, you will ship a defective board. Lighting is not an accessory; it is a calibration tool for your vision." — Master IPC Certified Trainer
Frequently Asked Questions
Can I use a standard LED strip light under my desk shelf for soldering?
Standard architectural LED strips usually have a CRI of 70-80 and are housed in opaque diffusers that do not provide the focused lux required for PCB inspection. While they are fine for general ambient bench lighting, you still need a dedicated, high-CRI task lamp positioned within 15 inches of your workpiece to meet the 1000 lux requirement for soldering.
Do LED lamps get hot enough to damage sensitive components?
No. Unlike older halogen or incandescent magnifying lamps that could emit enough infrared radiation to soften heat-shrink tubing or warp plastic connectors, modern high-efficiency LEDs emit virtually no forward-directed heat. The heat sinks on the back of the fixture dissipate thermal energy away from the workpiece.
What is the best diopter strength for soldering 0603 components?
For 0603 and 0402 SMD components, a 3-diopter (1.75x magnification) to 5-diopter (2.25x magnification) glass lens is ideal. Anything stronger (like a 10-diopter) drastically reduces your focal depth, meaning only a tiny fraction of the PCB will be in focus at any given time, making it difficult to track the iron tip and the solder wire simultaneously.