
Soldering aluminum is notoriously frustrating for both hobbyists and seasoned technicians. Unlike copper or brass, aluminum presents a unique metallurgical barrier that causes standard soldering techniques to fail catastrophically. If you have ever watched your solder ball up and roll off an aluminum heatsink, or noticed a joint crumbling into a white, powdery mess weeks after assembly, you are battling aluminum oxide. As of 2026, modern low-temperature alloys and specialized fluxes have made the process significantly more reliable, provided you understand the underlying chemistry and thermal requirements.
This comprehensive FAQ and troubleshooting guide addresses the most common failure modes associated with using an aluminum soldering rod, providing exact temperatures, specific product recommendations, and actionable mechanical techniques to guarantee a gas-tight, electrically conductive bond.
The Metallurgical Hurdle: Why Aluminum Resists Solder
Before troubleshooting, you must understand the enemy. Aluminum reacts instantly with oxygen in the atmosphere to form a microscopic layer of aluminum oxide (Al2O3). While the base aluminum metal melts at roughly 1,220°F (660°C), the aluminum oxide layer melts at an astonishing 3,762°F (2,072°C). When you apply a standard soldering iron, the oxide layer acts as an impenetrable thermal and physical shield. The solder melts, but it cannot physically touch the base aluminum, resulting in the classic 'beading' or 'rolling' effect. To successfully use an aluminum soldering rod, you must mechanically or chemically breach this oxide layer and keep it breached until the solder freezes.
Troubleshooting Matrix: Diagnosing Aluminum Soldering Rod Failures
Use the following diagnostic table to identify your specific failure mode and apply the correct metallurgical or thermal correction.
| Symptom / Failure Mode | Root Cause | Actionable Fix |
|---|---|---|
| Solder balls up and rolls off the workpiece immediately. | Oxide layer is intact; flux is either absent, depleted, or chemically incompatible with aluminum. | Switch to a heavy zinc-chloride or fluoroaluminate flux. Mechanically abrade the surface *underneath* a pool of flux. |
| Joint looks solid initially but crumbles into white powder over time. | Galvanic corrosion due to dissimilar metals (e.g., standard tin/lead solder on aluminum) and trapped acidic flux residue. | Use a zinc-based aluminum soldering rod. Clean with isopropyl alcohol and seal with an acrylic conformal coating. |
| Flux turns black, smokes heavily, and burns before solder flows. | Soldering iron temperature is excessively high, or the iron was left on the flux pool for too long without adding filler. | Reduce station temp to 750°F - 800°F. Apply flux, heat the base metal rapidly, and introduce the rod the second the flux bubbles. |
| Solder wets the surface but the joint lacks mechanical tensile strength. | Insufficient thermal mass transfer; the base aluminum acted as a heatsink, causing a 'cold joint' despite the solder melting. | Pre-heat thick aluminum parts with a hot air gun to 250°F before applying the iron. Use a chisel tip for maximum surface contact. |
Critical FAQ: Flux, Temperatures, and Longevity
1. Do I need a specialized flux for my aluminum soldering rod?
Absolutely. Standard rosin-core fluxes (RMA or RA) designed for copper PCB traces are entirely useless on aluminum. Rosin cannot dissolve aluminum oxide. You must use a highly active, corrosive flux specifically formulated for aluminum, typically based on zinc chloride or fluoroaluminate complexes. A highly recommended product in the 2026 market is Superior Flux 3020 (priced around $18 for a 2oz jar), which is specifically engineered to etch through the oxide layer at lower temperatures. Apply a generous bead to the joint area before introducing any heat. Remember, aluminum fluxes are highly corrosive and must be thoroughly cleaned with hot water and a stiff brush post-soldering to prevent long-term degradation.
2. What exact temperature should I set my soldering station?
This depends on the melting point of your specific aluminum soldering rod. Most low-temperature DIY aluminum rods (such as the popular Harvey's Tool Alumaloy, which retails for roughly $30 for a 12-pack) melt at approximately 728°F (387°C). However, aluminum has exceptionally high thermal conductivity. If your iron is set exactly to 728°F, the base metal will instantly draw the heat away, causing the solder to freeze prematurely. Set your station—such as a Hakko FX-888D or Weller WE1010NA—to 800°F - 825°F (425°C - 440°C). This provides the necessary thermal delta to keep the solder fluid long enough to wick into the micro-fissures of the abraded aluminum surface.
3. Why did my joint turn to white powder and crumble weeks later?
You are experiencing galvanic corrosion. If you used a standard tin/lead or SAC305 solder on aluminum, you created a galvanic cell where the aluminum acts as the anode and rapidly sacrifices itself in the presence of ambient moisture. Furthermore, trapped flux residue accelerates this process. To prevent this, always use a zinc-aluminum alloy rod that closely matches the galvanic potential of the base metal. After cleaning the joint, seal it from atmospheric moisture using a conformal coating like MG Chemicals 419D Acrylic (approx. $22 per aerosol can) or encase it in adhesive-lined heat shrink tubing.
The 'Under-Flux' Abrasion Technique (Step-by-Step)
Chemical flux alone is often insufficient for thick oxide layers. Technical bulletins from Indium Corporation highlight that mechanical disruption combined with chemical etching yields the highest reliability for aluminum wetting. Follow this precise sequence:
- Prep the Surface: Wipe the aluminum with acetone to remove oils, grease, or thermal paste.
- Flood with Flux: Apply a thick layer of zinc-chloride aluminum flux over the entire joint area.
- Submerge the Brush: Take a stainless steel wire brush or a piece of coarse stainless steel wool and push it *through* the flux pool so the bristles are completely submerged.
- Scratch the Base Metal: Vigorously scrub the aluminum surface *underneath* the flux layer. The flux immediately seals the freshly exposed aluminum, preventing oxygen from reforming the oxide layer.
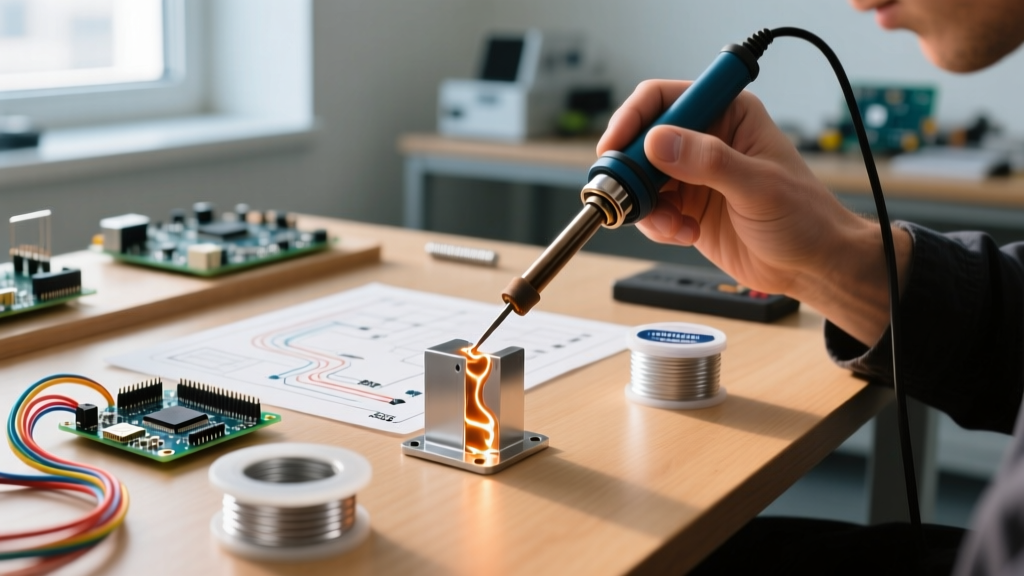
- Apply Heat and Filler: While the surface is still wet with flux, apply your pre-heated soldering iron (800°F) to the base metal, not the rod. Once the flux bubbles aggressively, touch the aluminum soldering rod to the heated base metal. It should flash-flow instantly into the scratched grooves.
When to Solder vs. When to Use Mechanical Fasteners
Expert Insight: While modern aluminum soldering rods are excellent for repairing cracked housings, attaching wires to aluminum chassis for grounding, or sealing low-pressure fluid leaks, they should never be used for high-tensile structural loads or high-current power transmission. As outlined in NASA's Electronic Parts and Packaging (NEPP) program guidelines regarding dissimilar metal joining, soldered aluminum joints are inherently brittle compared to brazed or welded joints. For high-amperage connections (e.g., EV battery busbars), always rely on mechanical compression, ultrasonic welding, or specialized crimping.
Final Verification and Safety Protocols
Working with aluminum-specific fluxes introduces respiratory and dermatological hazards. Zinc chloride fumes are highly irritating to the lungs. Always solder in a well-ventilated area utilizing a fume extractor equipped with an activated carbon and HEPA filter, such as the Hakko FA-400. Wear nitrile gloves when handling raw flux, as the acidic compounds can cause contact dermatitis. By respecting the oxide layer, utilizing the correct thermal delta, and sealing your joints against galvanic action, your aluminum soldering rod repairs will achieve professional-grade longevity.
For further reading on metallurgical compatibility and brazing standards, consult the technical fact sheets provided by the American Welding Society.