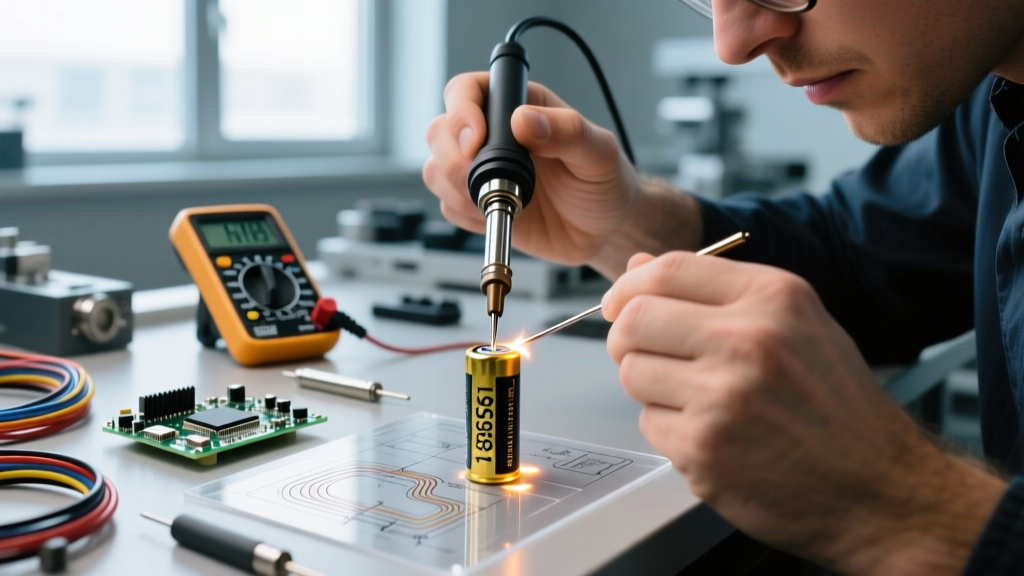

The Core Debate: Is Soldering Battery Connections Safe?
In the DIY electronics and custom battery pack community, the debate over soldering battery terminals versus spot welding is ongoing. The industry standard for manufacturing lithium-ion packs (like 18650 and 21700 cells) is pulse spot welding, which fuses nickel strips to the cell caps in milliseconds without transferring heat to the internal chemistry. However, for hobbyists, repairing a single cell, or building low-volume prototypes, a $2,000 spot welder is often out of reach.
So, is soldering battery cells safe? The short answer is: Yes, but only if you strictly manage thermal transfer. Lithium-ion cells begin to suffer internal separator degradation if the internal temperature exceeds 60°C to 80°C for sustained periods. Prolonged heat exposure can lead to capacity loss, increased internal resistance, or in extreme cases, thermal runaway. According to research highlighted by Battery University, heat is the primary enemy of lithium-ion longevity. Therefore, soldering battery terminals requires a high-thermal-mass iron, aggressive flux, and a strict time limit to ensure the heat stays localized at the terminal rather than migrating into the electrolyte.
Essential Gear for Soldering Battery Terminals
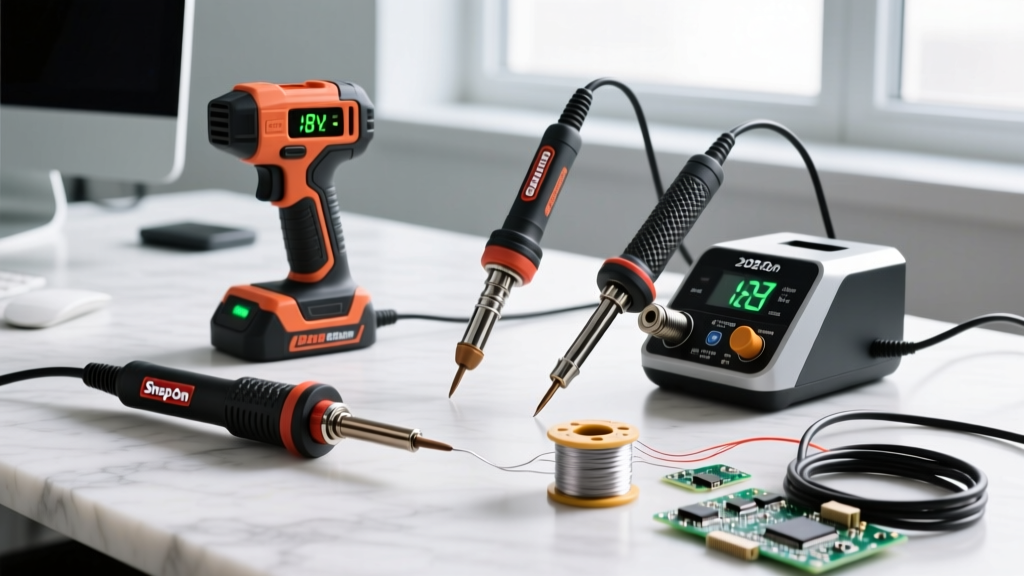
You cannot successfully solder a battery terminal with a cheap, 30-watt pencil iron. The steel or nickel-plated caps of an 18650 cell act as a massive heat sink. If your iron lacks the thermal recovery to push through that mass, you will hold the iron to the cell longer, inadvertently cooking the battery. Modern smart irons powered by USB-C PD 3.1 protocols have revolutionized this space in 2026, offering high wattage at a fraction of the cost of traditional stations.
| Category | Recommended Model / Spec | Estimated Price (2026) | Why It Matters |
|---|---|---|---|
| Soldering Iron | Pinecil V2 (RISC-V) or Hakko FX-951 | $25 - $250 | Requires 65W+ for rapid thermal recovery on steel caps. |
| Iron Tip | Bevel (C4) or Chisel (D24) with high mass | $8 - $15 | Maximizes surface contact and heat transfer speed. |
| Solder Alloy | Kester 44 (63/37 Rosin Core, 0.031") | $35 / lb | Eutectic alloy melts at 183°C; transitions instantly from liquid to solid, preventing disturbed joints. |
| Flux | Chemtronics 831A Rosin Flux Pen | $12 | Breaks down the nickel/steel oxidation layer without damaging the cell. |
| Prep Tool | Fiberglass Scratch Pen | $9 | Removes factory anti-corrosion coatings without shorting the cell. |
The 3-Second Rule: Step-by-Step Execution
When soldering battery connections, speed and preparation are your primary safeguards against thermal damage. Follow this exact sequence:
- Mechanical Prep: Use a fiberglass scratch pen to lightly scuff the positive and negative terminals. Wipe away all dust with isopropyl alcohol (99%).
- Flux Application: Apply a generous amount of rosin flux to the scuffed terminal. Do not skip this step; flux lowers the surface tension and accelerates the wetting process.
- Tinning the Cap: Set your iron to 380°C (716°F). Touch the tip to the terminal and feed solder directly into the joint. The solder should flash and flow across the cap within 1.5 to 2 seconds. Remove the iron immediately.
- Tinning the Wire: Strip and tin your wire (e.g., 14 AWG silicone wire for high-current 21700 applications) separately.
- The Final Join: Place the tinned wire onto the tinned battery cap. Apply the iron to the wire (not the cap) for 1 to 2 seconds until the two solder pools melt together. Hold the wire perfectly still for 3 seconds while the 63/37 eutectic solder solidifies.
Expert Warning: Never apply pressure to the positive terminal while soldering. The positive cap is separated from the negative can by a thin plastic insulator ring. Excessive downward force with a hot iron can melt this insulator, causing an immediate dead short across the cell.
Troubleshooting Common Soldering Battery Failures
Even with the right gear, the unique metallurgy of battery caps can cause issues. Here is how to troubleshoot the most common failure modes.
Failure Mode 1: Solder Beading Up (Cold Joints)
Symptom: The solder forms a tight ball on the tip of your iron or sits on the battery cap like a water droplet on a waxed car, refusing to wet the surface.
Root Cause: The nickel plating on the battery cap is heavily oxidized, or your iron tip lacks the thermal mass to overcome the heat-sink effect of the steel can.
The Fix: Stop applying heat. A cold joint means you are just baking the flux. Let the cell cool. Use the fiberglass pen to scratch the surface again until it looks dull and matte. Apply fresh flux. Switch to a heavier tip (like a 4mm bevel) and increase your iron temperature by 20°C to ensure rapid heat delivery.
Failure Mode 2: Excessive Heat Transfer to the Cell
Symptom: The battery body becomes too hot to touch, or you smell a faint, sweet chemical odor (venting electrolyte).
Root Cause: You exceeded the 3-second contact rule, or you used a low-wattage iron that required 10+ seconds of contact to melt the solder. As noted by Argonne National Laboratory, lithium-ion cell stability is highly dependent on maintaining strict thermal boundaries.
The Fix: Immediately remove the heat and place the cell in a fireproof LiPo bag. If the cell has vented, it is permanently compromised and must be recycled at a battery disposal facility. For future attempts, pre-tin both the wire and the cap separately so the final joining phase takes less than one second.
Failure Mode 3: Brittle or Cracked Joints
Symptom: The solder joint looks dull, gray, and crumbles or cracks when the wire is gently tugged.
Root Cause: Using a lead-free SAC305 alloy without adequate heat, or moving the wire while a non-eutectic solder was in its "plastic" (semi-solid) cooling phase.
The Fix: Always use 63/37 (Tin/Lead) eutectic solder for battery connections. Because it lacks a plastic phase, it snaps from liquid to solid instantly, eliminating disturbed-joint cracks caused by micro-movements of the wire during cooling.
Frequently Asked Questions (FAQ)
Can I solder directly to LiPo pouch cell tabs?
No. LiPo pouch cells feature extremely thin aluminum (positive) and copper (negative) foil tabs. Standard rosin flux will not break down the aluminum oxide layer, and the heat required to solder aluminum will instantly melt the pouch's fragile plastic laminate, causing a catastrophic short. LiPo tabs must be connected using ultrasonic welding or specialized low-temperature conductive epoxies.
What gauge wire should I use for an 18650 or 21700 pack?
Wire gauge depends on your continuous current draw. For standard 18650 cells (typically 10A to 15A continuous max per cell), 18 AWG silicone wire is sufficient for individual cell connections, while 14 AWG should be used for the main series parallel bus bars. For high-drain 21700 cells (like the Molicel P45B, rated for 45A), use 14 AWG for individual cell pigtails and 10 AWG for main discharge leads to prevent voltage sag and wire heating.
Is acid flux acceptable for stubborn battery terminals?
Absolutely not. While acid flux (zinc chloride) will easily solder to steel and nickel, it is highly corrosive and electrically conductive when exposed to humidity. Over time, it will eat through the battery cap, cause parasitic drains, and eventually short out the pack. Always stick to high-activity rosin fluxes (like Kester 186) designed for electronics, and clean the residue with 99% isopropyl alcohol after soldering.