
Deploying a headless single-board computer in the field or inside a smart home cabinet introduces a massive logistical hurdle: how do you manage it once it is off your local network? In our latest community showcase, we are diving deep into how top makers, homelab enthusiasts, and industrial IoT developers solve the raspberry pi remote access challenge. Rather than relying on dangerous port forwarding or clunky dynamic DNS setups, the community has shifted toward encrypted mesh networks, zero-trust tunnels, and fleet management containers.
The Headless Dilemma: Why Standard SSH Falls Short
Out of the box, the official Raspberry Pi remote access documentation heavily emphasizes local SSH and VNC. While this works perfectly when your laptop and Pi share the same Wi-Fi router, it completely falls apart when you deploy a Pi as a remote weather station, an off-grid LoRaWAN gateway, or a vacation-home Home Assistant server.
Historically, makers solved this by forwarding Port 22 on their home router and using a Dynamic DNS (DDNS) service. In 2026, this is considered a critical security anti-pattern. Shodan bots scan exposed SSH ports continuously, leading to brute-force attacks that can max out the CPU of a Pi Zero 2 W, causing thermal throttling and system crashes. Furthermore, carrier-grade NAT (CGNAT) on cellular or rural ISP connections makes inbound port forwarding mathematically impossible without expensive static IPs. The community has responded by adopting outbound-tunneling architectures.
Community Build #1: The Off-Grid Mesh (Tailscale)
For makers deploying battery-powered or remote sensor nodes, Tailscale has become the undisputed champion of secure access. Tailscale utilizes the WireGuard protocol to create a peer-to-peer mesh network, effectively placing your remote Pi on the same virtual LAN as your management laptop, regardless of physical location or NAT type.
Real-World Implementation: The Subnet Router
A standout project from the electricalflux community involves a Raspberry Pi 4B acting as a Tailscale Subnet Router for an entire remote cabin's IoT network. By running the command tailscale up --advertise-routes=192.168.50.0/24, the Pi securely bridges the remote local network back to the user's home office.
Maker Insight: 'I initially tried running Tailscale on a Pi Zero W for my remote greenhouse, but the WireGuard encryption overhead caused a 15% voltage drop on the battery rail during handshake negotiations. Upgrading to a Pi Zero 2 W (quad-core Cortex-A53) or a Pi 5 completely eliminated the CPU bottleneck and stabilized the mesh connection.' - User @SiliconHarvester
Tailscale's DERP (Designated Encrypted Relay for Packets) servers handle the initial UDP hole-punching. If a direct peer-to-peer connection fails due to strict symmetric NATs, the traffic seamlessly falls back to the DERP relay, ensuring you never lose access to your remote hardware.
Community Build #2: The Home Assistant Fortress (Cloudflare Tunnels)
While Tailscale is perfect for SSH and personal administration, it is not ideal if you need to share a web dashboard with family members or integrate with external webhooks. This is where Cloudflare Zero Trust Tunnels shine. By installing the cloudflared ARM64 daemon on your Raspberry Pi, you create an outbound, encrypted tunnel directly to Cloudflare's edge network.
Eliminating Port 8123 Exposure
In a recent community smart-home showcase, a developer detailed how they completely locked down their Raspberry Pi 5 running Home Assistant. Instead of forwarding port 8123, they configured a Cloudflare Tunnel with an Access Policy requiring GitHub OAuth authentication.
- Step 1: Install the ARM64
.debpackage for cloudflared on Raspberry Pi OS (Bookworm). - Step 2: Authenticate the daemon via the Cloudflare Zero Trust dashboard.
- Step 3: Route the public hostname
home.domain.comtohttp://localhost:8123. - Step 4: Apply a Cloudflare Access rule restricting entry to specific email addresses and enforcing a 12-hour session timeout.
This architecture means the Raspberry Pi accepts zero inbound connections from the public internet. The firewall can be set to drop all unsolicited inbound traffic, rendering the device virtually invisible to automated botnets while remaining perfectly accessible to authorized users.
Comparative Analysis: Remote Access Architectures
Choosing the right remote access method depends heavily on your specific hardware constraints and use case. Below is a decision matrix synthesized from community deployment data.
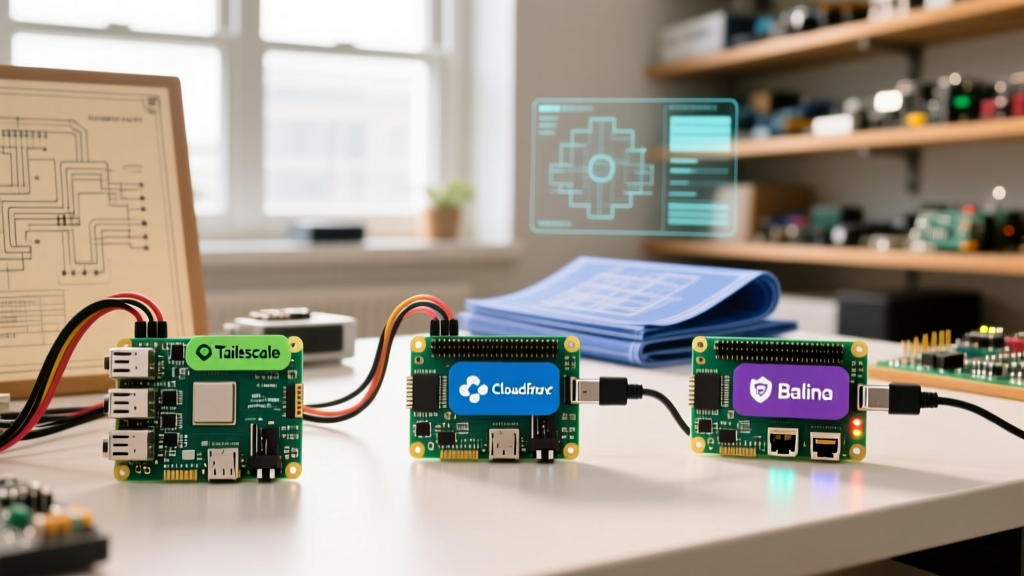
| Feature | Tailscale (WireGuard) | Cloudflare Tunnels | BalenaCloud (Fleet) | Port Forwarding + DDNS |
|---|---|---|---|---|
| Primary Use Case | SSH, Admin, Subnet Routing | Web Dashboards, API Webhooks | OTA Updates, Multi-node Fleets | Legacy/LAN-only (Not Recommended) |
| Inbound Ports Required | None (Outbound UDP/TCP) | None (Outbound HTTPS) | None (Outbound HTTPS) | 22, 80, 443, 8123 (High Risk) |
| CPU Overhead (Pi Zero 2 W) | Moderate (Crypto overhead) | Low (TLS handled by edge) | High (Docker Supervisor) | Minimal |
| NAT Traversal | Excellent (UDP Hole Punch) | Excellent (HTTPS Outbound) | Excellent (HTTPS Outbound) | Fails on CGNAT/Cellular |
| Cost | Free (up to 100 nodes) | Free (Standard tier) | Free (up to 10 devices) | Free (Domain costs apply) |
Community Build #3: The Fleet Manager (BalenaCloud for SBCs)
When a project scales from a single Raspberry Pi to a fleet of twenty—such as a distributed digital signage network or a mesh of Pi-hole DNS servers—individual SSH tunnels become unmanageable. The community has heavily adopted balenaOS and the BalenaCloud platform for remote container orchestration.
Balena replaces standard Raspberry Pi OS with a minimal, read-only host OS designed specifically for edge computing. The remote access paradigm shifts from 'SSHing into a box' to 'pushing Docker containers via Git.' Balena's supervisor container maintains a persistent outbound WebSocket connection to the cloud dashboard, allowing for instant remote terminal access, log streaming, and environment variable injection without ever touching the device's physical network configuration.
A crucial E-E-A-T detail for SD card longevity: Balena utilizes delta updates. If you update a 500MB Home Assistant container and only 15MB of the code changed, the remote Pi only downloads the 15MB binary diff. This drastically reduces cellular data costs for off-grid deployments and minimizes write-cycles on the microSD card or eMMC storage.
Hardening Your Access: Lessons from Bricked Boards
Even when utilizing secure outbound tunnels, the community strongly advises hardening the local SSH daemon to prevent lateral movement if a tunnel endpoint is compromised. Based on post-mortem analyses of breached homelabs, implement these three non-negotiable configurations on your Raspberry Pi:
- Disable Password Authentication: Edit
/etc/ssh/sshd_configand setPasswordAuthentication no. Rely exclusively on Ed25519 SSH key pairs. RSA keys are increasingly viewed as legacy and are more susceptible to side-channel attacks. - Implement Fail2Ban: Even on a private Tailscale IP, if you expose a local web service, brute force attempts can fill your syslog and degrade I/O performance. Fail2Ban monitors authentication logs and dynamically updates
iptablesto drop malicious IPs. - Restrict Sudo Privileges: Never run your remote automation scripts or Docker containers as the root user. Create a dedicated, restricted user with specific
sudoersfile permissions limited only to restarting specific systemd services.
Final Thoughts from the Workbench
The era of pointing a domain name at your home IP and praying your router's firewall holds up is over. Whether you are building a remote astrophotography rig in the mountains or managing a smart-home hub in your basement, modern raspberry pi remote access relies on zero-trust principles and outbound tunneling. By adopting Tailscale for low-latency SSH, Cloudflare for secure web GUI sharing, or Balena for fleet management, you ensure your hardware remains accessible to you, and completely invisible to the rest of the world.