
The Evolution of the Community Workbench
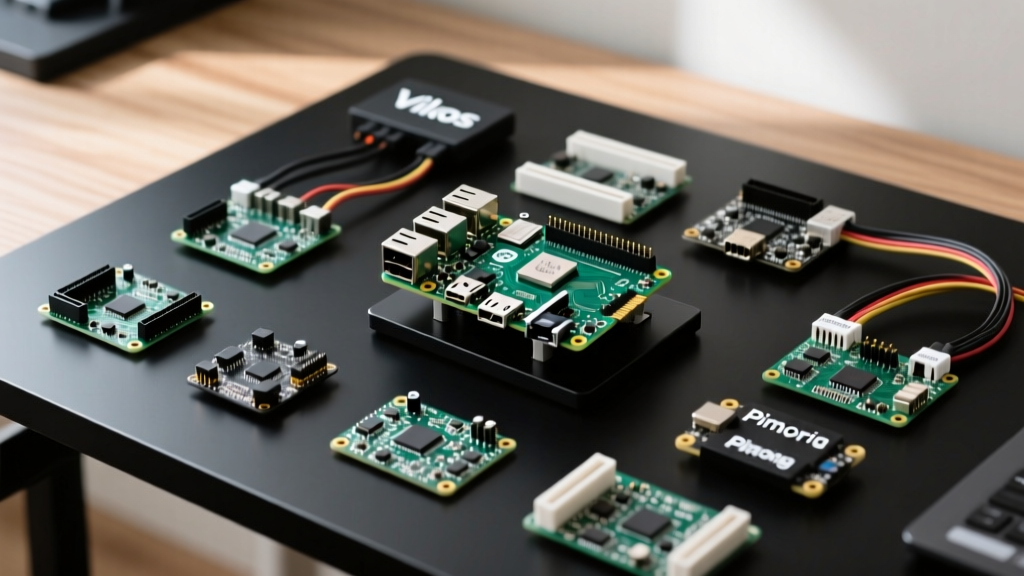
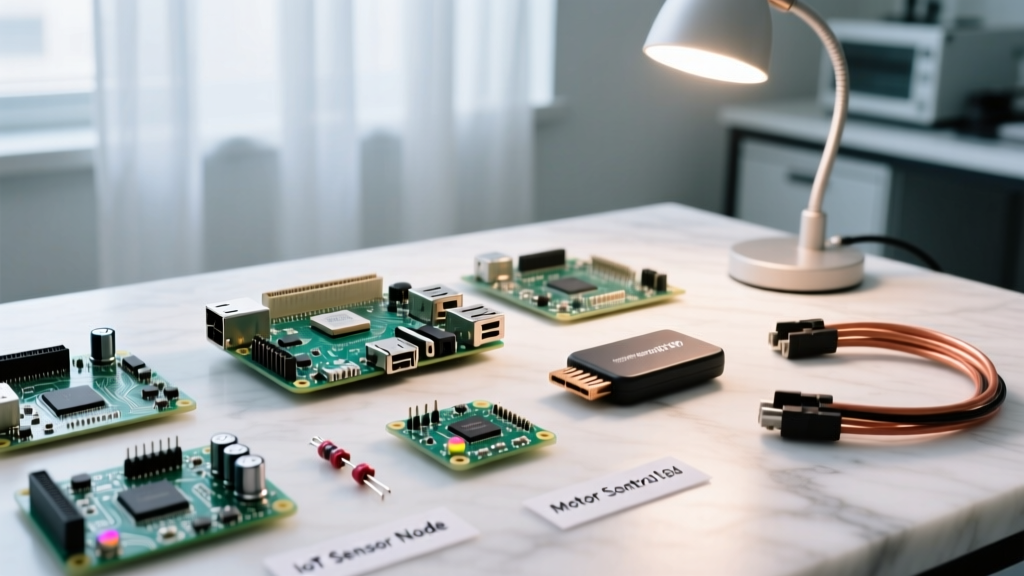
The landscape of single-board computing has shifted dramatically. When makers first began searching for the ideal raspberry pi for projects, the focus was largely on simple Python scripts, basic LED blinking, and retro-emulation. Today, the community is deploying these boards into harsh outdoor environments, integrating them with edge AI accelerators, and designing custom PCBs for multiplexed GPIO control. In this 2026 community showcase, we are highlighting three exceptional, field-tested builds submitted by the ElectricalFlux maker community. These projects demonstrate not just creativity, but a deep understanding of power budgeting, thermal management, and hardware-software integration.
Project 1: Solar-Powered LoRaWAN Micro-Climate Node
Community member @SiliconForager designed an off-grid environmental monitoring station capable of surviving deep winter conditions. The core requirement was ultra-low power consumption, making the Raspberry Pi Zero 2 W the undisputed champion for this build.
Hardware and Power Budgeting
The Pi Zero 2 W idles at roughly 120mA but can spike to 450mA during WiFi/Bluetooth transmission bursts. To eliminate wireless power drains, the builder disabled the onboard WiFi via config.txt and utilized a Waveshare SX1262 LoRaWAN HAT. The power subsystem relies on a 10W solar panel feeding a CN3791 MPPT charge controller, which safely charges a 3.7V 5000mAh 18650 Li-ion pack.
- Compute: Raspberry Pi Zero 2 W (1GHz quad-core 64-bit Arm Cortex-A53)
- Connectivity: SPI-based LoRaWAN (868MHz/915MHz depending on region)
- Sensors: BME280 (I2C) for temperature, humidity, and barometric pressure
- Power Management: Custom undervoltage lockout circuit to prevent battery deep-discharge below 3.0V
Maker Insight: 'The biggest hurdle was the boot-up current spike. The Pi Zero 2 W requires a clean 5V rail during the initial bootloader sequence. I added a 470µF low-ESR capacitor directly across the 5V and GND GPIO pins to buffer the transient draw from the solar charge controller.' - @SiliconForager
Project 2: Edge AI Avian Recognition with the Pi 5
While microcontrollers like the ESP32-CAM are great for basic motion detection, classifying specific bird species in real-time requires serious neural processing. Community AI specialist @NeuralNest built a smart bird feeder using the Raspberry Pi 5 8GB paired with the official M.2 HAT+ and a Hailo-8L AI acceleration module.
Integrating the Hailo-8L NPU
The Hailo-8L NPU delivers up to 13 TOPS (Tera Operations Per Second) of performance, allowing the feeder to run a custom YOLOv8n model trained on local backyard birds. The camera module (Pi Camera Module 3) feeds 1080p video at 30fps directly into the Hailo pipeline via the PCIe Gen 2 interface.
Thermal and Power Constraints
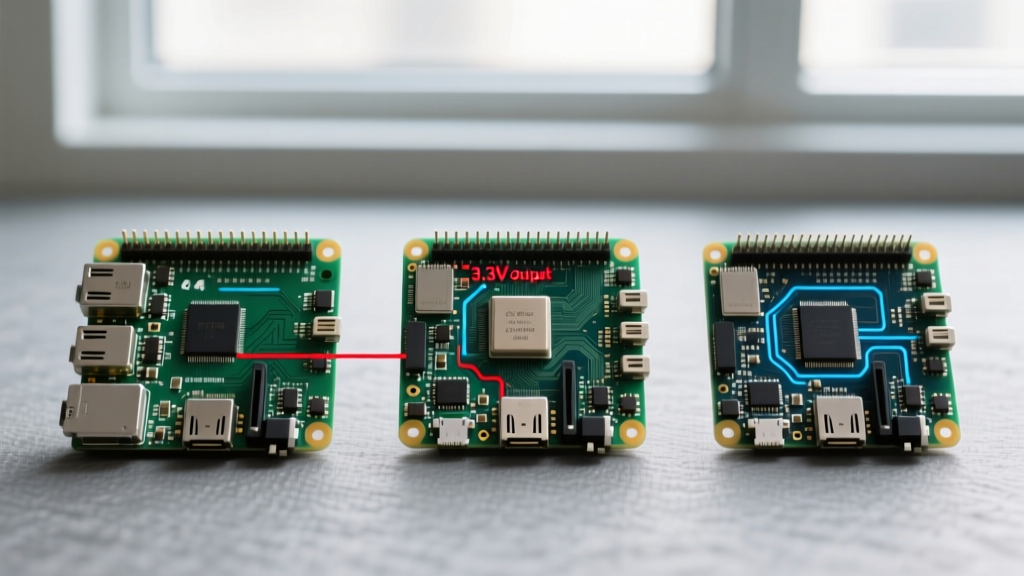
Running continuous inference generates significant heat. The builder utilized the Raspberry Pi Active Cooler, which maintains the BCM2712 SoC below 65°C even under sustained 100% NPU load. More importantly, the official Raspberry Pi documentation strictly mandates a 27W USB-C PD power supply (5V/5A) for the Pi 5 when utilizing the PCIe M.2 HAT. If the power supply negotiates only 5V/3A, the board will automatically disable the PCIe interface to prevent brownouts, a failure mode that plagued early adopters using third-party phone chargers.
Project 3: I2C-Multiplexed Telemetry Arcade Cabinet
Retro arcade cabinets are a staple of DIY culture, but @ArcadeArchitect took the concept further by integrating real-time hardware telemetry. Using a Raspberry Pi 4 Model B (4GB), this build not only runs RetroPie but also features a secondary 3.5-inch TFT display mounted in the marquee showing CPU temps, RAM usage, and network latency.
Solving the GPIO Pinout Crisis
A standard 2-player arcade setup requires 24 buttons and joysticks. The Raspberry Pi simply does not have enough native GPIO pins to handle this alongside the SPI display and I2C audio DAC. The solution? An MCP23017 I2C port expander. By wiring the Sanwa pushbuttons to a custom-milled PCB that routes through the MCP23017, the builder freed up the Pi's native pins for the high-speed SPI display interface.
Community Build Matrix: Power, Compute, and Cost
When selecting the right board for your next build, understanding the intersection of power draw, compute capability, and budget is critical. Below is a comparison matrix based on the community projects featured above.
| Project Type | SBC Model | Peak Power Draw | Storage Medium | Est. BOM Cost (2026) |
|---|---|---|---|---|
| LoRaWAN Micro-Climate | Pi Zero 2 W | 1.8W (450mA @ 4V) | Industrial SLC SD | $65.00 |
| Edge AI Bird Feeder | Pi 5 (8GB) | 14.5W (w/ Hailo NPU) | 256GB NVMe SSD | $185.00 |
| Telemetry Arcade | Pi 4 (4GB) | 7.2W (w/ Display) | 128GB A2 microSD | $110.00 |
Field-Tested Failure Modes and Mitigations
Building a prototype on a desk is vastly different from deploying a project in the real world. The ElectricalFlux community has documented several recurring failure modes when using a raspberry pi for projects intended for long-term or outdoor use.
1. SD Card Write Amplification and Corruption
The number one cause of field failure is SD card corruption. Standard consumer microSD cards use TLC/QLC NAND with aggressive wear-leveling algorithms that do not play well with the constant log-writing and temporary file generation of Linux environments.
Mitigation: For any project that requires continuous uptime, boot from a USB-attached SATA SSD or, in the case of the Pi 5, utilize an NVMe drive via the PCIe M.2 HAT. If you must use an SD card, specify an Industrial-grade SLC (Single-Level Cell) card rated for extreme temperatures, and move all /var/log and /tmp directories to a RAM disk via fstab.
2. I2C Bus Capacitance and Signal Degradation
In the Telemetry Arcade project, extending the I2C lines to the MCP23017 expander caused intermittent button ghosting. The I2C protocol is highly sensitive to bus capacitance; running wires longer than 30cm without proper pull-up resistors leads to signal edge degradation. Mitigation: Always use an active I2C bus extender (like the PCA9615) or ensure you are using 2.2kΩ pull-up resistors on both SDA and SCL lines when wire lengths exceed 15cm. Lowering the I2C clock speed from 400kHz to 100kHz in the device tree overlay can also salvage marginal signal integrity.
3. Thermal Throttling in Enclosed Spaces
Placing a Raspberry Pi 4 or 5 inside a sealed 3D-printed PETG or PLA enclosure without active airflow will result in thermal throttling within minutes under load. The SoC will downclock from 2.4GHz to 600MHz to protect itself, severely impacting AI inference and emulation performance. Mitigation: Design enclosures with computational fluid dynamics in mind. Include a 5V PWM-controlled fan mapped to the SoC temperature sensor via a simple Python daemon, or use passive cooling solutions that feature massive finned aluminum heatsinks acting as the enclosure roof itself.
Sourcing and Next Steps
The beauty of the maker community lies in open-source iteration. Whether you are building a low-power agricultural sensor or a high-compute edge vision system, finding the right raspberry pi for projects requires balancing the BOM cost against environmental constraints. For more deep-dives into community builds, wiring diagrams, and Python automation scripts, be sure to explore the extensive archives at The MagPi magazine and our own ElectricalFlux component databases. Grab your soldering iron, flash your OS, and start building.