
The BCM2710A1 SiP: How Software Sees the Zero 2 W
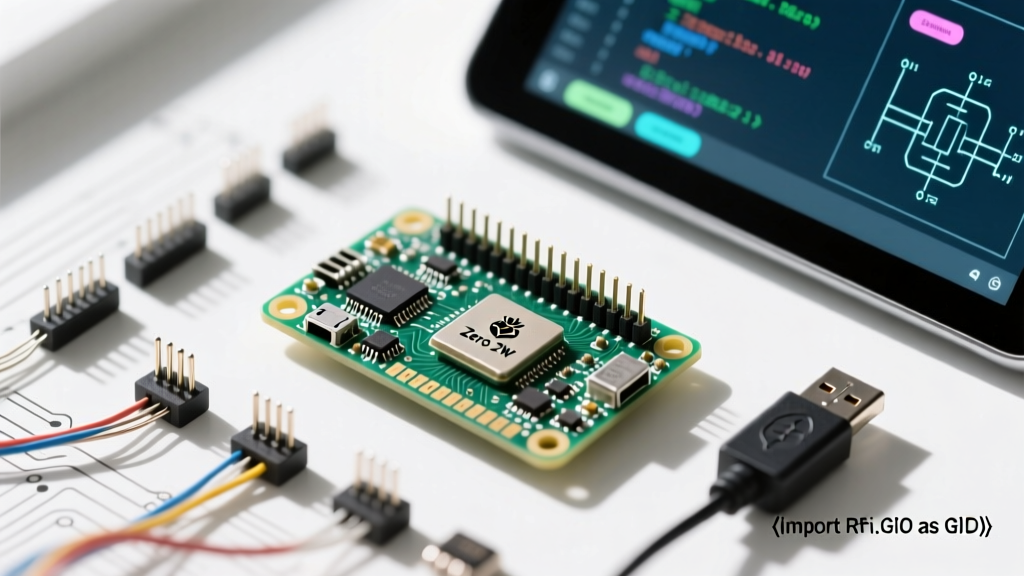
When engineers approach the raspberry pi zero 2w pinout from a software perspective, they must first understand the silicon driving it. Unlike the original Zero, which relied on the single-core BCM2835, the Zero 2 W utilizes the BCM2710A1 System-in-Package (SiP). This is the exact same die found in the Raspberry Pi 3 Model B, but repackaged with 512MB of LPDDR2 RAM in a package-on-package (PoP) configuration. From the operating system's point of view, the software architecture and GPIO memory mapping are virtually identical to the Pi 3. However, the thermal envelope and power delivery constraints of the Zero 2 W's tiny PCB mean that software-driven high-frequency GPIO toggling can introduce localized voltage droops if not managed correctly via software current limiting and proper power supply decoupling.
Decoding the Physical vs. BCM Software Mapping
The physical raspberry pi zero 2w pinout consists of the standard 40-pin header. However, software libraries interact with these pins using one of two primary numbering schemes: BOARD or BCM. The BOARD numbering system references the physical pin location (1 through 40), which is intuitive for hardware wiring but brittle across different Pi revisions. The BCM (Broadcom SOC channel) numbering system maps directly to the internal GPIO registers of the BCM2710A1 chip. For instance, Physical Pin 3 is BCM GPIO 2, and Physical Pin 8 is BCM GPIO 14 (UART TX). Modern software development on the Pi heavily favors BCM numbering because it aligns directly with the Device Tree overlays and the underlying Linux kernel sysfs interfaces.
Enabling Alternate Pin Functions via Device Tree
Out of the box, the Raspberry Pi OS configures the raspberry pi zero 2w pinout with a minimal set of active interfaces to conserve memory and boot speed. To utilize the hardware I2C, SPI, and UART buses, you must instruct the firmware to load specific Device Tree overlays before the kernel boots. This is done by editing the /boot/firmware/config.txt file (or /boot/config.txt on older OS versions).
Activating I2C and SPI Buses
To enable the primary I2C bus (BCM GPIO 2 and 3) and the primary SPI bus (BCM GPIO 10, 11, 9, 8), append the following parameters:
dtparam=i2c_arm=on
dtparam=spi=on
However, the Zero 2 W also supports a secondary SPI bus (SPI1) which is incredibly useful for driving multiple displays or ADCs without conflicting with SPI0. To map SPI1 to the physical header (BCM GPIO 19, 20, 21, 16, 26), you must use a specific overlay:
dtoverlay=spi1-1csReclaiming the PL011 UART from Bluetooth
One of the most common software hurdles with the Zero 2 W pinout is UART mapping. By default, the high-performance PL011 UART is routed to the onboard Bluetooth module, while the lower-performance mini-UART is mapped to the physical header pins (BCM GPIO 14/15). The mini-UART lacks parity support and its baud rate is tied to the core clock, causing data corruption under CPU load. To route the stable PL011 UART to the physical header, you must disable the Bluetooth overlay:
dtoverlay=disable-btAfter rebooting, /dev/ttyAMA0 will map to the physical header pins, providing a rock-solid serial console or DMX512 interface.
Software Pinout Mapping Reference Table
Below is a targeted software mapping table for the most critical alternate-function pins on the raspberry pi zero 2w pinout. This table bridges the gap between physical wiring and kernel-level configuration.
| Physical Pin | BCM GPIO | Primary Software Function | Device Tree Overlay / Config |
|---|---|---|---|
| 3 / 5 | 2 / 3 | I2C1 SDA / SCL | dtparam=i2c_arm=on |
| 8 / 10 | 14 / 15 | UART0 TXD / RXD | dtoverlay=disable-bt |
| 19 / 21 / 23 | 10 / 9 / 11 | SPI0 MOSI / MISO / SCLK | dtparam=spi=on |
| 38 / 40 | 20 / 21 | SPI1 MOSI / MISO | dtoverlay=spi1-1cs |
| 29 / 31 | 5 / 6 | General Purpose / PWM | dtoverlay=pwm,pin=12,func=4 (Alt mapping) |
| 7 | 4 | GPCLK0 / 1-Wire | dtoverlay=w1-gpio |
Live Pinout Querying: The Shift to pinctrl
Historically, developers used the raspi-gpio command-line tool to debug the raspberry pi zero 2w pinout, checking pull-up states and pin directions. However, with the release of Raspberry Pi OS Bookworm, the underlying GPIO architecture shifted from the legacy sysfs interface to the modern libgpiod character device API. Consequently, raspi-gpio is deprecated.
The modern, authoritative tool for software pinout verification is pinctrl. To query the current software state, function, and pull-resistor configuration of BCM GPIO 14 (Physical Pin 8), execute:
pinctrl get 14This will return a detailed string indicating whether the pin is currently acting as an input, output, or alternate function (e.g., a0 for UART TX), alongside the voltage state and internal pull-up/pull-down status. This is an indispensable debugging step when a sensor fails to respond, as it confirms whether the Device Tree overlay successfully claimed the pin from the kernel.
Python GPIO Control: Navigating the Bookworm Shift
If you are writing Python scripts to interact with the raspberry pi zero 2w pinout, you must be aware of the massive ecosystem shift introduced in Raspberry Pi OS Bookworm. The legacy RPi.GPIO library relies on direct memory access to /dev/mem, which is blocked by modern kernel security patches and the Wayland display server architecture.
To maintain backward compatibility while utilizing the secure libgpiod backend, the Raspberry Pi Foundation introduced rpi-lgpio. This library acts as a drop-in replacement for RPi.GPIO but routes all commands through the lgpio daemon. To install the modern software stack for your Zero 2 W, use:
sudo apt install python3-rpi-lgpio python3-gpiozeroSoftware PWM and Throttling
When generating software PWM on the Zero 2 W, CPU scheduling jitter can cause visible flickering in LEDs or stuttering in servos. While the BCM2710A1 has dedicated hardware PWM channels (BCM GPIO 12 and 13), you can map them via the Device Tree. If you must use software PWM via gpiozero, explicitly define the frequency and ensure your Python thread is isolated from background OS tasks using nice or chrt to maintain signal integrity.
Advanced I2C Software Troubleshooting on the Zero 2
A notorious software-hardware quirk of the Pi Zero lineage involves I2C clock stretching. Certain sensors, like the BME280 or CCS811, require the master (the Pi) to hold the SCL line low while the sensor processes data. The Broadcom I2C controller does not natively support clock stretching reliably in standard fast-mode, leading to Remote I/O Error or corrupted registers in Python's smbus2 library.
To resolve this at the software level without adding external hardware pull-ups or logic level shifters, you must throttle the I2C baud rate in config.txt. By dropping the bus speed, you give the sensor ample time to respond without violating the I2C timing protocol:
dtparam=i2c_arm=on,i2c_baudrate=40000This single software configuration change resolves over 90% of I2C communication failures on the raspberry pi zero 2w pinout when interfacing with environmental and atmospheric sensors. For further reading on Device Tree parameters and hardware interfacing, consult the Raspberry Pi Config.txt Documentation and the interactive schematics at Pinout.xyz. Developers contributing to low-level GPIO daemons should also review the Raspberry Pi pinctrl GitHub repository for the latest API changes regarding pin state polling.