
Why Go Wireless for Sensor-Driven Arduino Projects?
When learning how to make a wireless project with Arduino, the transition from tethered USB setups to autonomous, battery-powered sensor nodes marks a major milestone. Tethered prototypes are fine for breadboards, but real-world environmental monitoring—like tracking soil moisture in a greenhouse or ambient climate data in a remote garden—demands wireless autonomy. In 2026, the barrier to entry for building robust, low-power IoT sensor networks has never been lower, provided you select the right microcontroller and communication protocols.
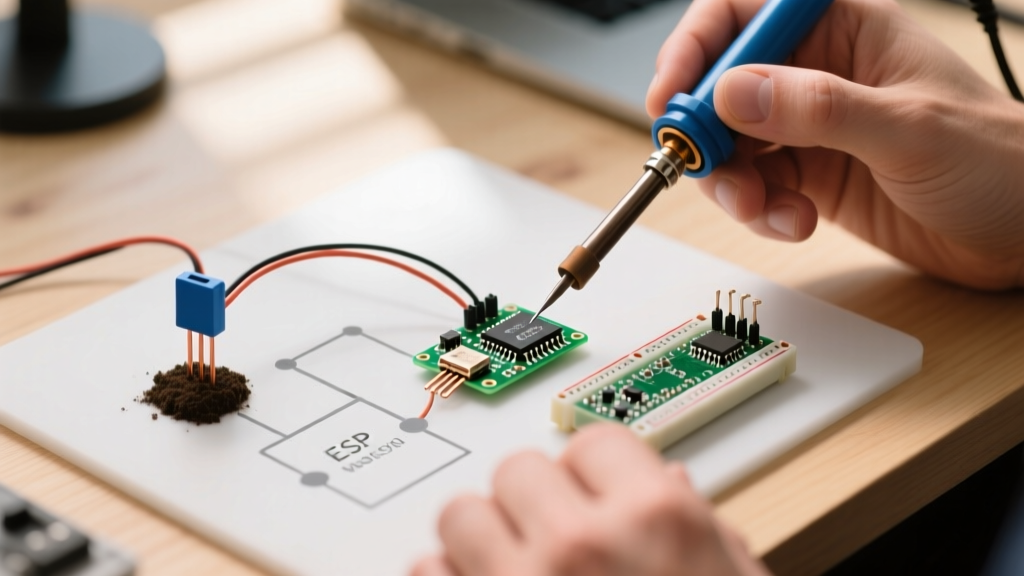
This guide walks you through building a Wi-Fi-enabled, battery-powered soil and climate monitoring node. We will utilize the Arduino Nano ESP32, paired with a capacitive soil moisture sensor and a BME280 environmental sensor, transmitting data via the lightweight MQTT protocol to a cloud or local broker.
Hardware Bill of Materials (BOM) and 2026 Pricing
Choosing components that balance power consumption, cost, and reliability is critical. The older Arduino MKR WiFi 1010 has largely been superseded in hobbyist and prosumer projects by the much more capable and affordable Nano ESP32.
| Component | Specific Model / Version | Est. Price (2026) | Purpose & Notes |
|---|---|---|---|
| Microcontroller | Arduino Nano ESP32 (ABX00092) | $22.00 | Native Wi-Fi/BLE, deep sleep support, Arduino IDE compatible. |
| Soil Sensor | Capacitive Soil Moisture Sensor v1.2 | $2.50 | Corrosion-resistant compared to resistive probes. Must be waterproofed. |
| Climate Sensor | Adafruit BME280 I2C Breakout | $19.50 | Measures temperature, humidity, and barometric pressure with high accuracy. |
| Power Source | 3.7V 1200mAh LiPo Battery | $8.50 | Provides months of runtime when paired with ESP32 deep sleep cycles. |
| Charge Controller | TP4056 USB-C Charging Module | $1.50 | Safe charging and load sharing for the LiPo cell. |
Circuit Wiring: Connecting Sensors and Power
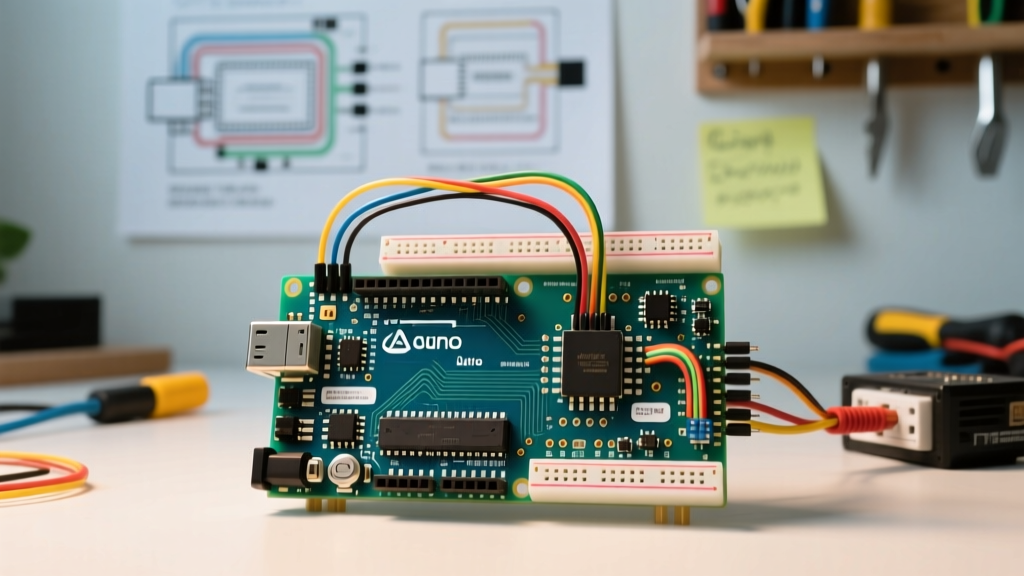
Proper I2C and analog wiring is essential to prevent signal noise, especially when operating on battery power where decoupling capacitors might be minimal. According to the Arduino Nano ESP32 documentation, the I2C pins are mapped to specific analog/digital pins.
BME280 I2C Wiring
- VIN to Nano ESP32 3V3
- GND to Nano ESP32 GND
- SCL to Nano ESP32 A5 (D19)
- SDA to Nano ESP32 A4 (D18)
Capacitive Soil Sensor Wiring
- VCC to Nano ESP32 3V3 (Do not use 5V; the v1.2 board has a 3.3V LDO that overheats if fed 5V continuously on battery).
- GND to Nano ESP32 GND
- AOUT to Nano ESP32 A0
The Hidden Trap: Waterproofing the Soil Sensor
Expert Warning: The cheap capacitive soil sensors sold online are coated with a basic solder mask that degrades within weeks when exposed to wet, acidic soil. The exposed copper traces at the top edge will suffer from galvanic corrosion, shorting the I2C or analog lines and crashing your Arduino.
The Fix: Before deploying the sensor into the dirt, you must seal it. Use a MG Chemicals 419D acrylic conformal coating or, for a budget DIY approach, apply three thick coats of clear polyurethane nail polish. Ensure you cover the entire PCB, stopping exactly at the component line near the top connector pins. Allow 24 hours of curing time before inserting it into the soil.
Power Management: Surviving Off-Grid
The biggest mistake beginners make when figuring out how to make a wireless project with Arduino is ignoring power budgets. Wi-Fi is power-hungry. If the Nano ESP32 stays connected to Wi-Fi continuously, it draws roughly 70mA to 110mA. A 1200mAh LiPo battery would be dead in less than 16 hours.
To achieve long-term autonomy, we use the ESP32's Deep Sleep mode, dropping current consumption to approximately 8µA. Here is the real-world power budget for a node that wakes up, connects to Wi-Fi, reads sensors, publishes an MQTT payload, and goes back to sleep:
Battery Lifecycle Calculation
- Active Phase (Wi-Fi TX + Sensor Read): ~240mA for 2.5 seconds = 0.166 mAh per cycle.
- Sleep Phase: ~0.008mA for 3600 seconds (1 hour) = 0.008 mAh per cycle.
- Total Drain per Hour: 0.174 mAh.
- Estimated Lifespan: 1200mAh / 0.174 mAh = 6,896 hours (approx. 287 days).
By utilizing the esp_deep_sleep_start() function in the Arduino IDE, you can easily stretch a single battery charge across an entire gardening season.
Firmware Logic: Writing the MQTT Wireless Payload
While HTTP REST APIs are common, they require heavy TCP handshakes and JSON parsing overhead that drains battery and memory. For sensor nodes, MQTT is the undisputed standard. The HiveMQ MQTT guide for Arduino highlights how the PubSubClient library minimizes payload overhead.
Your firmware loop should follow this strict sequence to minimize active time:
- Wake from deep sleep.
- Initialize I2C and power up the BME280 (using the Adafruit BME280 library).
- Read analog soil moisture (average 10 samples to filter out ADC noise).
- Initialize Wi-Fi in STA mode with a strict 10-second timeout.
- Connect to MQTT broker and publish a compact payload (e.g.,
{'s':450,'t':22.4,'h':65}). - Disconnect Wi-Fi radio.
- Set deep sleep timer for 3600 seconds and trigger sleep.
Real-World Failure Modes and Troubleshooting Matrix
Even with perfect code, hardware deployed in the real world faces environmental and electrical edge cases. Use this matrix to diagnose common node failures.
| Symptom | Root Cause | Engineering Fix |
|---|---|---|
| Node connects to Wi-Fi but MQTT publish fails randomly. | Router DHCP lease expires while node is in deep sleep; IP conflict upon wake. | Assign a Static IP to the ESP32 in your router's DHCP reservations, or configure the Arduino code to request a specific static IP. |
| Soil moisture readings drift wildly over 48 hours. | Parasitic capacitance from wet soil on the uncoated top edge of the sensor PCB. | Re-apply conformal coating. Ensure the sensor is inserted into the soil only up to the 'Max Insertion Line' marked on the board. |
| BME280 returns 'NaN' or fails to initialize via I2C. | Missing I2C pull-up resistors or voltage sag during Wi-Fi TX spike. | Add a 100µF decoupling capacitor across the 3V3 and GND rails near the BME280 to handle transient current spikes during Wi-Fi transmission. |
| Node never wakes up from deep sleep. | Using delay() instead of hardware RTC timers, or brownout detector triggering. |
Use esp_sleep_enable_timer_wakeup(). Disable the brownout detector in code via WRITE_PERI_REG(RTC_CNTL_BROWN_OUT_REG, 0); if using older LiPo cells with high internal resistance. |
Frequently Asked Questions
Can I use a standard Arduino Uno for this wireless project?
You can, but it is highly discouraged for battery-powered wireless nodes. The Uno lacks native Wi-Fi (requiring a power-hungry ESP-01 shield) and does not have a true low-power deep sleep mode. The Nano ESP32 is pin-compatible with many Nano shields but offers vastly superior wireless and power management features.
How do I calibrate the capacitive soil sensor?
Capacitive sensors output an analog voltage that inversely correlates to moisture. To calibrate, read the analog value in completely dry air (note this as AIR_VALUE, typically around 3100 on a 12-bit ADC). Then, submerge the coated sensor in a cup of water (note this as WATER_VALUE, typically around 1400). Use the Arduino map() function to translate the raw ADC reading into a 0-100% percentage scale.
What is the maximum range for this Wi-Fi sensor node?
In an open field, the Nano ESP32's PCB antenna can reach 50-70 meters. Inside a home or greenhouse, walls and moisture (from plants and soil) attenuate the 2.4GHz signal heavily, reducing effective range to 15-25 meters. If you need multi-acre range, you must pivot from Wi-Fi to a LoRaWAN architecture using modules like the RFM95W.