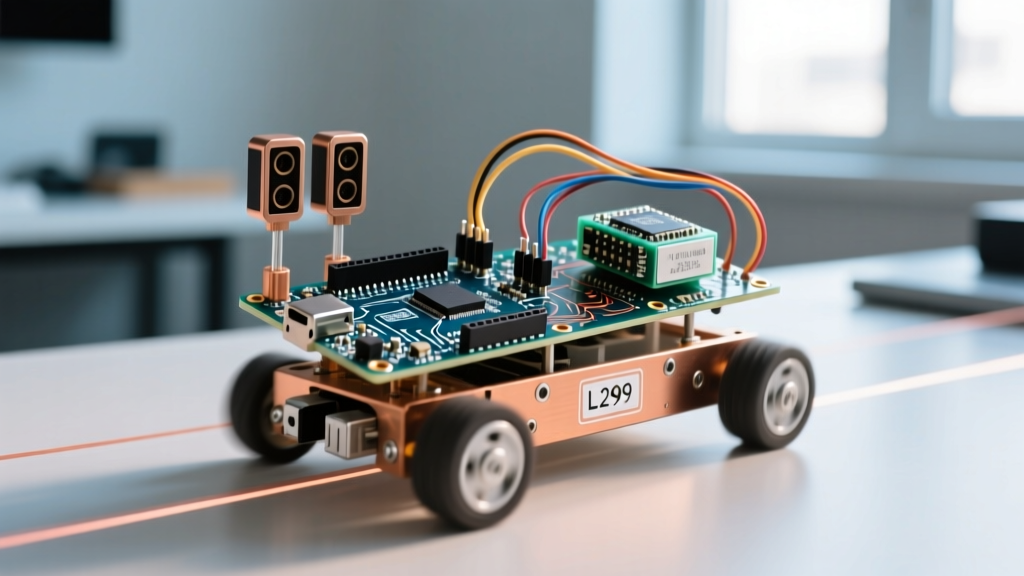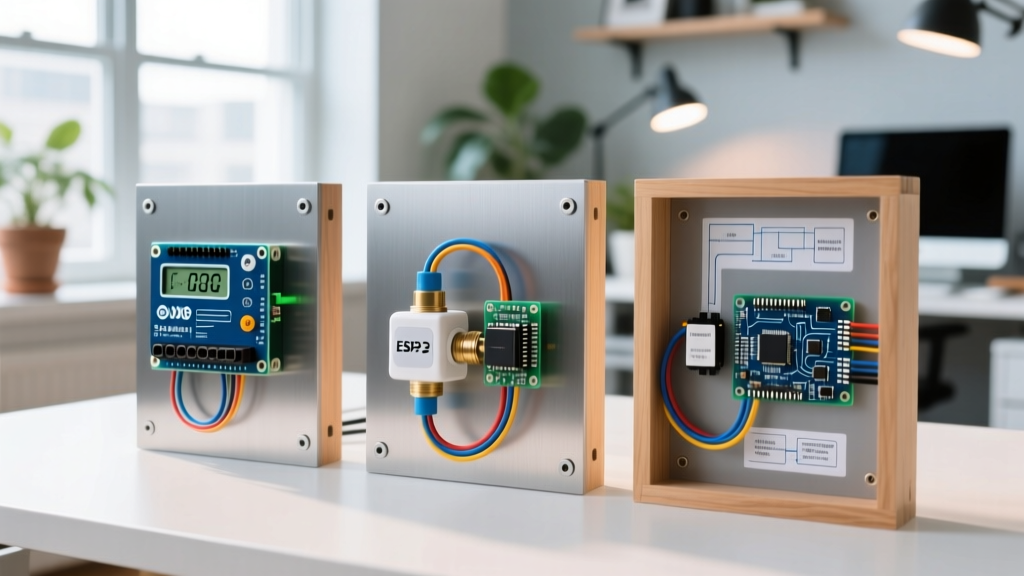

Beyond Blinking LEDs: What Makes Good Arduino Projects in 2026?
When hobbyists and engineers search for good arduino projects, the results are often cluttered with basic tutorials that stop at reading a sensor over a serial monitor. In 2026, a truly valuable home automation build must bridge the gap between breadboard prototypes and deployable, reliable infrastructure. This means native WiFi connectivity, MQTT protocol integration, robust power management, and seamless interoperability with platforms like Home Assistant.
The Arduino ecosystem has evolved significantly. With the introduction of the Renesas RA4M1-based Uno R4 and the ESP32-S3-powered Nano ESP32, we now have access to enterprise-grade processing and native wireless capabilities at sub-$30 price points. Below, we detail three highly practical, real-world home automation builds that represent what good arduino projects should look like today, complete with exact component specifications, wiring edge cases, and failure mode analysis.
1. Arduino Uno R4 WiFi Smart HVAC Zoning Controller
Standard central HVAC systems waste energy by heating or cooling unoccupied rooms. A smart zoning controller uses motorized duct dampers and localized temperature sensors to route airflow only where needed. While commercial zoning systems cost upwards of $1,500, an Arduino-based solution can be built for under $85.
Component Selection & Cost Breakdown
- MCU: Arduino Uno R4 WiFi ($27.50) - Chosen for its 14-bit ADC and native 8x12 LED matrix for local status debugging.
- Sensors: 3x BME280 I2C Breakouts ($4.50 each) - Provides temperature, humidity, and barometric pressure.
- Actuators: 24V AC Motorized Duct Dampers ($25 each).
- Relays: 4-channel opto-isolated relay module with zero-cross detection ($9.00).
The I2C Capacitance Trap & Wiring Specifics
The most common failure mode in multi-sensor Arduino environments is I2C bus capacitance. The BME280 communicates via I2C, which is strictly limited to a bus capacitance of 400pF. If you run standard jumper wires longer than 30cm to reach different rooms, the parasitic capacitance will cause data corruption and silent sensor dropouts.
Expert Fix: Do not just lower the I2C clock speed. For runs exceeding 1 meter, use an I2C bus extender like the PCA9615. It converts the I2C signals to differential signaling over standard CAT5e Ethernet cable, allowing reliable sensor placement up to 30 meters away from the Uno R4 WiFi. Always ensure 4.7kΩ pull-up resistors are present on the primary I2C side.
For deeper pinout configurations and WiFi provisioning, refer to the official Arduino Uno R4 WiFi Cheat Sheet to map the ESP32-S3 coprocessor pins correctly for MQTT publishing.
2. Nano ESP32 Water Leak Detection & Auto-Shutoff
Water damage remains one of the most costly home insurance claims. A proactive leak detection system that not only alerts you but physically shuts off the main water supply is a cornerstone of modern smart homes. The Arduino Nano ESP32 ($24.00) is the perfect brain for this due to its compact footprint and dual-core processing, which handles both capacitive touch sensing and WiFi MQTT telemetry simultaneously.
Handling Inductive Loads: The Flyback Diode Necessity
To shut off the water, you will typically use a 12V DC motorized ball valve or a solenoid valve. These are highly inductive loads. When the Arduino cuts power to the valve via a transistor, the collapsing magnetic field generates a massive reverse voltage spike (back-EMF) that will instantly fry the Nano ESP32's GPIO pins and onboard voltage regulator.
Required Switching Circuit:
- MOSFET: Use a logic-level N-channel MOSFET like the IRLZ44N. Unlike standard MOSFETs, its Vgs(th) is between 1V and 2V, meaning it will fully saturate and switch the 12V load reliably using the Nano's 3.3V logic output.
- Flyback Protection: Solder a 1N4007 rectifier diode directly across the valve's coil terminals. The cathode (silver stripe) must face the 12V positive supply, and the anode must face the MOSFET drain.
- Gate Pulldown: Add a 10kΩ resistor between the MOSFET gate and ground to prevent the valve from fluttering open during the ESP32's boot sequence when GPIO pins are floating.
3. Whole-Home Energy Monitor via MQTT
Understanding your real-time electrical consumption at the breaker panel level is critical for optimizing solar self-consumption and EV charging schedules. While commercial monitors like the Emporia Vue exist, building a custom, privacy-first energy monitor using an Arduino-compatible board allows for granular, per-circuit tracking without cloud dependencies.
CT Clamp Burden Resistor Mathematics
We recommend using the SCT-013-000 split-core current transformer (rated for 100A). Unlike the SCT-013-030 (which has a built-in 62Ω resistor and outputs 1V), the '000' version outputs a current (100mA at 100A). To read this with the 3.3V ADC of an Arduino Nano ESP32 or Portenta H7, you must convert the current to voltage using an external burden resistor.
The Calculation:
- Maximum ADC voltage = 3.3V. To measure AC, we need a peak voltage of 1.65V (half of 3.3V).
- Secondary peak current at 100A = (100A / 1800 turns) * √2 = 0.078A.
- Ideal Burden Resistance = 1.65V / 0.078A = 21.1Ω.
Because 21.1Ω is not a standard resistor value, we use a standard 22Ω or 33Ω 1/2W metal film resistor. Using a 33Ω resistor slightly reduces the maximum measurable current to roughly 85A, which is perfectly safe for standard residential branch circuits.
To center the AC waveform around the 1.65V midpoint of the ADC, you must build a DC bias circuit using two 10kΩ voltage divider resistors and a 10µF decoupling capacitor. For implementation details within a smart home ecosystem, the ESPHome CT Clamp Sensor Documentation provides excellent calibration formulas for phase correction.
Hardware Comparison Matrix
| Project Build | Primary MCU | Key Sensors/Actuators | Est. Cost (2026) | Primary Protocol |
|---|---|---|---|---|
| HVAC Zoning Controller | Uno R4 WiFi | BME280, 24V AC Relays | $82.50 | MQTT / REST |
| Water Auto-Shutoff | Nano ESP32 | Capacitive Pads, IRLZ44N, 12V Valve | $45.00 | MQTT / Push |
| Energy Monitor | Nano ESP32 / Portenta | SCT-013-000, ZMPT101B | $58.00 | MQTT (High Freq) |
Critical Edge Cases & Power Supply Troubleshooting
Even the most elegantly coded good arduino projects will fail in deployment if the power architecture is flawed. Here are the most common edge cases encountered in 2026 home automation deployments:
1. The Switching Regulator Ripple Problem
Most DIYers power their Arduino projects using cheap 5V USB wall adapters or buck converters. These switching power supplies introduce high-frequency voltage ripple (often 50mV to 150mV peak-to-peak). When reading analog sensors like the SCT-013 current clamp, this ripple is interpreted as phantom current, resulting in 'ghost' wattage readings of 10W-30W even when the circuit is off. Solution: Use a linear LDO (Low Dropout) regulator like the AMS1117-3.3 to power the analog sensor stage, or implement a software-based digital low-pass filter in your C++ code.
2. WiFi Reconnect Loops & Watchdog Timers
In environments with mesh WiFi routers, nodes occasionally drop offline for firmware updates. If your Arduino code uses a blocking while(WiFi.status() != WL_CONNECTED) loop, the ESP32's hardware watchdog timer (WDT) will trigger after 2 seconds, causing an infinite reboot loop. Always implement non-blocking reconnect logic utilizing the WiFi.setAutoReconnect(true) and WiFi.persistent(true) methods native to the ESP32 Arduino core.
Integrating with the Smart Home Ecosystem
Standalone Arduino projects are essentially isolated islands. To elevate these builds, they must publish their state to a central broker. Using the Home Assistant MQTT Integration, your Uno R4 HVAC controller can automatically adjust duct dampers based on occupancy data from your smart home's motion sensors, while your Nano ESP32 water monitor can trigger automated push notifications and log historical flow data to InfluxDB.
By focusing on robust electrical engineering principles—proper I2C bus management, inductive load protection, and precise ADC biasing—you transition from building fragile prototypes to deploying permanent, life-enhancing home automation infrastructure.