
Transform Your Home: Arduino Projects for Beginners
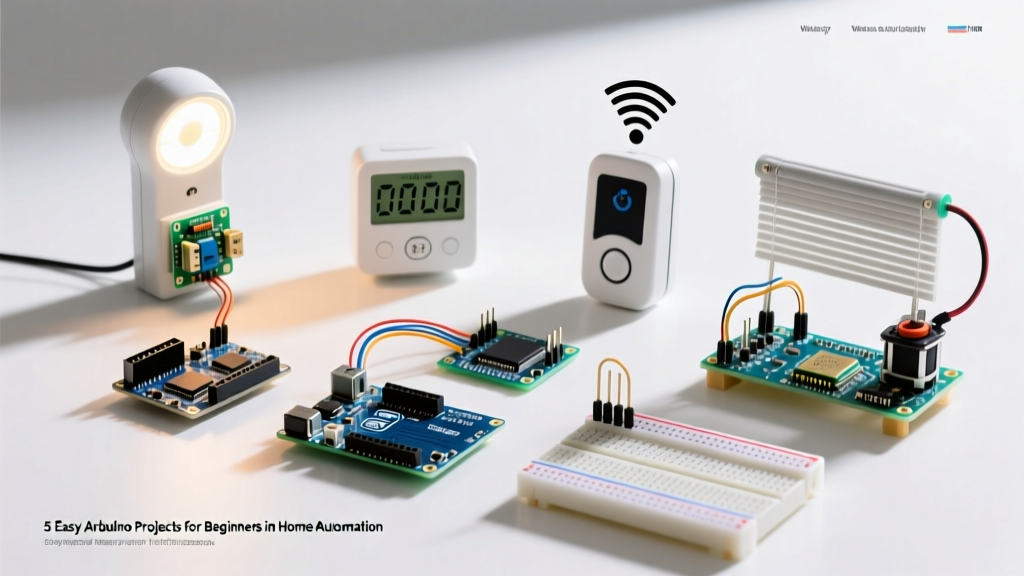
When most people search for arduino projects for beginners, they are met with blinking LEDs and basic buzzer alarms. But if you want to build real-world utility, home automation is the ultimate testing ground. By interfacing microcontrollers with relays, environmental sensors, and wireless modules, you can automate lighting, climate control, and security on a budget. In 2026, the barrier to entry is lower than ever, thanks to advanced boards like the Arduino Uno R4 WiFi and highly reliable, low-cost sensor modules.
This guide skips the toy projects and dives straight into five practical home automation builds. We will cover exact component models, critical wiring safety standards, and the specific failure modes that trip up most novices.
Essential Hardware for Home Automation (2026 Buyer's Guide)
Before wiring up your first relay, you need the right brain for the job. While the classic Arduino Uno R3 is still floating around in old starter kits, modern home automation demands more processing power and native connectivity.
| Microcontroller | Architecture | Native Wireless | Avg. Price (2026) | Best For |
|---|---|---|---|---|
| Arduino Uno R3 | 8-bit AVR (ATmega328P) | No | $23.00 | Legacy learning, simple offline logic |
| Arduino Uno R4 WiFi | 32-bit Arm Cortex-M4 + ESP32-S3 | Wi-Fi / Bluetooth | $27.50 | IoT dashboards, cloud-connected relays |
| ESP32 DevKit V1 | 32-bit Xtensa Dual-Core | Wi-Fi / Bluetooth | $8.00 | Budget IoT nodes, battery-powered sensors |
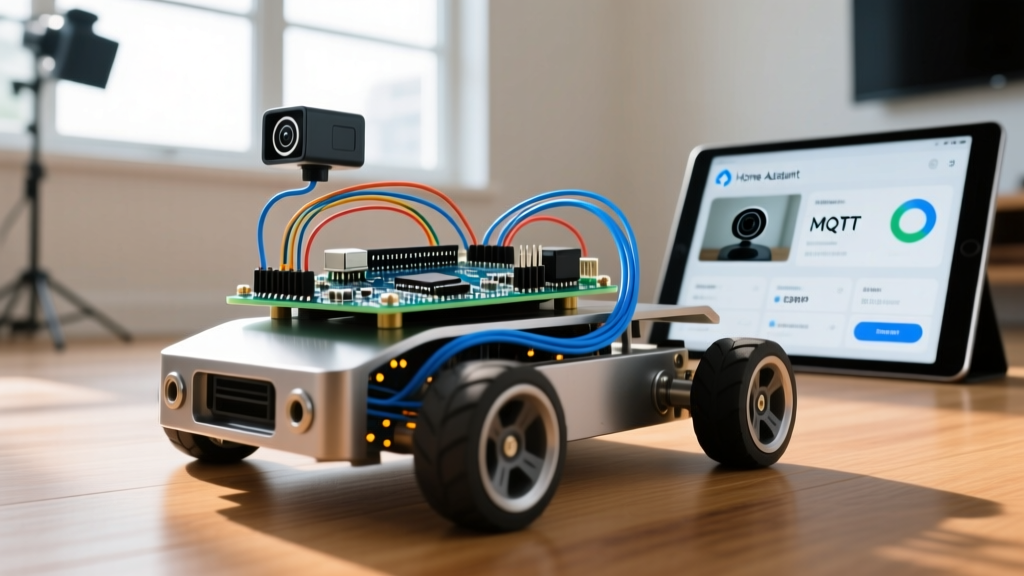
For the projects below, we recommend the Arduino Uno R4 WiFi. Its 32-bit Renesas RA4M1 chip handles complex hysteresis logic effortlessly, and the integrated ESP32-S3 allows you to push sensor data to Home Assistant or MQTT brokers without needing cumbersome add-on shields.
Project 1: Smart Relay-Controlled Desk Lamp
The foundational skill of home automation is switching high-voltage AC appliances using low-voltage DC logic. We will use a 5V relay module to control a standard desk lamp based on a schedule or ambient light sensor.
Component List
- 5V Relay Module (Songle SRD-05VDC-SL-C)
- Photoresistor (LDR) + 10kΩ pull-down resistor
- Standard AC Desk Lamp
The 'JD-VCC' Isolation Trick (Crucial E-E-A-T Insight)
Most cheap 5V relay modules on the market feature a jumper labeled JD-VCC. By default, this jumper bridges the relay's coil power to the Arduino's 5V rail. When the relay coil de-energizes, it creates a back-EMF voltage spike. Even with a flyback diode, this spike can leak through the optocoupler and reset your Arduino.
The Fix: Remove the JD-VCC jumper. Wire the JD-VCC pin to a separate 5V power supply, and connect the module's VCC to the Arduino's 5V. This fully isolates the high-current relay coil from your microcontroller's sensitive logic circuits.
Project 2: Automated Plant Watering System
Automating irrigation requires reading environmental data and triggering a water pump. However, the most common mistake beginners make is using the wrong soil moisture sensor.
Capacitive vs. Resistive Sensors
Do not use the cheap, nickel-plated resistive soil sensors (the ones with two exposed prongs). Passing DC current through wet soil causes rapid electrolysis, corroding the prongs into uselessness within 14 days. Instead, purchase a Capacitive Soil Moisture Sensor v1.2 (approx. $3.50). It measures the dielectric permittivity of the soil through a conformal coating, meaning no exposed metal touches the dirt.
Implementing Hysteresis in Code
If you set a single threshold (e.g., 'turn on pump if moisture < 40%'), the pump will rapidly chatter on and off as the water briefly hits the sensor. You must implement hysteresis:
- Lower Threshold: Turn pump ON when moisture drops below 30%.
- Upper Threshold: Turn pump OFF only when moisture exceeds 60%.
This deadband prevents relay wear and ensures deep, effective watering cycles.
Project 3: PIR-Triggered Hallway Nightlight
Motion-activated lighting is a staple of smart homes. The HC-SR501 Passive Infrared (PIR) sensor detects changes in thermal signatures, making it perfect for triggering a low-voltage LED strip in a dark hallway.
Calibration and Debouncing
The HC-SR501 has two onboard potentiometers: one for sensitivity and one for delay time. A hidden quirk of the BISS0001 chip inside the PIR module is that it requires a 30 to 60-second calibration period upon booting to map the ambient thermal baseline of the room. If your code triggers the light immediately on startup, it is because you interrupted this calibration. Add a simple delay(40000); in your setup() function to let the sensor settle.
Project 4: Climate-Activated Ceiling Fan Controller
Instead of relying on a dumb thermostat, you can build a localized climate controller that triggers a DC exhaust fan or a relay-controlled ceiling fan when the room gets too humid or hot.
Sensor Selection: BME280 over DHT11
Beginners often default to the blue DHT11 sensor. It is inaccurate, slow (2-second sampling rate), and fails in high humidity. Upgrade to the Bosch BME280 (I2C version, approx. $8.00). It measures temperature, humidity, and barometric pressure with laboratory-grade precision and communicates via the I2C bus, saving you digital I/O pins.
Wiring the I2C Bus
Connect the BME280's SDA and SCL pins to the Arduino's dedicated I2C lines. On the Uno R4 WiFi, these are clearly marked. Ensure you use 4.7kΩ pull-up resistors on the SDA and SCL lines if your breakout board doesn't include them, ensuring clean signal edges over longer wire runs.
Project 5: RFID Smart Door Lock Prototype
For interior doors or secure cabinet locks, an RFID system offers keyless entry without the need for complex network authentication.
Component List
- MFRC522 RFID Reader Module
- MIFARE Classic 1K RFID Fobs
- 12V Solenoid Door Lock
- Logic Level Shifter (BSS138)
The 3.3V Logic Warning
The MFRC522 chip operates strictly at 3.3V. The Arduino Uno R4 WiFi has a 3.3V output pin, which is perfect for powering the module. However, the SPI data lines (MOSI, MISO, SCK) on older 5V Arduinos output 5V logic. Feeding 5V into the RC522's data pins will degrade the silicon over time, leading to read failures. Always use a bidirectional logic level shifter like the BSS138 when interfacing 5V microcontrollers with 3.3V SPI peripherals.
Furthermore, never power the 12V solenoid lock from the Arduino's VIN or 5V pin. The lock draws up to 1.2A upon activation, which will instantly fry the board's voltage regulator. Use a dedicated 12V power supply and switch it via a logic-level N-Channel MOSFET (like the IRLZ44N).
Crucial Safety and Wiring Standards
When transitioning from breadboard prototypes to permanent home installations, safety is paramount. According to the NFPA 70: National Electrical Code (NEC), specifically Article 725, low-voltage control circuits (Class 2) must be physically separated from high-voltage mains wiring to prevent arcing and fire hazards.
Installation Best Practices
- Enclosures: Never leave mains-voltage relay wiring exposed. Use NEMA-rated ABS project boxes with proper cable glands.
- Wire Gauge: Use 18 AWG or thicker for AC mains connections to the relay's Common (COM) and Normally Open (NO) terminals.
- Fusing: Always place an inline glass fuse (rated slightly above your load's maximum draw) on the AC hot wire before it enters your project enclosure.
Conclusion
Building arduino projects for beginners in the home automation space is about bridging the gap between digital logic and physical environments. By mastering relay isolation, understanding sensor degradation, and respecting electrical codes, you move past simple tinkering and start engineering reliable smart home infrastructure. Start with the PIR nightlight to build confidence, then scale up to the BME280 climate controller and RFID locks as your wiring skills evolve.