
Why Sensor-Driven Projects Dominate 2026 Engineering Portfolios
In the current landscape of embedded systems, simply blinking an LED or reading a basic potentiometer no longer suffices for university-level engineering portfolios. Recruiters and graduate admissions committees in 2026 expect to see robust, sensor-driven architectures that solve real-world physical problems. For electrical and mechanical engineering students, mastering sensor fusion, signal conditioning, and I2C/SPI bus management is critical. This guide details three advanced, sensor-heavy Arduino projects that bridge the gap between academic theory and industrial application.
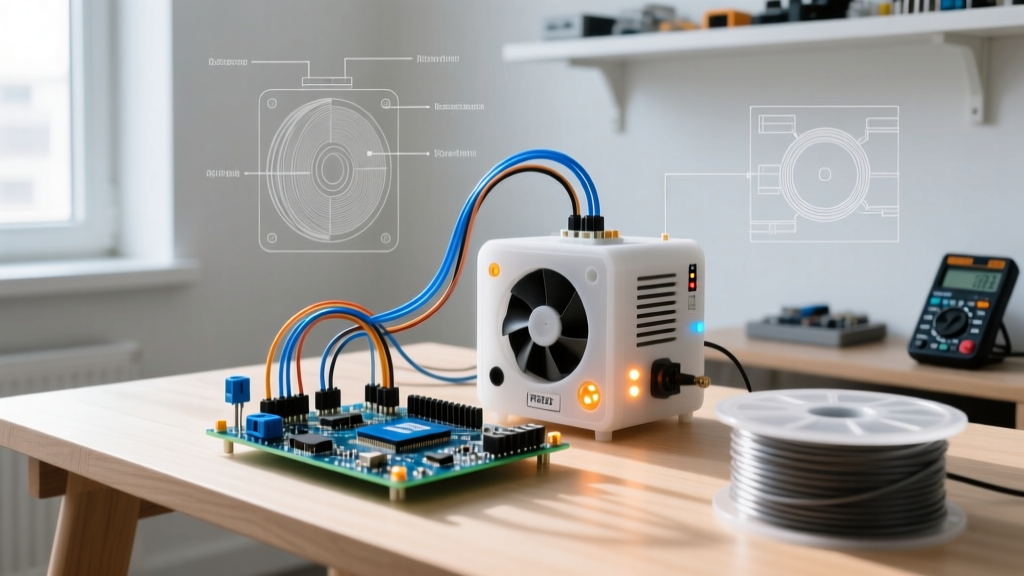
Project 1: Multi-Gas Environmental IoT Node (BME680)
Air quality monitoring requires more than just temperature and humidity. The Bosch BME680 integrates a metal-oxide (MOX) gas sensor to detect Volatile Organic Compounds (VOCs), alongside a barometric pressure sensor. According to the official Bosch Sensortec documentation, the BME680's gas sensor measures changes in resistance caused by VOC absorption, providing an Indoor Air Quality (IAQ) index.
Hardware Bill of Materials (BOM) & Costs
- MCU: Arduino Nano 33 IoT ($12.50) – Chosen for its built-in WiFi (NINA-W102) and 3.3V logic, which matches the BME680 natively without level shifters.
- Sensor: Adafruit BME680 Breakout ($19.95).
- Passives: Two 4.7kΩ pull-up resistors ($0.10).
Wiring Nuances and Edge Cases
While the Arduino Wire library handles I2C communication seamlessly, hardware engineers must account for bus capacitance. The BME680 breakout typically includes onboard pull-ups, but if you are designing a custom PCB or daisy-chaining multiple sensors on the same I2C bus, the trace capacitance can degrade the signal edges.
Pro-Tip: If your I2C bus hangs or returns 0xFF on the serial monitor, check your pull-up resistor network. For a bus capacitance under 200pF, 4.7kΩ resistors to the 3.3V rail are mandatory. Furthermore, the MOX gas sensor requires a continuous 48-hour 'burn-in' period upon first power-up to stabilize the baseline resistance.Sensor Selection Matrix: VOC and Environmental Sensing
Choosing the right environmental sensor dictates your firmware architecture and power budget. Below is a comparison of popular sensors for student projects:
| Sensor Model | Interface | VOC Detection Method | Approx. Cost | Burn-in Time |
|---|---|---|---|---|
| Bosch BME680 | I2C / SPI | MOX Resistance | $19.95 | 48 Hours |
| AMS CCS811 | I2C | MOX (eCO2/eTVOC) | $14.50 | 48 Hours (48min fast mode) |
| Sensirion SGP30 | I2C | Multi-Pixel MOX | $11.99 | 15 Seconds |
| Sensirion SCD41 | I2C | NDIR (True CO2) | $29.95 | None (Requires 3min startup) |
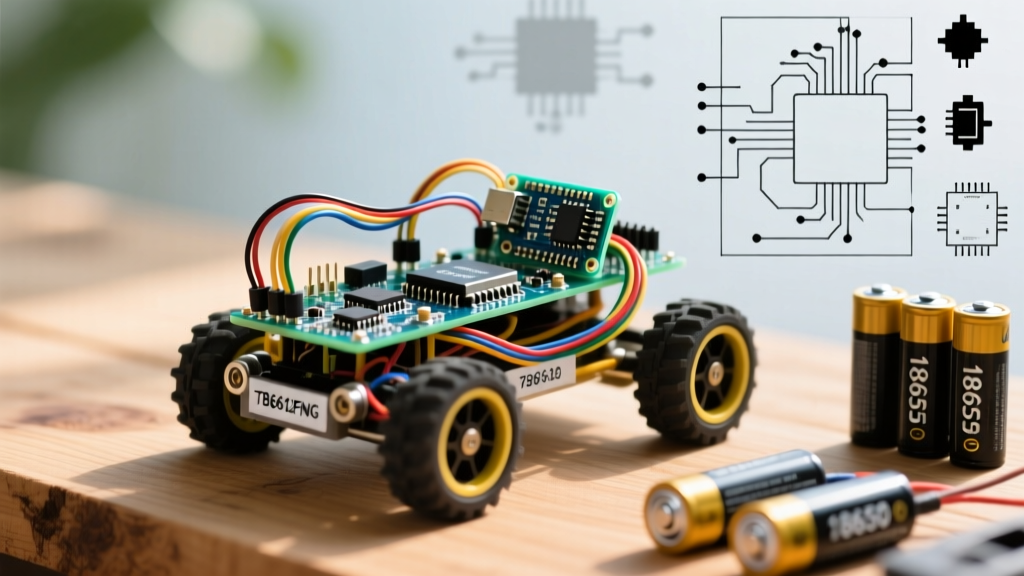
Project 2: Autonomous LiDAR-Mapped Rover (LiDAR-Lite v3)
Ultrasonic sensors (like the HC-SR04) are insufficient for high-speed autonomous navigation due to their wide beam angle (15°) and slow update rates. Engineering students building autonomous rovers should upgrade to optical Time-of-Flight (ToF) LiDAR. The Garmin LiDAR-Lite v3 offers a 1° beam divergence and a 40-meter range.
Power Delivery and Signal Conditioning
The most common failure mode when integrating the LiDAR-Lite v3 with an Arduino Mega 2560 or Due is voltage sag during the laser pulse emission. The SparkFun LiDAR-Lite v3 Hookup Guide explicitly warns about current spikes.
- Decoupling Capacitor: You must solder a 680µF electrolytic capacitor directly across the VCC and GND pins of the sensor. This acts as a local energy reservoir to handle the 130mA peak current draw during the laser firing cycle.
- I2C Speed: Configure the Arduino Wire clock speed to 400kHz using
Wire.setClock(400000);to maximize the sampling rate (up to 500Hz). - Power Mode Control: Use the sensor's Power Management register to put the device to sleep between measurements if your rover is battery-constrained, reducing quiescent current from 85mA to under 1mA.
Project 3: Industrial Water Quality Telemetry (Atlas Scientific)
For chemical or environmental engineering students, building a multi-parameter water quality sonde is a capstone-level project. Consumer-grade analog pH sensors suffer from severe op-amp drift and noise. The professional approach utilizes digital sensor stamps, such as the Atlas Scientific EZO pH and EZO TDS circuits.
Calibration Protocols and UART vs. I2C
Atlas Scientific circuits support both UART and I2C. For a multi-sensor setup on an Arduino Uno R4 WiFi, I2C is preferred to save hardware serial ports. Each EZO circuit has a default I2C address (e.g., 99 for pH, 100 for TDS), which must be reconfigured via UART commands before deploying them on the shared bus.
- pH Calibration: Requires a strict 3-point calibration using pH 4.0, 7.0, and 10.0 NIST-traceable buffer solutions. The firmware must send the
Cal,mid,7.00command, wait for stabilization, and proceed to the low and high points. - TDS Calibration: Requires a standard reference solution (e.g., 84µS/cm). The EZO TDS circuit converts conductivity to Total Dissolved Solids based on a user-defined conversion factor (typically 0.5 to 0.7 depending on the dissolved ion profile).
- Electrode Fouling: In continuous deployment, bio-film builds up on the pH glass bulb. Implement a firmware timer that alerts the user to clean the probe with a mild enzymatic solution every 14 days to prevent a logarithmic decay in response time.
Troubleshooting Sensor-Driven Architectures
When integrating multiple sensors, engineering students frequently encounter bus contention and memory fragmentation. Follow these debugging frameworks:
1. The I2C Scanner Diagnostic
Before writing application logic, always run an I2C scanner sketch. If a sensor drops off the bus during operation, it is usually a thermal issue or a loose Dupont connector. For permanent prototypes, transition from breadboards to soldered perfboards or custom PCBs immediately.
2. Memory Management in Arduino C++
Libraries for complex sensors (like the BSEC library for the BME680) consume significant SRAM. On an ATmega328P (2KB SRAM), this can lead to stack overflows. Engineering students should utilize the PROGMEM keyword for static lookup tables and monitor free RAM using custom heap-checking functions during the development phase.
Conclusion
Transitioning from basic microcontroller tutorials to advanced sensor-driven architectures is the defining step in an engineering student's academic career. By mastering the BME680 for environmental telemetry, the LiDAR-Lite v3 for optical navigation, and Atlas Scientific circuits for chemical analysis, you build a portfolio that demonstrates rigorous hardware integration, signal conditioning, and real-world problem-solving capabilities expected in the 2026 engineering job market.