
Beyond the Blink: Stepping into the IoT Ecosystem
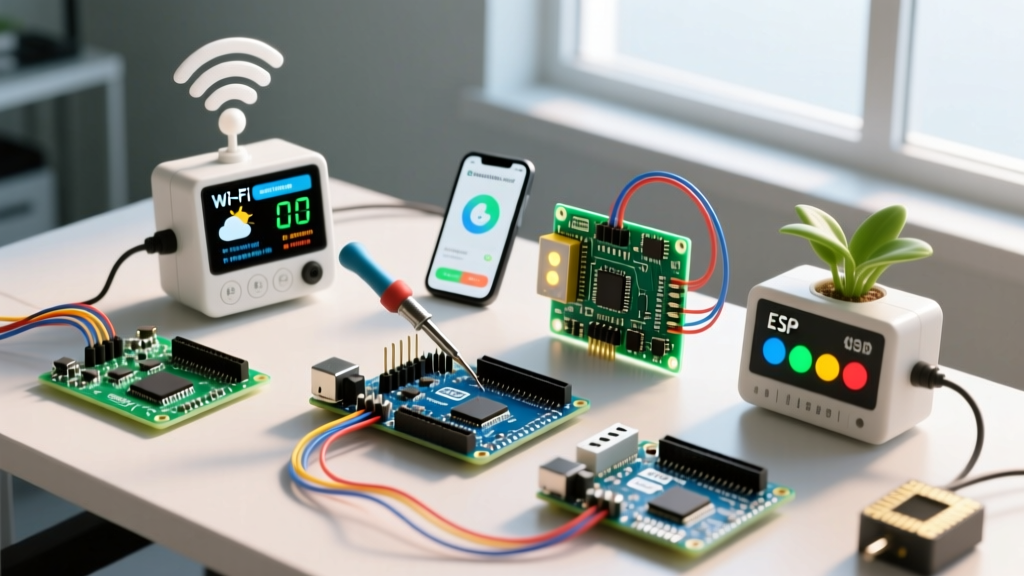
Moving from blinking an onboard LED to transmitting telemetry data over Wi-Fi is the most exciting leap a microcontroller hobbyist can make. The Internet of Things (IoT) transforms standalone circuits into intelligent, remote-monitorable nodes. If you are searching for practical Arduino project ideas for beginners that bridge the gap between basic electronics and modern cloud connectivity, you are in the right place.
In 2026, the barrier to entry for IoT has never been lower. With the maturation of the Arduino IoT Cloud and the ubiquitous availability of low-cost Wi-Fi SoCs, you no longer need a computer science degree to provision a secure MQTT endpoint or log sensor data to a cloud dashboard. Below, we detail five highly actionable, connected builds designed specifically for beginners, complete with exact component models, wiring nuances, and real-world failure modes.
The 2026 IoT Hardware Matrix
Before soldering headers, you need the right silicon. While the classic Arduino Uno R3 is fantastic for learning basic I/O, it lacks native wireless radios. For IoT, we rely on microcontrollers with integrated Wi-Fi/BLE. Here is the definitive beginner hardware stack for this year:
| Component | Exact Model / Version | Avg. Price | Best Use Case |
|---|---|---|---|
| Primary MCU | ESP32 DevKit V1 (30-pin, CP2102) | $6.50 | High-processing Wi-Fi/BLE nodes, TLS encryption |
| Alternative MCU | Arduino Nano 33 IoT (ATSAMD21 + NINA-W10) | $21.00 | Native Arduino Cloud plug-and-play, 5V tolerant I/O |
| Environment Sensor | Bosch BME280 (I2C Breakout) | $4.50 | High-accuracy Temp/Humidity/Pressure logging |
| Actuator | 5V 1-Channel Relay (Optocoupled) | $2.00 | Safe switching of DC loads or isolated AC triggers |
| Power Buffer | 100µF Electrolytic Capacitor (16V) | $0.10 | Preventing brownouts during Wi-Fi TX spikes |
5 Connected IoT Arduino Project Ideas for Beginners
1. Wi-Fi Indoor Climate Telemetry Logger
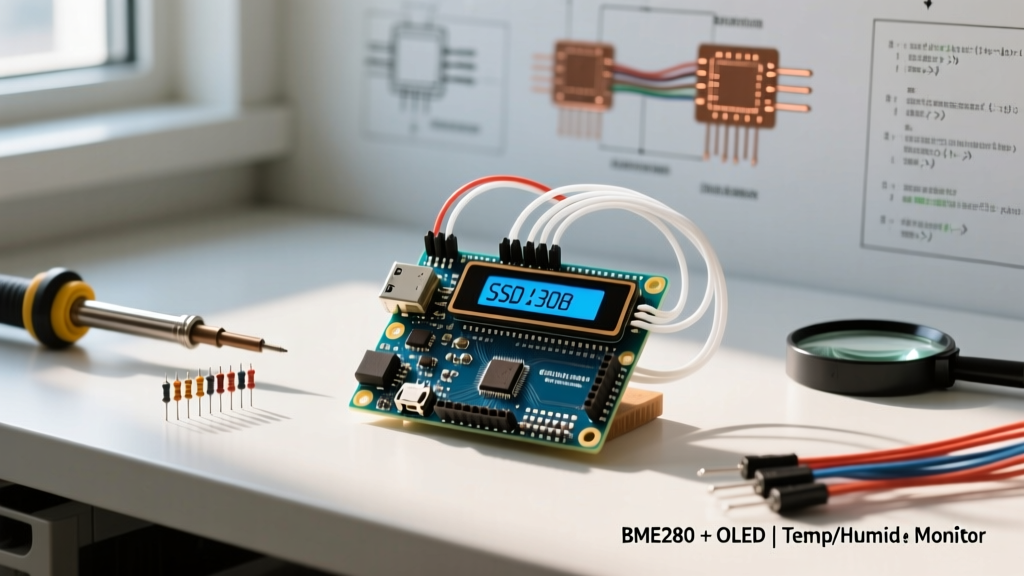
The "Hello World" of IoT is reading a sensor and pushing the data to a dashboard. Instead of the notoriously inaccurate DHT11, use the Bosch BME280. It communicates via I2C and offers professional-grade stability.
- The Build: Wire the BME280 VCC to 3.3V, GND to GND, SDA to GPIO 21, and SCL to GPIO 22 on the ESP32.
- Expert Nuance: Cheap clone BME280 modules often lack onboard I2C pull-up resistors. If your I2C scanner returns no devices, solder 4.7kΩ pull-up resistors between the SDA/SCL lines and 3.3V.
- Cloud Integration: Use the ArduinoIoTCloud library to push temperature and humidity variables to a dashboard every 60 seconds.
2. MQTT-Controlled Smart Relay Box (DC Safe)
Smart plugs are a staple of home automation. However, beginners should never wire 120V/230V AC mains on their first IoT build. Instead, build a smart relay controller for a 12V DC LED strip or a 5V USB cooling fan.
- The Build: Connect the relay module's IN pin to ESP32 GPIO 26. Power the relay VCC with 5V from the ESP32's VIN pin (if USB powered).
- Protocol: Implement the MQTT protocol using the PubSubClient library. Subscribe to a topic like
home/office/desklight/set. - Failure Mode: When the ESP32 boots, GPIO pins can float, causing the relay to chatter or trigger momentarily. Fix this by adding a 10kΩ pull-down resistor between GPIO 26 and GND.
3. Cloud-Connected Capacitive Soil Monitor
Keep your houseplants alive by monitoring soil moisture and triggering a Telegram alert when the plant needs water.
- Crucial Component Choice: Do not buy the cheap, nickel-plated resistive soil sensors. They will corrode and fail within 72 hours due to electrolysis. Buy the Capacitive Soil Moisture Sensor v1.2. It uses a 555 timer circuit to measure dielectric permittivity without passing DC current through the soil.
- Calibration: The analog output is inverted. Dry air reads ~2.8V (ADC value ~2800 on ESP32), while submerged in water reads ~1.2V (ADC value ~1100). Map these values in your code to a 0-100% scale.
4. Telegram-Bot Triggered Desk Lamp
Instead of building a custom mobile app, leverage existing APIs. You can create a Telegram Bot via the BotFather and use it to control your ESP32 over the internet.
- The Build: Use the
UniversalTelegramBotlibrary alongsideWiFiClientSecure. - Expert Nuance: TLS 1.2 handshakes require significant RAM. The older ESP8266 often crashes with a "Soft WDT reset" during SSL negotiation. The ESP32 has 520KB of SRAM and a dedicated cryptographic accelerator, making it the mandatory choice for secure HTTPS/Telegram API calls in 2026.
5. Ultrasonic Water Tank Level Telemetry
Monitor your rain barrel or RV water tank remotely. Standard HC-SR04 ultrasonic sensors will die quickly in humid, enclosed tanks.
- The Upgrade: Use the JSN-SR04T waterproof ultrasonic sensor. It separates the transducer from the logic board, allowing you to mount the board in a dry enclosure while only the waterproof probe enters the tank.
- Physics Edge Case: The speed of sound changes with temperature. For a tank deeper than 100cm, integrate a DS18B20 waterproof temperature probe and apply the formula:
distance = (duration * 0.0343 * (1 + (tempC / 273.15))) / 2to maintain accuracy within 1cm.
Pro-Troubleshooting: IoT Failure Modes
The Brownout Detector Trap: The most common reason an ESP32 fails to connect to Wi-Fi is not bad code; it is a power starvation issue. When the Wi-Fi radio transmits, it draws a spike of up to 250mA. If your USB cable or breadboard power rails have high resistance, the voltage drops below 2.4V, triggering the ESP32's internal brownout detector and causing a continuous reboot loop. Fix: Always solder a 100µF electrolytic capacitor directly across the 3.3V and GND pins on the ESP32 dev board to act as a local energy reservoir.
Handling Wi-Fi Disconnects Gracefully
IoT devices must be autonomous. If your router reboots, your Arduino shouldn't become a paperweight. Always implement non-blocking reconnection logic:
if (WiFi.status() != WL_CONNECTED) {
  WiFi.disconnect();
  WiFi.reconnect();
  delay(5000); // Non-blocking alternative preferred in production
}
For production-grade reliability, use a state machine or the WiFi.setAutoReconnect(true) function native to the ESP32 Arduino core.
Frequently Asked Questions
Do I need to know Python or backend coding for these projects?
No. While knowing Python helps if you want to build a custom Raspberry Pi MQTT broker, beginners can rely entirely on managed services. Arduino IoT Cloud, Blynk, and Adafruit IO offer drag-and-drop dashboards and handle the backend database provisioning for you.
Is it safe to leave these DIY IoT devices running 24/7?
Yes, provided you follow basic electrical safety. Never use cheap, unbranded 5V USB wall adapters, as they often lack over-current protection and isolation transformers. Always power your IoT nodes with UL-listed or CE-certified power supplies, and use inline polyfuses (PTC resettable fuses) on your breadboard power rails for added fire safety.