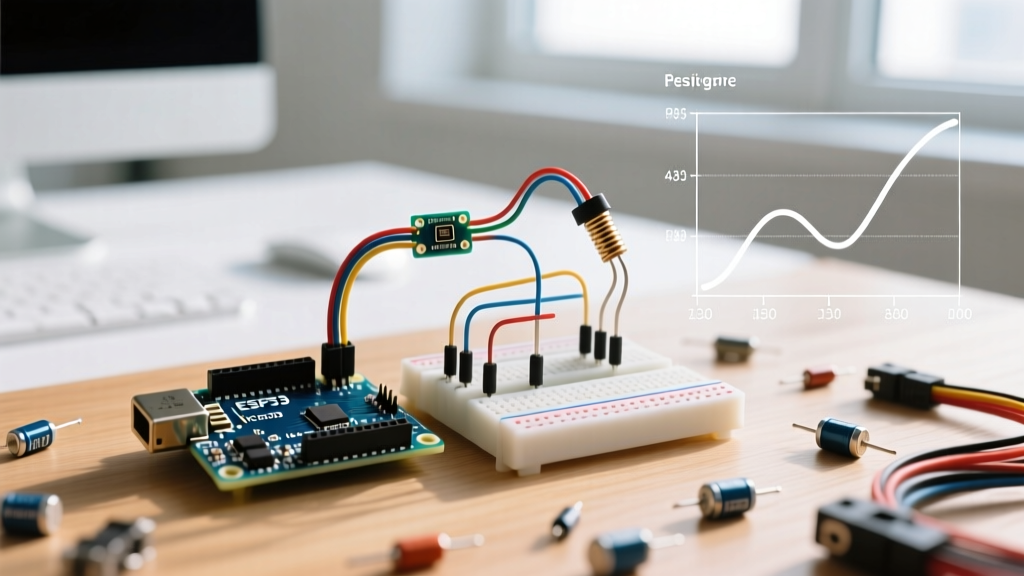

Decoding the Datasheet: The Physics of Flex Sensors
Most hobbyist tutorials treat a bend sensor Arduino integration as a trivial analogRead() exercise. You wire it to an analog pin, read the value, and map it to a servo angle. However, when you transition from blinking LEDs to engineering a robotic gripper, an animatronic joint, or a wearable rehabilitation device, ignoring the manufacturer's datasheet leads to erratic readings, thermal drift, and mechanical failure.
This datasheet explainer breaks down the industry-standard 4.5-inch carbon-ink flex sensor (such as the Spectra Symbol FLX-4.5 series) to show you how to extract precision data. As of 2026, genuine sensors in this class retail between $14.00 and $18.00 USD, making them a significant investment for multi-joint arrays. Understanding the electrical and mechanical limits documented in the datasheet is critical to protecting that investment and achieving reliable telemetry.
Core Electrical Specifications
The fundamental operating principle of a flex sensor is a conductive polymer or carbon-ink trace deposited on a flexible substrate. As the substrate bends, the conductive particles are pulled apart, increasing the electrical resistance. According to the SparkFun Flex Sensor Hookup Guide and manufacturer datasheets, the resistance curve is non-linear and highly dependent on environmental factors.
| Parameter | Min | Typical | Max | Unit |
|---|---|---|---|---|
| Flat Resistance (0°) | 10 | 25 | 40 | kΩ |
| Bent Resistance (180°) | 60 | 80 | 110 | kΩ |
| Power Rating | - | - | 0.50 | Watts |
| Operating Temperature | -35 | 25 | 80 | °C |
| Life Cycle (45° bends) | - | 1,000,000 | - | Cycles |
The Tolerance Trap
Notice the wide variance in the "Flat Resistance" parameter (10kΩ to 40kΩ). This is a critical datasheet detail that beginners miss. If you hardcode a baseline value of 10,000 ohms in your firmware, but your specific sensor batch measures 32,000 ohms at rest, your entire mapping scale will be skewed. Always implement a software calibration routine on boot that samples the sensor in its neutral state to establish a dynamic baseline.
Optimizing Your Bend Sensor Arduino Circuit for 3.3V Logic
Microcontrollers cannot measure resistance directly; they measure voltage. To convert the flex sensor's variable resistance into a readable voltage, you must build a voltage divider circuit. While legacy 5V boards like the Arduino Uno R3 are still common, modern 2026 development environments heavily favor 3.3V logic boards like the Arduino Nano ESP32 or the Raspberry Pi Pico 2.
Calculating the Pull-Down Resistor
The standard voltage divider formula is:
V_out = V_in * (R_static / (R_flex + R_static))
To maximize the voltage swing (and therefore the ADC resolution) across the sensor's usable range, the static pull-down resistor ($R_{static}$) should be the geometric mean of the minimum and maximum resistance values:
- R_min (Flat): ~25,000 Ω
- R_max (Bent): ~100,000 Ω
- Ideal R_static: √(25,000 * 100,000) = 50,000 Ω
A standard 47kΩ resistor is the optimal choice. Using the common 10kΩ resistor found in beginner kits will result in a severely compressed voltage range on a 3.3V system, wasting the majority of your ADC's bit-depth and amplifying noise.
Hardware Pro-Tip: To eliminate high-frequency ADC jitter caused by electromagnetic interference (EMI) from nearby servos or Wi-Fi antennas, add a 100nF ceramic capacitor in parallel with the 47kΩ pull-down resistor. This creates a hardware RC low-pass filter with a cutoff frequency of roughly 33Hz, smoothing the signal before it even reaches the microcontroller.
Mechanical Realities: Hysteresis and Creep
The datasheet outlines two mechanical failure modes that dictate how you must write your filtering algorithms: Hysteresis and Creep.
1. Hysteresis (The Return Path Error)
When you bend the sensor to 90° and release it, the resistance on the return path will not perfectly match the resistance on the bending path. Carbon-ink polymers exhibit a hysteresis error of roughly 5% to 10%. If your application requires absolute positional accuracy (e.g., a surgical robot arm), a flex sensor is the wrong component; you need an optical or magnetic rotary encoder. Flex sensors are best suited for relative gesture recognition or soft-robotic feedback where 5% variance is acceptable.
2. Creep (Resistance Drift Under Load)
If you hold the sensor at a static 90° angle for 30 seconds, the resistance will slowly drift upward. The conductive polymer matrix physically relaxes under sustained mechanical strain. If your firmware relies on static thresholds to trigger an action, creep will cause false triggers over time. Implement a derivative-based filter (measuring the rate of change rather than absolute position) to detect active gestures while ignoring slow, static drift.
Physical Mounting and Edge Cases
The most common point of failure for a bend sensor Arduino project is not electrical, but mechanical. The silver traces at the base of the sensor (where the flexible substrate meets the rigid connector pins) are highly susceptible to delamination.
- Never use Cyanoacrylate (Super Glue): The solvents in super glue will degrade the polymer substrate and dissolve the conductive ink.
- Avoid Direct Soldering: The heat from a soldering iron will melt the polyester substrate. Use a 2-pin female JST connector or crimp terminals.
- Proper Strain Relief: Clamp only the rigid tab at the very base of the sensor. Use 3D-printed TPU (Thermoplastic Polyurethane) channels or Kapton tape to secure the active bending zone without pinching the carbon traces.
Firmware Implementation: 12-Bit ADC and EMA Filtering
When using a modern 32-bit board like the Arduino Nano ESP32, you have access to a 12-bit ADC (0-4095), compared to the 10-bit ADC (0-1023) of older 8-bit boards. However, the ESP32's ADC is notoriously non-linear at the extreme high and low voltage rails. According to the Arduino Nano ESP32 Cheat Sheet, it is best practice to keep your analog readings between 10% and 90% of the voltage rail to ensure accuracy.
Below is a production-ready C++ snippet utilizing an Exponential Moving Average (EMA) filter. EMA is preferred over a standard rolling average for flex sensors because it requires minimal RAM and responds faster to sudden gesture spikes while ignoring thermal noise.
// Bend Sensor Arduino EMA Filter Implementation
const int FLEX_PIN = A0;
const float EMA_ALPHA = 0.15; // Lower = smoother but more latency
float filteredValue = 0;
int baselineFlat = 0;

void calibrateSensor() {
  long sum = 0;
  for(int i = 0; i < 50; i++) {
    sum += analogRead(FLEX_PIN);
    delay(10);
  }
  baselineFlat = sum / 50;
  filteredValue = baselineFlat;
}

void setup() {
  Serial.begin(115200);
  analogReadResolution(12); // Set ESP32 to 12-bit (0-4095)
  pinMode(FLEX_PIN, INPUT);
  calibrateSensor();
}

void loop() {
  int rawValue = analogRead(FLEX_PIN);

  // Apply Exponential Moving Average
  filteredValue = (EMA_ALPHA * rawValue) + ((1.0 - EMA_ALPHA) * filteredValue);

  // Map the filtered 12-bit value to a 0-100 bend percentage
  // Assuming max bent ADC reading is roughly 3200 based on voltage divider math
  int bendPercent = map((int)filteredValue, baselineFlat, 3200, 0, 100);
  bendPercent = constrain(bendPercent, 0, 100);

  Serial.print("Raw: ");
  Serial.print(rawValue);
  Serial.print(" | Filtered: ");
  Serial.print(filteredValue);
  Serial.print(" | Bend %: ");
  Serial.println(bendPercent);

  delay(20);
}
Summary: Designing for Production
Treating a flex sensor as a simple variable resistor is a recipe for prototype frustration. By reading the datasheet, you understand that the wide resistance tolerance demands boot-time calibration, the polymer physics require EMA filtering to combat hysteresis, and the mechanical limits dictate careful TPU-based mounting. When you align your bend sensor Arduino hardware design and firmware logic with the actual physical properties of the component, you transform a finicky hobbyist part into a reliable, production-grade input device.