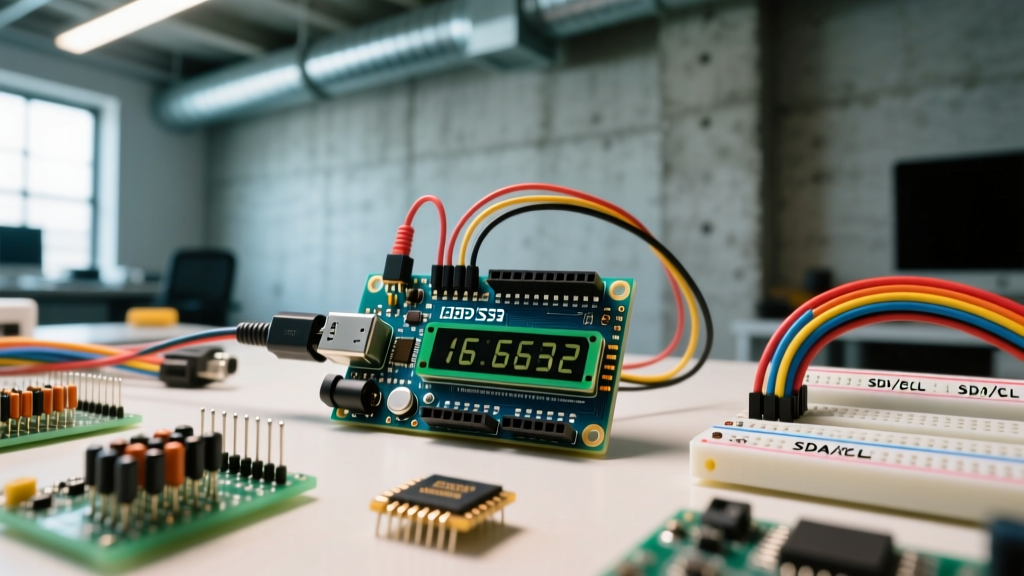
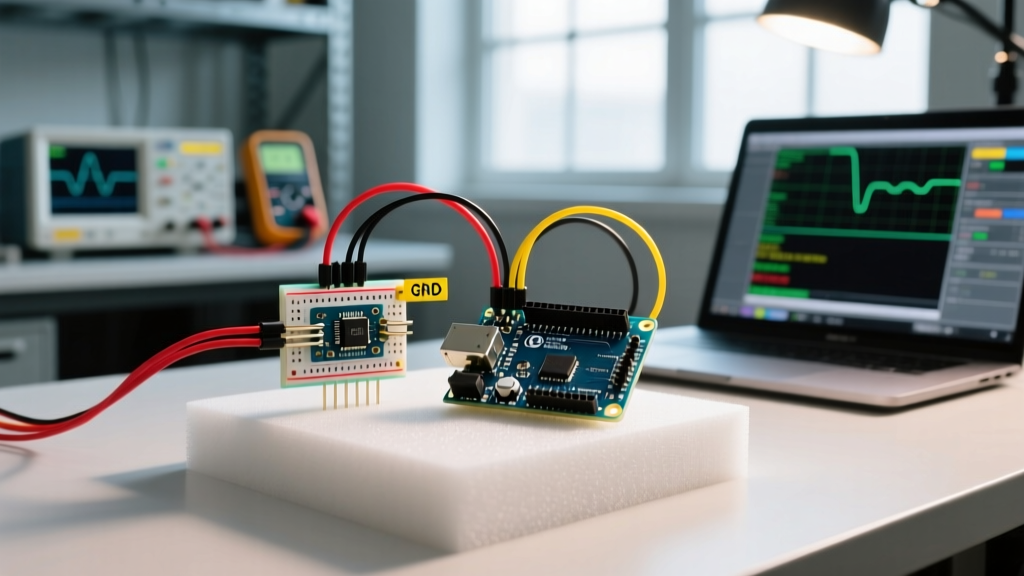
If you are building a battery-powered IoT node in 2026, the ESP32-C3 Mini is arguably the best price-to-performance microcontroller on the bench. It pairs a single-core 160 MHz RISC-V processor with native Wi-Fi 4 and Bluetooth 5 (LE), all while pulling under 5 µA in deep sleep. Unlike the dual-core ESP32-S3, the C3 drops classic Bluetooth and PSRAM to slash costs and power consumption, making it purpose-built for periodic sensor telemetry.
This guide walks through building a deep-sleep BLE temperature beacon. We will cover the critical hardware differences between the popular C3 Mini variants, provide a complete pin mapping, deliver production-ready NimBLE firmware, and troubleshoot the most notorious upload errors that brick beginner projects.
ESP32-C3 Mini Variants: SuperMini vs. Lolin vs. XIAO
Not all "C3 Mini" boards are wired the same. The biggest trap for embedded developers is assuming the USB-C port behaves identically across variants. Some use a dedicated UART bridge chip, while others route the USB data lines directly to the ESP32-C3's native USB pins (GPIO18/GPIO19). Here is how the three dominant boards on the market compare.
| Feature | Generic SuperMini C3 | Wemos Lolin C3 Mini | Seeed Studio XIAO C3 |
|---|---|---|---|
| USB Interface | CH340 UART Bridge | CH340 UART Bridge | Native USB (No Bridge) |
| USB Pins Used | GPIO20/21 (UART0) | GPIO20/21 (UART0) | GPIO18/19 (Native) |
| Boot Button | Yes (GPIO9) | Yes (GPIO9) | No (Must jumper pads) |
| Onboard LED | GPIO8 (RGB or Blue) | GPIO7 (Blue) | None (User RGB on exp) |
| Approx. Price (2026) | $3.50 | $4.50 | $6.00 |
| Best For | Budget sensor nodes | Breadboard prototyping | Wearable/Tiny enclosures |
Parts List & Pin Mapping for BLE Sensor Node
This build targets the Generic SuperMini ESP32-C3 and the Wemos Lolin C3 Mini. Both utilize the CH340 UART bridge, meaning standard serial upload procedures apply. We are pairing it with an SHT40 I2C temperature/humidity sensor for high accuracy and low quiescent current.
Bill of Materials
- MCU: ESP32-C3 SuperMini or Wemos Lolin C3 Mini (ESP32 Arduino Core v3.0+)
- Sensor: Adafruit SHT40 (or generic breakout with 3.3V logic)
- Power: 3.7V LiPo Battery (e.g., 500mAh 602040) + JST connector
- Passives: 10kΩ resistor (for battery ADC voltage divider), 0.1µF decoupling capacitor
Pin Mapping Table
| Component | Sensor/Module Pin | ESP32-C3 Mini GPIO | Notes |
|---|---|---|---|
| SHT40 | VIN / VCC | 3V3 | Do not use 5V pin for deep sleep (LDO quiescent draw) |
| SHT40 | GND | GND | Common ground |
| SHT40 | SDA | GPIO 6 | I2C Data (Internal pull-up enabled in code) |
| SHT40 | SCL | GPIO 7 | I2C Clock |
| Battery | Positive (via 10k divider) | GPIO 0 | ADC1 channel. Max 2.5V input on C3 ADC! |
| Status LED | Anode (via 330Ω) | GPIO 8 | Active LOW on most SuperMini boards |
Complete Firmware: Deep Sleep BLE Beacon
The ESP32-C3 does not support Classic Bluetooth (BR/EDR). You must use a BLE stack. We use the NimBLE-Arduino library because it consumes significantly less RAM and power than the legacy Bluedroid stack. The code below reads the SHT40, broadcasts the data via a BLE Manufacturer Data advertisement, and immediately enters deep sleep.
Target Board Variant: Generic SuperMini / Lolin C3 Mini (UART Upload). Requires NimBLE-Arduino and Adafruit SHT4X libraries.
#include <Wire.h>
#include <Adafruit_SHT4x.h>
#include <NimBLEDevice.h>
#include <esp_sleep.h>

// --- PIN DEFINITIONS ---
#define I2C_SDA_PIN   6
#define I2C_SCL_PIN   7
#define LED_PIN       8
#define VBAT_ADC_PIN  0

// --- TIMING & CONFIG ---
#define SLEEP_DURATION_SEC 300  // 5 minutes
#define BLE_ADV_TIME_SEC   5    // Advertise for 5 seconds then sleep

Adafruit_SHT4x sht4 = Adafruit_SHT4x();
NimBLEAdvertising *pAdvertising;

void setup() {
  // Initialize serial for debugging (UART0 via CH340)
  Serial.begin(115200);
  delay(500); // Allow USB-Serial bridge to enumerate

  pinMode(LED_PIN, OUTPUT);
  digitalWrite(LED_PIN, LOW); // Turn ON LED (Active LOW on SuperMini)

  // 1. Initialize I2C and Sensor
  Wire.begin(I2C_SDA_PIN, I2C_SCL_PIN);
  if (!sht4.begin()) {
    Serial.println("FATAL: SHT40 not found. Check I2C wiring.");
    // Blink LED to indicate hardware fault, then sleep to save battery
    for(int i=0; i<5; i++) { digitalWrite(LED_PIN, HIGH); delay(100); digitalWrite(LED_PIN, LOW); delay(100); }
    goToSleep();
  }

  // 2. Read Sensor Data
  sensors_event_t humidity, temp;
  sht4.getEvent(&humidity, &temp);

  float t = temp.temperature;
  float h = humidity.relative_humidity;
  Serial.printf("Temp: %.2f C, Hum: %.2f %%\n", t, h);

  // 3. Read Battery Voltage (Assuming 50% voltage divider)
  // ESP32-C3 ADC is 12-bit (0-4095) but max input is ~2.5V
  int raw_adc = analogRead(VBAT_ADC_PIN);
  float vbat = (raw_adc / 4095.0) * 2.5 * 2.0; // *2 for divider
  Serial.printf("Battery: %.2f V\n", vbat);

  // 4. Setup BLE Advertisement
  NimBLEDevice::init("C3-Sensor-Node");
  NimBLEDevice::setPower(ESP_PWR_LVL_N0); // 0dBm to save power
  pAdvertising = NimBLEDevice::getAdvertising();

  // Pack data into Manufacturer Specific Data (0xFF)
  uint8_t mfg_data[7];
  mfg_data[0] = 0xFF; // Company ID LSB (0xFFFF for test/hobby)
  mfg_data[1] = 0xFF; // Company ID MSB
  mfg_data[2] = (uint8_t)t; // Temp integer
  mfg_data[3] = (uint8_t)h; // Hum integer
  mfg_data[4] = (uint8_t)vbat * 10; // Vbat * 10

  std::string adv_data((char*)mfg_data, 5);
  pAdvertising->setManufacturerData(adv_data);
  pAdvertising->start();

  Serial.println("BLE Advertising started...");
  digitalWrite(LED_PIN, HIGH); // Turn OFF LED

  // 5. Wait for BLE clients to scan, then sleep
  delay(BLE_ADV_TIME_SEC * 1000);
  pAdvertising->stop();
  NimBLEDevice::deinit(true); // Fully power down BLE stack

  goToSleep();
}

void goToSleep() {
  Serial.println("Entering Deep Sleep...");
  Serial.flush();
  esp_sleep_enable_timer_wakeup(SLEEP_DURATION_SEC * 1000000ULL);
  // Isolate unused GPIOs to prevent leakage
  for(int i=0; i<22; i++) {
    if(i != I2C_SDA_PIN && i != I2C_SCL_PIN) {
      gpio_hold_en((gpio_num_t)i);
    }
  }
  esp_deep_sleep_start();
}

void loop() {
  // Execution never reaches here due to deep sleep
}
Debugging: "Timed out waiting for packet header"
The most common point of failure when flashing the ESP32-C3 Mini via the Arduino IDE is the bootloader handshake failing. Because the C3 uses a RISC-V architecture and relies on the CH340 bridge on these Mini boards, timing mismatches frequently cause upload failures.
A fatal error occurred: Failed to connect to ESP32-C3: Timed out waiting for packet header
If you see this exact string in your Arduino IDE output console, do not panic. The board is rarely bricked. Here are the first three things to check, ranked by probability:
- Boot Pin (GPIO9) State: The ESP32-C3 must have GPIO9 pulled LOW during reset to enter the serial bootloader. On the SuperMini and Lolin C3 Mini, press and hold the "BOOT" (or "0") button, then tap the "RST" button, and release the BOOT button. Immediately click "Upload" in the IDE while the board is in this state.
- CH340 Driver & Port Selection: The native USB pins (GPIO18/19) are not connected to the USB-C port on these specific variants. You are communicating via the CH340 UART bridge. Ensure you have the latest CH340 drivers installed. In Device Manager, verify the COM port is actually a CH340 and not a ghosted native USB device.
- Baud Rate Overrun: The CH340 chip on cheap clone boards often struggles with the default 921600 baud upload speed. In the Arduino IDE Tools menu, change Upload Speed to
115200or460800. This alone resolves 80% of timeout errors on breadboarded setups with long USB cables.
Other Common C3 Firmware Errors
assert failed: xTaskCreatePinnedToCore: You are trying to pin a task to Core 1. The ESP32-C3 is single-core. Remove the core ID parameter or set it to0ortskNO_AFFINITY.Guru Meditation Error: Core 0 panic'ed (Interrupt wdt timeout): The watchdog tripped because I2C clock stretching hung the bus. Ensure your SHT40 pull-up resistors are 4.7kΩ, not 10kΩ, to sharpen the rise times on the C3's 3.3V logic.
Extending and Simplifying the Build
Once you have the base BLE beacon running and verified with a generic BLE scanner app (like nRF Connect on iOS/Android), you can adapt the architecture to fit your specific deployment constraints.
How to Simplify (No Smartphone Required)
If you do not want to rely on a smartphone or a dedicated BLE gateway (like an ESP32 running ESPHome) to scrape the advertisements, drop BLE entirely and switch to ESP-NOW. ESP-NOW is a connectionless, low-latency protocol that operates over Wi-Fi but bypasses the TCP/IP stack and router association. It allows the C3 Mini to wake up, pair with a MAC address, send a 250-byte payload to a base station in under 30 milliseconds, and go back to sleep. This reduces the "awake" time from 5 seconds (BLE advertising) to roughly 200 milliseconds, drastically extending LiPo battery life.
How to Extend (Edge Processing & Storage)
The ESP32-C3 has 400KB of SRAM, which is tight if you are buffering large arrays, but it includes up to 4MB of external SPI Flash.
- Add Local Logging: Use the
LittleFSlibrary to log sensor readings to the internal flash every hour, then wake the Wi-Fi radio once a day to POST the JSON batch to an MQTT broker or REST API. This avoids the power penalty of spinning up the RF radio every 5 minutes. - Add a Display: The C3's I2C bus can easily drive a 128x64 SSD1306 OLED. Because the C3 lacks the memory for heavy graphics buffers, use the
U8g2library in "page mode" to render text and graphs using only ~1KB of RAM.
For authoritative details on the C3's power domains and deep sleep wake stubs, always refer to the official Espressif ESP32-C3 Datasheet and the Arduino-ESP32 Core Documentation. Understanding the exact GPIO matrix and RTC memory boundaries is what separates a weekend prototype from a field-deployable sensor node.