
The Reality of Servo Integration in Modern DIY Projects
Getting a motor to move is easy; getting it to move reliably without resetting your microcontroller or stripping its internal gears requires a deep understanding of both hardware physics and optimized arduino servo code. While the default Servo.h library abstracts away the complex PWM (Pulse Width Modulation) timing, relying on its default parameters often leads to mechanical stalling, idle jitter, and voltage brownouts.
In this comprehensive wiring and code guide, we will dissect the exact hardware topology required to drive high-torque servos, establish safe PWM boundaries in your code, and implement non-blocking sweep algorithms that allow your microcontroller to simultaneously read sensors and handle wireless communication.
Hardware Selection: Matching Torque to Your Application
Before writing a single line of code, you must select the right actuator. Using an undersized servo leads to thermal failure, while an oversized servo wastes current and requires heavy-duty power regulation. Below is a comparison of the three most common servos used in 2026 DIY electronics:
| Model | Stall Torque (at 6V) | Stall Current | Internal Gears | Avg. Price (2026) |
|---|---|---|---|---|
| TowerPro SG90 | 1.8 kg-cm | ~700 mA | Nylon / Plastic | $2.50 |
| TowerPro MG996R | 13.0 kg-cm | ~2.5 A | Brass / Metal | $8.50 |
| DS3218 (Heavy Duty) | 20.0 kg-cm | ~3.0 A | Stainless Steel | $14.00 |
Note: Stall current is the critical metric for power supply sizing. An MG996R drawing 2.5A at startup will instantly trigger the thermal shutdown on an Arduino Uno's onboard 5V linear regulator.
Wiring Architecture: Solving the Brownout Failure Mode
The most common point of failure in servo projects is power delivery. Microcontrollers like the Arduino Uno R4 or Nano rely on onboard voltage regulators (often the AMS1117-5.0 on clone boards) that max out at roughly 800mA. If your arduino servo code commands an MG996R to move under load, the current spike will drop the system voltage below 4.5V, causing the microcontroller to brownout and reboot.
The External Power Topology
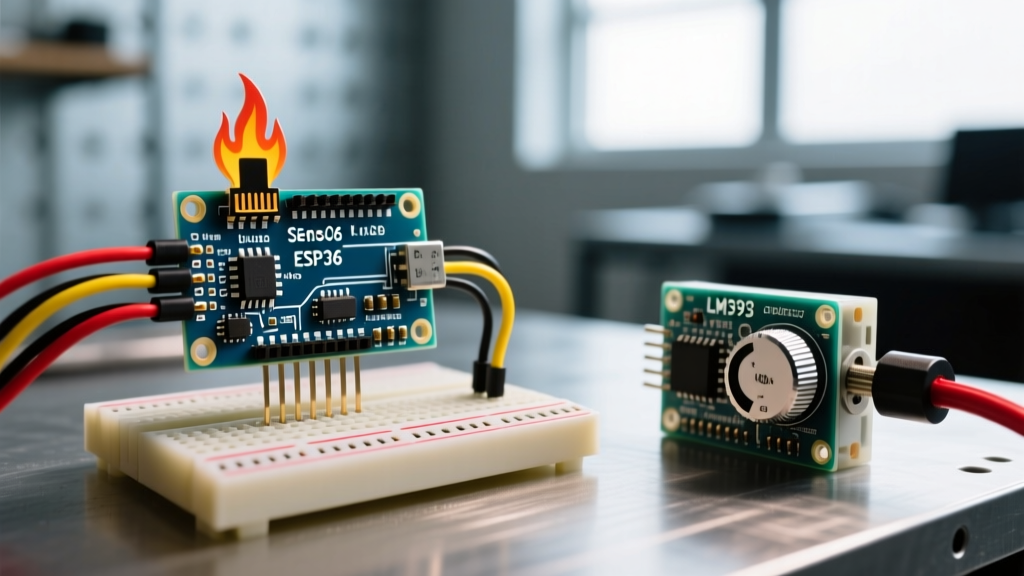
To isolate high-current transients from your logic circuits, you must use a dedicated power rail. We recommend an LM2596 buck converter module stepped down to exactly 5.2V for standard 6V servos.
- Power Source: Connect a 7V-12V DC power supply or LiPo battery to the LM2596 input.
- Voltage Regulation: Adjust the buck converter's potentiometer with a multimeter until the output reads 5.2V.
- Servo Power: Connect the servo's Red (VCC) and Brown/Black (GND) wires directly to the buck converter's output.
- Signal Wire: Connect the servo's Orange/Yellow (PWM) wire to a digital pin on the Arduino (e.g., Pin 9).
CRITICAL WIRING RULE: You must establish a Common Ground. Connect the GND output of the external buck converter directly to one of the Arduino's GND pins. Without a shared ground reference, the PWM signal will float, resulting in violent, unpredictable servo twitching.
Core Arduino Servo Code: Establishing Safe PWM Boundaries
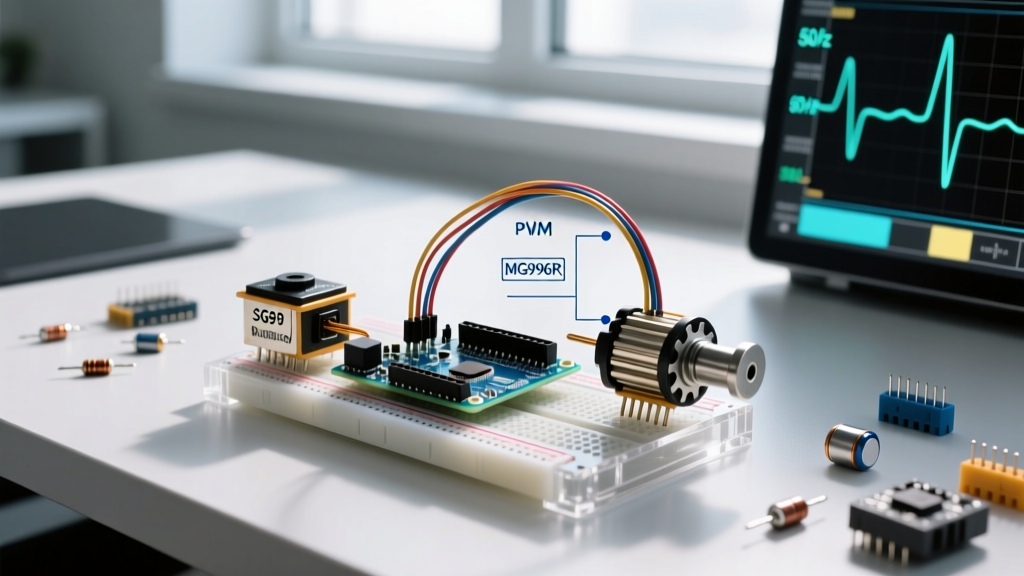
The standard Servo.h library generates a 50Hz PWM signal (a pulse every 20 milliseconds). By default, the library maps the write(0) to write(180) commands to a pulse width of 544 to 2400 microseconds. However, cheap SG90 micro-servos often hit their physical end-stops before reaching these electrical limits. Forcing the motor against the end-stop causes the internal DC motor to stall, drawing maximum current and melting the nylon gears.
The "Safe Attach" Method
To prevent mechanical damage, always define custom microsecond limits in your attach() function based on your specific hardware's physical range. Furthermore, if the servo only needs to hold a position briefly (like a latch or a catapult release), use the detach() function to cut the PWM signal, eliminating idle jitter and saving power.
#include <Servo.h>

Servo latchServo;
const int SERVO_PIN = 9;

// Custom limits determined by physical calibration
const int MIN_PULSE = 600;  // Prevents stall at 0 degrees
const int MAX_PULSE = 2300; // Prevents stall at 180 degrees

void setup() {
  Serial.begin(115200);
  // Attach with safe microsecond boundaries
  latchServo.attach(SERVO_PIN, MIN_PULSE, MAX_PULSE);

  // Move to closed position
  latchServo.write(0);
  delay(500); // Wait for mechanical movement to complete

  // Detach to stop idle jitter and save power
  latchServo.detach();
}

void loop() {
  // Example trigger logic
  if (Serial.available() > 0) {
    char cmd = Serial.read();
    if (cmd == 'O') {
      latchServo.attach(SERVO_PIN, MIN_PULSE, MAX_PULSE);
      latchServo.write(90); // Open latch
      delay(600);
      latchServo.detach();
    }
  }
}
For deeper insights into how the underlying timer interrupts manipulate the PWM registers, refer to the official Arduino Servo Library Reference.
Advanced Arduino Servo Code: Non-Blocking Sweep
The classic "Sweep" example provided in the Arduino IDE uses delay(15) to time the motor's movement. In any real-world project involving sensors, displays, or Wi-Fi (like the ESP32 or Arduino Nano 33 IoT), blocking delays are unacceptable. They freeze the main loop, causing missed sensor readings and dropped network packets.
Below is a professional, non-blocking sweep implementation using millis(). This allows your arduino servo code to update the motor position incrementally while leaving the rest of the loop() free to execute thousands of times per second.
#include <Servo.h>

Servo radarServo;
unsigned long lastSweepTime = 0;
const int SWEEP_INTERVAL = 15; // Milliseconds between 1-degree steps

int currentPos = 0;
int sweepDirection = 1; // 1 for forward, -1 for reverse

void setup() {
  radarServo.attach(10, 550, 2350);
}

void loop() {
  // Non-blocking timer check
  if (millis() - lastSweepTime >= SWEEP_INTERVAL) {
    lastSweepTime = millis();

    // Update position
    currentPos += sweepDirection;

    // Reverse direction at boundaries
    if (currentPos >= 180 || currentPos <= 0) {
      sweepDirection = -sweepDirection;
    }

    radarServo.write(currentPos);
  }

  // OTHER CODE HERE: Read ultrasonic sensors, update OLEDs, parse Serial data
  // This code runs continuously without waiting for the servo.
}
Troubleshooting Jitter and Signal Noise
Even with perfect code, environmental electrical noise can cause a servo to "hunt" or jitter around its target position. According to hardware engineers at SparkFun Electronics, servo jitter is almost always a symptom of power supply ripple or signal degradation, not a flaw in the microcontroller's code.
1. Capacitor Sizing for Transient Current
Servos draw current in sharp, high-amplitude spikes rather than a steady stream. To smooth out these transients, solder a capacitor directly across the VCC and GND wires of the servo, as close to the motor housing as possible.
- For SG90 (Micro): A 100µF electrolytic capacitor is usually sufficient.
- For MG996R (Standard): Use a 470µF to 1000µF low-ESR electrolytic capacitor, paired with a 0.1µF ceramic capacitor in parallel to filter high-frequency noise.
2. Signal Wire Routing and Length
The PWM signal wire is highly susceptible to electromagnetic interference (EMI) from nearby AC lines, switching regulators, or DC motors. Keep the PWM signal wire under 30cm. If your project requires longer runs, use a twisted-pair cable (twisting the signal wire with a ground wire) or a shielded cable with the shield grounded only at the microcontroller end to prevent ground loops.
3. Filtering Analog Inputs in Code
If your arduino servo code maps an analog joystick or potentiometer to the servo position, physical wear on the potentiometer's carbon track will cause voltage spikes, making the servo jump erratically. Implement a simple moving average filter in your software to smooth the input data before writing it to the servo:
const int numReadings = 10;
int readings[numReadings];
int readIndex = 0;
int total = 0;
int average = 0;

void setup() {
  for (int i = 0; i < numReadings; i++) {
    readings[i] = 0;
  }
  // Servo attach code here...
}

void loop() {
  total = total - readings[readIndex];
  readings[readIndex] = analogRead(A0);
  total = total + readings[readIndex];
  readIndex = (readIndex + 1) % numReadings;

  average = total / numReadings;
  int servoAngle = map(average, 0, 1023, 0, 180);

  // Write smoothed angle to servo
  // myServo.write(servoAngle);
}
Summary of Best Practices
Mastering servo integration requires treating the system as a unified electro-mechanical entity. By utilizing an external buck converter, establishing a common ground, defining strict microsecond limits in your attach() functions, and leveraging millis() for non-blocking execution, your projects will achieve industrial-level reliability. Whether you are building a robotic arm, an automated camera gimbal, or a motorized valve, these foundational wiring and coding principles will ensure your hardware performs flawlessly under load.