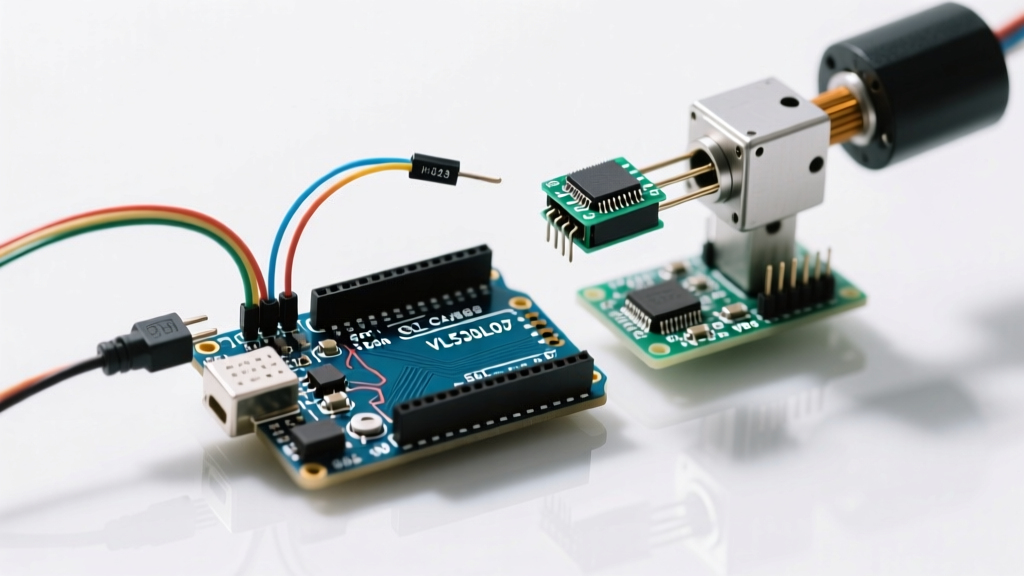

The Danger of Naive Arduino Relay Wiring
When makers search for an arduino relay tutorial, they are typically greeted with simplistic diagrams showing a 5V microcontroller pin driving a module to click a relay on and off. While this works perfectly for switching a 12V LED strip or a small DC fan, applying the same naive wiring to 120V or 240V AC mains for real-world appliances is a recipe for destroyed microcontrollers, welded contacts, and severe fire hazards. In 2026, with home automation and DIY IoT projects more prevalent than ever, understanding the electrical physics and safety standards behind relay switching is non-negotiable.
This guide moves beyond basic LED blinking. We will dissect the anatomy of standard relay modules, address the hidden dangers of PCB creepage and clearance, and provide actionable engineering solutions for switching high-inrush inductive loads like sump pumps and air compressors safely.
Anatomy of the Standard 5V Relay Module
The ubiquitous blue 1-channel 5V relay module found in most starter kits relies on the Songle SRD-05VDC-SL-C electromechanical relay (EMR). While the datasheet claims a contact rating of 10A at 120VAC, real-world thermal limits and inrush currents tell a different story. A standard module consists of three primary subsystems:
- The Optocoupler (PC817): Provides galvanic isolation between the Arduino's logic circuit and the relay coil.
- The Driver Transistor (usually 2N3904 or S8050): Amplifies the meager 20mA output from the Arduino's GPIO pin to the 70mA-90mA required to energize the relay coil.
- The Flyback Diode (1N4148): Clamps the reverse voltage spike generated by the collapsing magnetic field of the relay coil when the transistor turns off.
Critical Misconception: Many beginners believe the onboard flyback diode protects the Arduino from the AC load. It does not. The diode only protects the driver transistor from the coil's back-EMF. It offers zero protection against the massive transients generated by the AC load when the contacts open.
The Hidden Hazard: Creepage, Clearance, and PCB Design
Before wiring a single cable, you must inspect the physical PCB of your relay module. According to safety standards like NFPA 70 (National Electrical Code) and IEC 61010-1, there must be adequate physical distance (clearance) and surface distance (creepage) between high-voltage AC traces and low-voltage DC logic traces.
Cheap, mass-produced relay modules often feature less than 1mm of clearance between the 120V AC screw terminals and the 5V DC header pins. In humid environments, or if dust accumulates on the board, this can lead to surface tracking, arcing, and 120V AC being injected directly into your Arduino's 5V rail, instantly vaporizing the ATmega328P chip and potentially electrocuting the user.
Mitigation Strategies for PCB Safety
- Physical Isolation: Mount the relay module in a separate, insulated enclosure away from the microcontroller.
- Conformal Coating: Apply an acrylic or silicone conformal coating to the underside of the relay module PCB to prevent moisture-induced tracking.
- Opto-Isolation Jumper: Remove the VCC jumper on the module. Power the relay coil side using a completely separate isolated 5V buck converter, linking only the optocoupler's input ground to the Arduino ground.
The Inductive Load Problem: Why Contacts Weld
Switching a resistive load like an incandescent bulb or a heater is relatively straightforward. Switching an inductive load like a 120V sump pump motor is where most arduino relay projects fail. When a motor starts, it draws a Locked Rotor Amperage (LRA) or inrush current that can be 5 to 10 times its nominal running current. A pump rated at 6A can easily pull 40A for the first 200 milliseconds of startup.
If your relay contacts close precisely as the motor demands this massive inrush, the initial micro-arcing can cause the copper-alloy contacts to melt and weld together. Once welded, the relay becomes permanently 'ON', and the Arduino loses all control over the device. To prevent this, always derate your relay by at least 50% for inductive loads. If the pump draws 6A continuously, you need a relay rated for a minimum of 30A resistive, or you must step up to a Solid State Relay (SSR).
EMR vs. SSR: Choosing the Right Hardware
For demanding real-world applications, relying on a $1.50 mechanical relay module is often a false economy. Solid State Relays (SSRs) utilize TRIACs or back-to-back thyristors to switch AC loads with no moving parts, eliminating contact welding and mechanical wear.
| Feature | Electromechanical Relay (Songle SRD-05VDC) | Solid State Relay (Omron G3NA-210B) |
|---|---|---|
| Typical Cost (2026) | $1.50 - $3.00 | $12.00 - $18.00 |
| Switching Speed | 5ms - 15ms (Mechanical bounce) | <1ms (Zero-cross switching available) |
| Inductive Inrush Handling | Poor (Contacts degrade/weld) | Excellent (Withstands high surge currents) |
| Heat Dissipation | Negligible | Requires heatsink (drops ~1.2V at load) |
| Failure Mode | Usually fails open or welded closed | Usually fails shorted (requires hardware safety cutoff) |
For comprehensive component reliability data and application notes on surge suppression, engineers frequently reference Littelfuse Application Notes on relay protection circuits.
Solving the EMI and Brownout Reset Problem
The most frustrating issue in real-world arduino relay integration is the 'phantom reset.' You command the relay to open, the relay clicks, and the Arduino instantly reboots. This is caused by Electromagnetic Interference (EMI). When the relay contacts break an inductive AC circuit, the collapsing magnetic field generates a massive high-frequency voltage spike (back-EMF) that can reach thousands of volts. This spike radiates through the air and couples into the Arduino's power traces via parasitic capacitance, causing a brownout on the 5V rail.
The RC Snubber Solution
To suppress this arc and protect your microcontroller, you must install an RC (Resistor-Capacitor) snubber network directly across the Common (COM) and Normally Open (NO) terminals of the relay.
- Resistor: 100Ω, 1/2 Watt carbon composition (carbon comp handles high-energy pulses better than metal film).
- Capacitor: 0.1µF, 275VAC X2-Rated metallized paper capacitor.
Warning: Never use a standard DC ceramic or electrolytic capacitor for AC mains snubbing. If a standard capacitor fails, it can short out and cause a fire. X2-rated safety capacitors are engineered to fail open-circuit and are certified to withstand continuous AC line transients. For foundational microcontroller timing and hardware integration concepts, the Arduino Foundations Guide remains an excellent baseline reference.
Non-Blocking Safety Code Implementation
In real-world automation, using the delay() function is dangerous. If the microcontroller hangs during a delay while the relay is engaged, the connected appliance could overheat or flood. Always use non-blocking millis() timing combined with hardware watchdogs or safety timeouts.
const int RELAY_PIN = 8;
unsigned long previousMillis = 0;
const long RUN_INTERVAL = 30000; // 30 seconds max run time for safety
const long REST_INTERVAL = 300000; // 5 minutes rest
unsigned long currentInterval = REST_INTERVAL;
bool relayState = false;

void setup() {
  pinMode(RELAY_PIN, OUTPUT);
  digitalWrite(RELAY_PIN, HIGH); // Active LOW module - HIGH is OFF
  Serial.begin(9600);
}

void loop() {
  unsigned long currentMillis = millis();

  if (currentMillis - previousMillis >= currentInterval) {
    previousMillis = currentMillis;
    relayState = !relayState;

    // Toggle relay and swap the timing interval
    digitalWrite(RELAY_PIN, relayState ? LOW : HIGH);
    currentInterval = relayState ? RUN_INTERVAL : REST_INTERVAL;

    // Serial output avoids blocking delays
    if (relayState) {
      Serial.println('SYSTEM: Relay Engaged - Pump Active');
    } else {
      Serial.println('SYSTEM: Relay Disengaged - Pump Resting');
    }
  }
}
Final Wiring Best Practices
When terminating AC mains wires into the screw terminals of your relay module, always use ferrule crimps on stranded wire. Stranded wire splayed under a screw terminal can result in loose connections, high resistance, and localized melting. Furthermore, ensure your AC wiring is housed in a grounded, fire-retardant ABS or polycarbonate project box, completely segregated from your low-voltage DC sensor wiring. Treat every arduino relay project with the same respect and adherence to code that a licensed electrician would apply to a permanent residential installation.