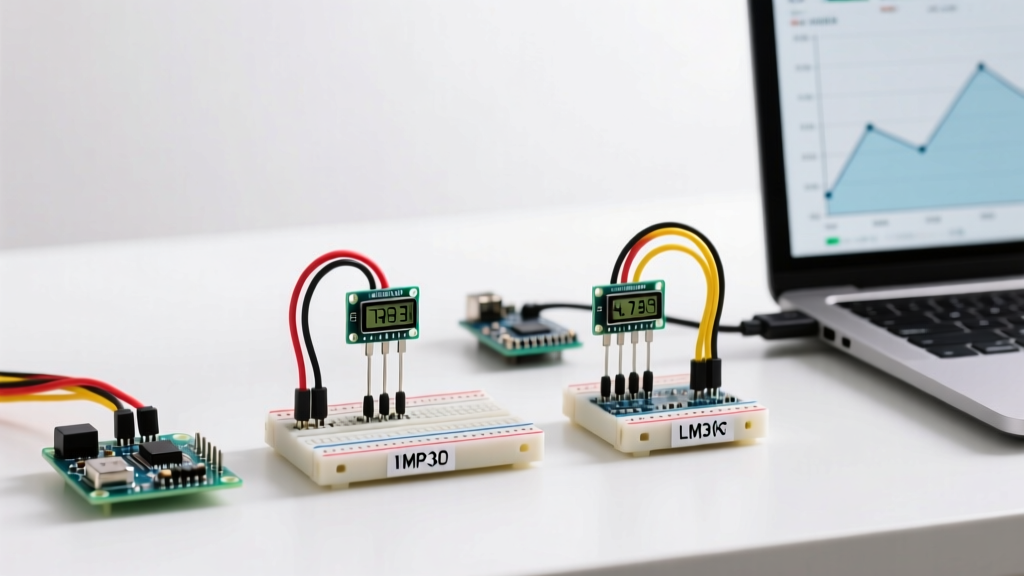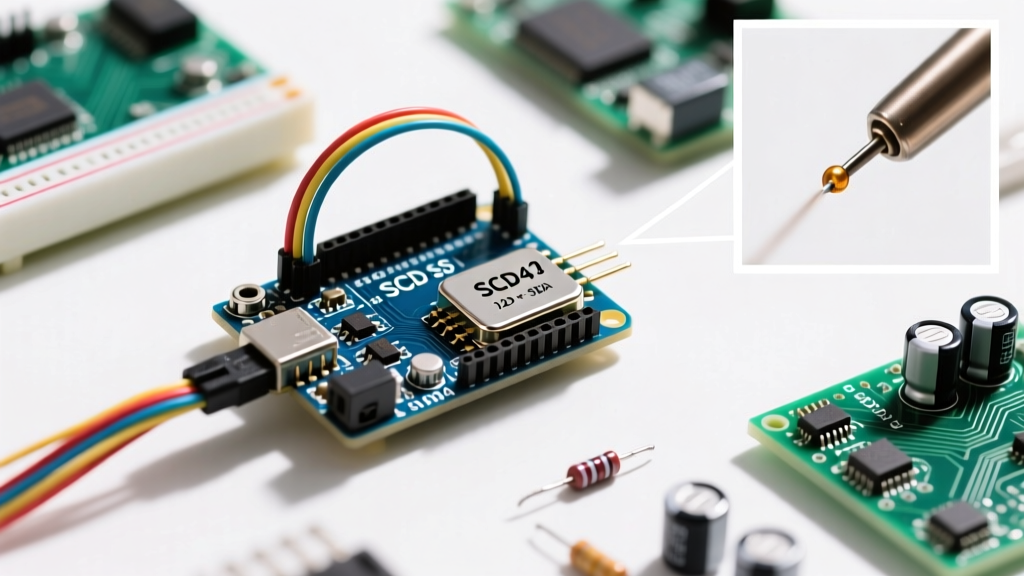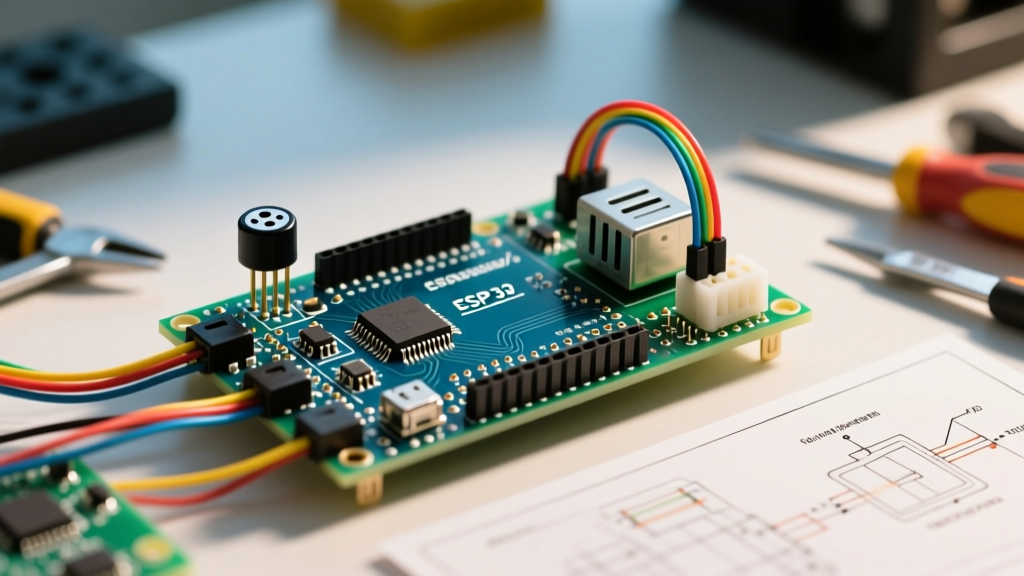

The Challenge of Stacking Shields and Sensors
Building an autonomous rover, a reactive conveyor belt, or an automated pan-tilt camera rig requires seamless integration of high-current actuators and low-voltage sensors. While the Arduino motor driver shield is a staple in the maker and engineering community for driving DC and stepper motors, integrating it alongside sensitive peripherals like ultrasonic rangefinders or infrared obstacle sensors introduces significant electrical and logical challenges.
In this comprehensive sensor integration tutorial, we will explore how to successfully wire, power, and program an Arduino motor driver shield in conjunction with environmental sensors. We will focus on the official Arduino Motor Shield Rev3 and the Adafruit Motor Shield V2, addressing real-world failure modes such as back-EMF brownouts, pinout conflicts, and electromagnetic interference (EMI) that frequently derail robotics projects in 2026.
Hardware Breakdown: Rev3 vs. Adafruit V2
Before wiring sensors, you must understand the architecture of your chosen shield. The two most dominant boards on the market utilize fundamentally different motor driver ICs, which directly impacts how you integrate sensor arrays.
Arduino Motor Shield Rev3 (L298P Based)
The official Rev3 shield utilizes the STMicroelectronics L298P dual full-bridge driver. This is a Bipolar Junction Transistor (BJT) based IC. While robust and capable of handling up to 2A per channel (3A peak), BJT drivers suffer from a high internal voltage drop—typically around 2V at 1A. This means if you supply 12V to the shield, your motors will only see roughly 10V, and the remaining 2V is dissipated as heat. The Rev3 connects directly to the Arduino's digital and PWM pins, which leads to severe pinout constraints when adding sensors.
Adafruit Motor Shield V2 (MOSFET & I2C Based)
Conversely, the Adafruit V2 shield uses discrete N-channel and P-channel MOSFETs driven by an NXP PCA9685 I2C PWM controller. MOSFETs have a drastically lower voltage drop (often less than 0.2V), resulting in higher efficiency and less heat. Because it communicates via I2C (using only the SDA and SCL pins), it leaves almost all standard digital and analog pins free for extensive sensor arrays. For complex sensor integration, the Adafruit V2 is generally the superior choice, though it costs slightly more (typically around $24.95 compared to the Rev3's $28-$32 price point).
⚠️ Critical Warning: Never stack an ultrasonic sensor directly on top of the motor driver shield's headers without verifying pin conflicts. The Rev3 shield hardwires specific digital pins for motor direction and braking, which will cause erratic sensor readings if those same pins are assigned to sensor triggers.Pin Mapping and Sensor Allocation
When using the Arduino Motor Shield Rev3, pin allocation is your primary bottleneck. The shield consumes six digital pins for basic dual-DC motor control. Below is the definitive pinout map and how to safely route your sensor connections.
| Shield Pin | Function | Sensor Integration Strategy |
|---|---|---|
| D3 | Direction A | Do not use for sensor PWM. Safe for digital IR inputs. |
| D8 | Brake A | Safe for digital sensors (e.g., limit switches). |
| D9 | PWM A (Speed) | Avoid. 490Hz PWM can interfere with certain IR receivers. |
| D11 | Direction B | Safe for digital obstacle sensors. |
| D12 | Brake B | Safe for digital inputs. |
| D13 | PWM B (Speed) | Avoid. Shared with onboard LED and SPI bus. |
Available Pins for Sensors: With the Rev3 installed, you are left with Digital Pins 2, 4, 5, 6, 7, and 10, alongside all Analog pins (A0-A5). For an HC-SR04P ultrasonic sensor, assign the Trigger to D4 and Echo to D5. For analog IR distance sensors (like the Sharp GP2Y0A21YK0F), utilize A0 through A3.
Step-by-Step: Integrating an HC-SR04P Ultrasonic Sensor
In 2026, the legacy HC-SR04 has largely been replaced by the HC-SR04P. The 'P' variant features an integrated logic-level shifter, making it natively compatible with both 5V (Arduino Uno) and 3.3V (Arduino Zero/ESP32) logic without risking fried microcontrollers. Here is how to integrate it safely with the motor shield.
1. Power Rail Isolation (The Vin Jumper)
The most common catastrophic failure in motor-sensor integration is feeding motor voltage back into the microcontroller's logic rail. The Arduino Motor Shield Rev3 features a jumper labeled "Vin Connect" on the bottom left of the board.
- If your motors run at 5V-7V: Leave the jumper intact. The shield will share power with the Arduino.
- If your motors run at 9V-12V (Standard for robotics): You must sever or remove the Vin Connect jumper. If left intact, 12V will bypass the Arduino's onboard regulator limits, instantly destroying the ATmega328P and your connected sensors. You must provide a separate 5V regulated supply to the Arduino's 5V pin or USB port.
2. Wiring the Sensor Array
Brush DC motors are notorious for generating broadband electromagnetic noise. When the motor shield switches high currents via PWM, it creates voltage spikes on the ground plane. If your ultrasonic sensor shares a noisy ground, the Echo pin will return erratic, truncated pulse widths, resulting in false "obstacle detected" readings.
Wiring Protocol:
- Run the HC-SR04P VCC pin directly to the Arduino's 5V output, not the motor shield's motor power rail.
- Route the sensor's GND to the Arduino's digital GND. Avoid daisy-chaining the sensor ground through the motor shield's high-current ground terminals.
- Solder a 10µF electrolytic capacitor directly across the VCC and GND pins on the back of the HC-SR04P PCB. This local energy reservoir stabilizes the sensor's internal oscillator during motor startup inrush currents.
Software Implementation: PWM Tuning and Interrupts
When writing the firmware for your sensor-integrated rover, the timing of your motor PWM signals can interfere with sensor polling. The Arduino Uno's analogWrite() function defaults to roughly 490Hz on most pins, but operates at 980Hz on pins D5 and D6.
If you are using analog IR sensors alongside the motor shield, the 490Hz switching frequency of the L298P can introduce a 2mV-5mV ripple on the analog ground reference, skewing your analogRead() values. To mitigate this in software, implement an oversampling technique:
Pro-Tip: Instead of taking a single analogRead() for your IR distance sensor, take 16 rapid samples, discard the 4 highest and 4 lowest values, and average the remaining 8. This digital low-pass filter effectively eliminates the PWM-induced noise from the motor driver shield without requiring complex hardware filtering.
Furthermore, when reading the HC-SR04P Echo pin, avoid using the blocking pulseIn() function while simultaneously updating motor speeds. pulseIn() halts the microcontroller, causing the motor shield's PWM outputs to stutter. Instead, utilize Pin Change Interrupts (PCINT) or the micros() function in a non-blocking state machine to measure the echo pulse width while maintaining smooth motor acceleration.
Real-World Failure Modes and Troubleshooting
Even with perfect wiring, integrating an Arduino motor driver shield with sensors presents specific edge cases. Here is a troubleshooting matrix for common issues encountered in the field.
- Symptom: Arduino resets randomly when motors start moving.
Cause: Motor inrush current causes a voltage brownout on the shared logic rail.
Solution: Ensure the Vin Connect jumper is removed. Add a 470µF low-ESR capacitor across the motor shield's main power input terminals to buffer the inrush spike. - Symptom: Ultrasonic sensor reads a constant 0cm or 400cm when motors are spinning, but works fine when motors are stopped.
Cause: Acoustic noise from the motors or EMI corrupting the 40kHz ultrasonic burst.
Solution: Mount the sensor on a silicone vibration-dampening pad. Add 100nF ceramic decoupling capacitors directly across the terminals of the brushed DC motors to suppress brush arcing EMI. - Symptom: Motor Shield gets too hot to touch, and motor speed drops over time.
Cause: The L298P BJT voltage drop is generating excessive thermal waste.
Solution: Attach a stick-on aluminum heatsink to the L298P IC. If your application requires continuous high-current operation (over 1.5A), abandon the Rev3 shield and migrate to a MOSFET-based driver like the Adafruit V2 or a standalone BTS7960 module.
Conclusion
Integrating an Arduino motor driver shield with environmental sensors is a balancing act of power management, pin allocation, and noise mitigation. By understanding the architectural differences between BJT and MOSFET shields, strictly isolating your high-current and logic power rails, and implementing software-level noise filtering, you can build robust, closed-loop robotic systems. For further technical specifications on the L298P IC, refer to the Texas Instruments datasheet, and for advanced I2C motor control alternatives, review the Adafruit Motor Shield V2 documentation. Always consult the official Arduino hardware manuals before modifying shield jumpers to ensure long-term reliability of your microcontroller ecosystem.