
The Real-World Problem: Why Basic Photoresistors Fail in Agriculture
When searching for how to make a light sensor with Arduino, most beginner tutorials default to the Cadmium Sulfide (CdS) photoresistor (LDR). While an LDR is fine for a simple night-light project, it is fundamentally unsuited for real-world precision applications like automated greenhouse lighting or indoor grow tent control. CdS cells suffer from severe non-linearity, high temperature drift, and a sluggish response time (often exceeding 50ms). More importantly, their analog output requires complex, environment-specific calibration curves that drift over time.
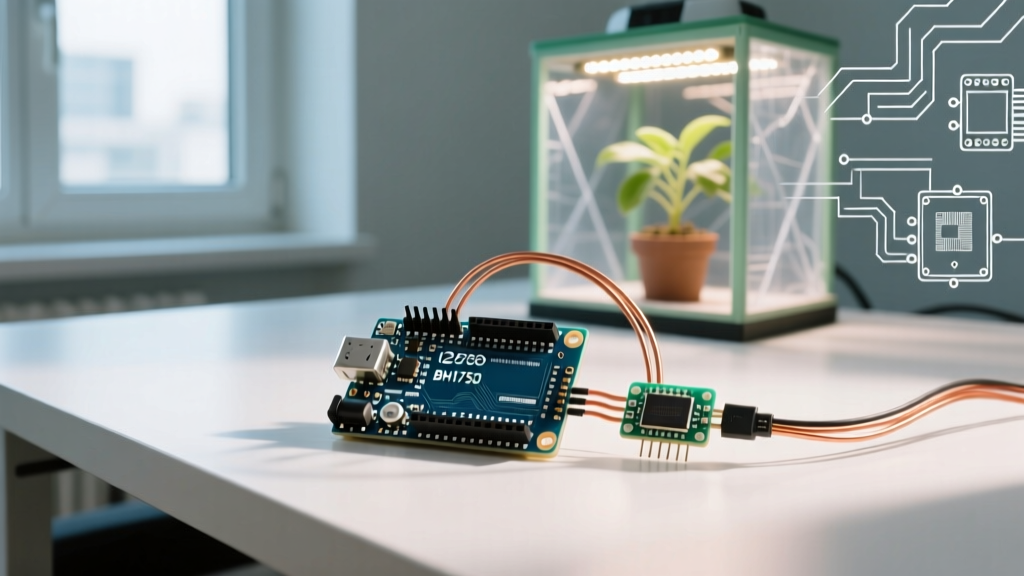
In modern controlled environment agriculture (CEA), maintaining a specific Daily Light Integral (DLI) is critical. To achieve this reliably in 2026, we bypass analog photoresistors entirely and use digital I2C ambient light sensors. This guide walks you through building a robust, relay-switched light controller using the BH1750FVI digital sensor, specifically tailored to handle the intense light output of modern high-efficiency quantum board LEDs.
Component Selection: Digital I2C vs. Analog Sensors
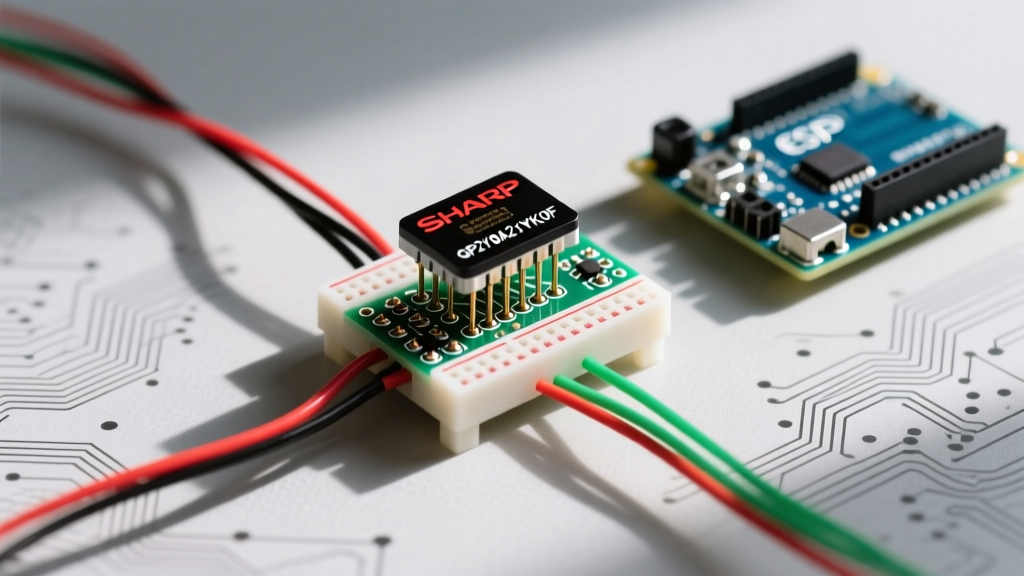
Before wiring the circuit, it is crucial to understand why we select specific components. The BH1750FVI (commonly found on the GY-302 breakout board) offers a direct digital lux readout, eliminating the need for analog-to-digital conversion math and voltage reference calibration.
| Sensor Type | Model / Part | Output | Max Lux | Approx. Cost (2026) | Best Use Case |
|---|---|---|---|---|---|
| Analog LDR | GL5528 | Resistance (Analog) | ~10,000 | $0.15 | Basic night-lights, toy projects |
| Digital I2C | BH1750FVI (GY-302) | Digital (Lux) | 65,535 (Native) | $3.50 | Grow tents, smart home lighting |
| Digital I2C | TSL2591 | Digital (Raw IR/Vis) | 88,000 | $8.50 | Outdoor weather stations, extreme high-dynamic range |
For indoor horticulture, the BH1750FVI hits the sweet spot of price and performance. Paired with an Arduino Uno R4 Minima ($22) or a standard Uno R3 clone ($14), and a 5V 10A opto-isolated relay module ($2.50), you have a highly reliable control system for under $30.
Wiring the BH1750 and Opto-Isolated Relay
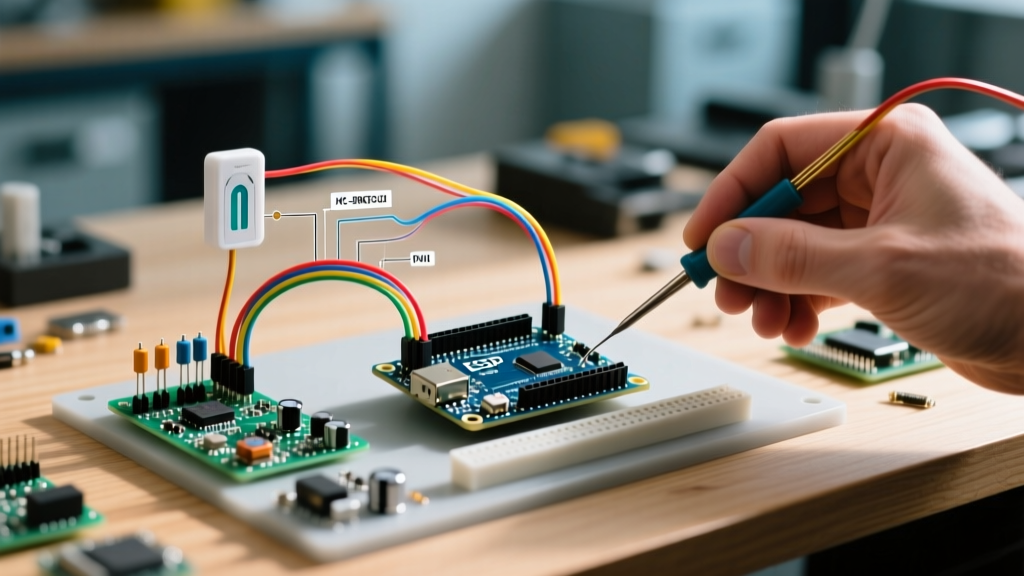
Proper wiring is critical to prevent electrical noise from the relay coil from corrupting the I2C data bus. Always use an opto-isolated relay module to keep the high-current switching circuit galvanically isolated from the Arduino's sensitive 5V logic.
Pinout and I2C Bus Configuration
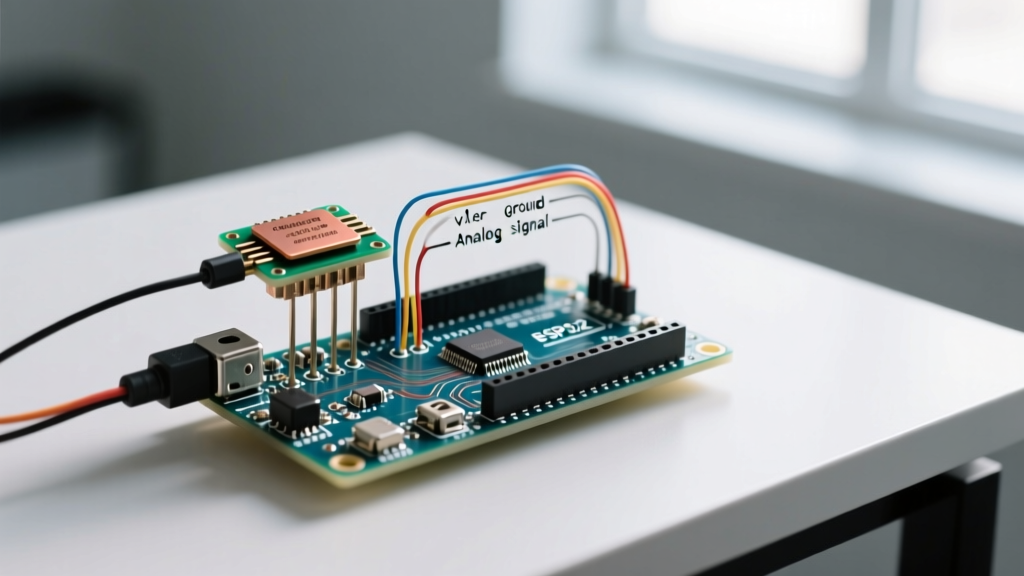
- BH1750 VCC to Arduino 5V
- BH1750 GND to Arduino GND
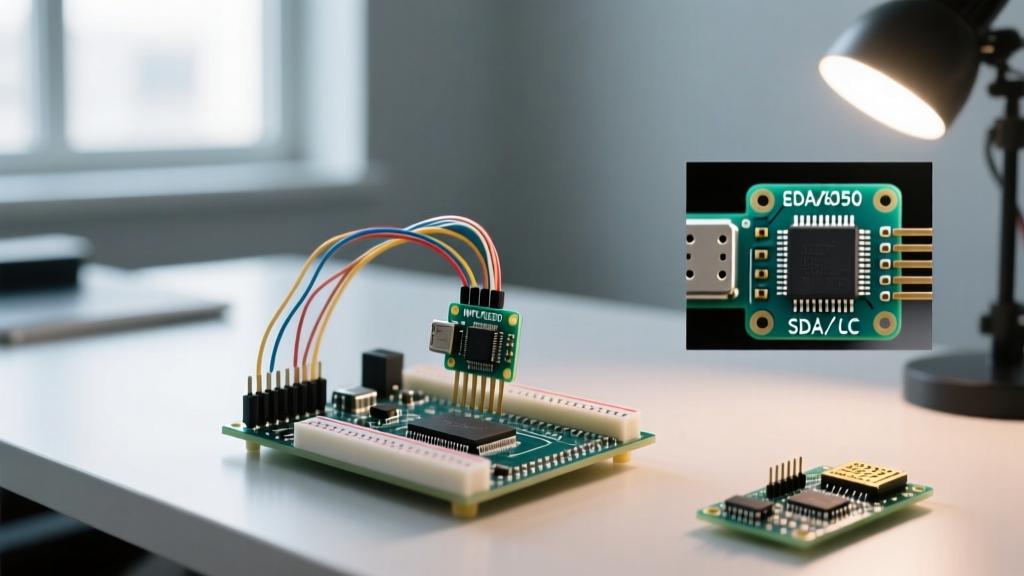
- BH1750 SCL to Arduino A5 (or SCL pin on newer boards)
- BH1750 SDA to Arduino A4 (or SDA pin on newer boards)
- BH1750 ADDR to GND (Sets I2C address to 0x23; leave floating or tie to VCC for 0x5C)
- Relay VCC to Arduino 5V
- Relay GND to Arduino GND
- Relay IN to Arduino Digital Pin 8
Expert Wiring Tip: The I2C bus is highly susceptible to capacitance. If your sensor is mounted more than 30cm away from the Arduino inside a large grow tent, the signal will degrade, causing bus lockups. To fix this, solder 4.7kΩ pull-up resistors between the SDA/SCL lines and the 5V rail directly on the sensor breakout board. For deeper bus mechanics, refer to the Arduino I2C Communication Guide.
Calibrating Lux Thresholds for Plant Growth Stages
Plants do not perceive light the same way human eyes do. While PAR (Photosynthetically Active Radiation) and PPFD are the scientific standards for measuring horticultural light, high-quality full-spectrum white LEDs (which dominate the 2026 market) have a strong linear correlation between Lux and PPFD. This allows us to use Lux as a highly effective, low-cost proxy for automation.
Here are the real-world target thresholds for high-light crops (like tomatoes or cannabis) using modern 3.0 µmol/J LED boards:
- Seedling / Clone Stage: 5,000 - 15,000 Lux (Prevents light stress and stretching)
- Vegetative Stage: 25,000 - 45,000 Lux (Promotes tight internodal spacing)
- Flowering / Fruiting Stage: 50,000 - 85,000+ Lux (Maximizes yield and secondary metabolite production)
The Arduino Code: Implementing Hysteresis and Filtering
The most common failure mode in DIY light automation is 'relay chatter.' If a leaf temporarily shadows the sensor, or if a cloud passes over a greenhouse, the lux level might dip below the threshold for a fraction of a second, causing the relay to rapidly click on and off. This will destroy your relay contacts and potentially damage your LED drivers.
To solve this, we implement two software techniques: a Moving Average Filter and Hysteresis.
Preventing Relay Chatter with Software Hysteresis
Hysteresis introduces a 'deadband' or buffer zone between the turn-on and turn-off thresholds. If your target vegetative lux is 30,000, you don't turn the lights off at 29,999. You set an upper threshold (e.g., 35,000) to turn the lights OFF, and a lower threshold (e.g., 25,000) to turn them back ON.
Below is the core logic structure for the C++ implementation:
#include <Wire.h>
#include <BH1750.h>

BH1750 lightMeter;
const int RELAY_PIN = 8;
const int LOWER_THRESHOLD = 25000; // Turn ON lights
const int UPPER_THRESHOLD = 35000; // Turn OFF lights

float currentLux = 0;
bool lightsOn = false;

void setup() {
  pinMode(RELAY_PIN, OUTPUT);
  digitalWrite(RELAY_PIN, HIGH); // Active LOW relay
  Wire.begin();
  lightMeter.begin(BH1750::CONTINUOUS_HIGH_RES_MODE);
}

void loop() {
  // Read sensor and apply exponential moving average (EMA) filter
  float rawLux = lightMeter.readLightLevel();
  currentLux = (currentLux * 0.8) + (rawLux * 0.2);

  // Hysteresis Logic
  if (currentLux < LOWER_THRESHOLD && !lightsOn) {
    digitalWrite(RELAY_PIN, LOW); // Turn ON
    lightsOn = true;
  }
  else if (currentLux > UPPER_THRESHOLD && lightsOn) {
    digitalWrite(RELAY_PIN, HIGH); // Turn OFF
    lightsOn = false;
  }
  delay(500); // Poll twice per second
}
Note: The BH1750 library handles the I2C handshake. For detailed sensor initialization parameters, consult the Adafruit BH1750 Ambient Light Sensor Guide.
Real-World Troubleshooting: Edge Cases and Failure Modes
Deploying electronics in a humid, high-power grow environment introduces specific edge cases that bench-testing won't reveal.
Edge Case 1: Sensor Saturation at High PPFD
The BH1750FVI natively maxes out at 65,535 lux. Modern 2026 quantum boards can easily push 90,000+ lux at the canopy level. If the sensor saturates, it will output its maximum value, and your Arduino will mistakenly think the lights are too bright, turning them off entirely.
The Fix: You must adjust the sensor's Measurement Time (MTreg) register via I2C. By lowering the MTreg value from the default 69 down to 32, you decrease the resolution slightly but expand the maximum measurable range well past 100,000 lux. This is a critical adjustment for flowering-stage canopies.
Edge Case 2: Inductive Kickback and Relay Arcing
LED drivers contain large capacitors. When a mechanical relay switches off a high-wattage LED driver, the sudden collapse of the magnetic field can cause an arc across the relay contacts, welding them shut or causing electromagnetic interference (EMI) that resets the Arduino.
The Fix: Never use a bare mechanical relay for high-wattage horticultural lighting. Always use a relay module equipped with an optocoupler and a flyback diode (usually a 1N4007) across the coil. For loads exceeding 400W, bypass the mechanical relay entirely and use the Arduino to trigger a solid-state relay (SSR) rated for at least 25A.
Edge Case 3: Humidity-Induced Leakage Currents
Grow tents routinely operate at 60-80% relative humidity. Condensation can form on the exposed I2C pins of the GY-302 breakout board, creating a high-resistance short between SDA and SCL, resulting in corrupted data packets.
The Fix: Coat the exposed solder joints and pins on the sensor breakout board with a conformal coating or clear silicone potting compound, leaving only the top-facing photodiode window exposed. Mount the sensor pointing straight down at the canopy, shielded from direct misting or foliar sprays.
Conclusion
Learning how to make a light sensor with Arduino is only the first step; engineering it to survive and perform in a demanding real-world environment is where the true value lies. By upgrading from analog LDRs to the digital BH1750FVI, implementing software hysteresis to protect your relays, and adjusting the MTreg to handle intense modern grow lights, you transform a basic hobby project into a professional-grade agricultural automation tool.