
Why the 1602 LCD Remains an Industrial Workhorse in 2026
Despite the proliferation of cheap OLED and TFT screens, the classic 1602 LCD display Arduino setup remains a dominant force in rugged, real-world applications. When building environmental monitors for greenhouses, outdoor weather stations, or factory floor dashboards, engineers consistently return to the 1602 LCD (based on the Hitachi HD44780 controller). Why? Superior sunlight readability, extreme temperature tolerance, and a proven lifespan that outlasts modern OLED burn-in risks.
In this guide, we move beyond basic "Hello World" tutorials. We will design a robust greenhouse climate control panel using an Arduino Uno R4 WiFi and an I2C-equipped 1602 LCD. We will address real-world failure modes like temperature-induced contrast drift, I2C bus lockups over long cable runs, and backlight degradation.
Component Selection: Standard Parallel vs. I2C Backpack
The raw 1602 LCD requires 16 pins, consuming nearly all digital I/O on a standard microcontroller. In modern embedded design, utilizing an I2C backpack (typically based on the NXP PCF8574 or Texas Instruments PCF8574A I/O expander) is mandatory for scalable smart panels.
| Feature | Standard 16-Pin Parallel | I2C Backpack (PCF8574T) |
|---|---|---|
| Microcontroller Pins Used | 6 (RS, EN, D4, D5, D6, D7) | 2 (SDA, SCL) |
| Wiring Complexity | High (prone to loose breadboard connections) | Low (4-wire JST or Dupont harness) |
| Max Cable Length (Unshielded) | ~30 cm (signal degradation) | ~1 meter (with proper pull-ups) |
| Avg. 2026 Module Cost | $2.50 - $3.50 | $3.80 - $5.50 |
Step-by-Step I2C Wiring for Long-Distance Runs
When mounting your 1602 LCD display in a greenhouse control box, the Arduino might sit 50cm away from the display. The I2C protocol was originally designed for on-board communication, not long cable runs. According to the official NXP I2C-bus specification, bus capacitance limits high-speed data transfer. Exceeding 200pF of capacitance (roughly 50cm of standard ribbon cable) will cause signal rise-time failures, resulting in a blank or flickering LCD.
The Robust Wiring Protocol
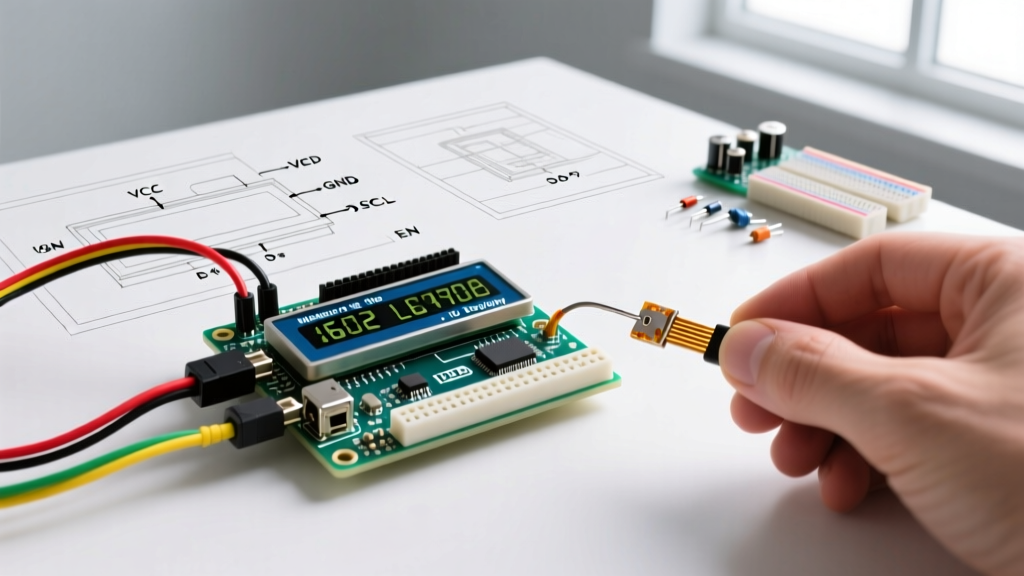
- Base Connections: Connect VCC to 5V, GND to GND, SDA to A4 (or dedicated SDA pin on Uno R4), and SCL to A5.
- Pull-Up Resistors: Do not rely solely on the Arduino's internal pull-ups. Solder 4.7kΩ physical pull-up resistors between SDA/SCL and the 5V rail at the LCD end of the cable to minimize reflections.
- Twisted Pair Routing: Use twisted pair cables for SDA and SCL, wrapping them around the GND wire to reduce electromagnetic interference (EMI) from nearby greenhouse water pumps.
Expert Warning on I2C Addresses: Most cheap I2C backpacks use the PCF8574T chip (base address0x27). However, some batches use the PCF8574AT chip (base address0x3F). If yourLCD.init()fails, run an I2C scanner sketch to verify the exact hex address before assuming a hardware fault.
Overcoming Real-World Failure Modes
Building a prototype on a desk is easy; deploying a 1602 LCD display Arduino project in a humid, 40°C greenhouse exposes critical hardware flaws.
1. Temperature-Induced Contrast Drift
The standard blue 1602 module includes a 10kΩ trimpot to adjust the V0 (contrast) pin. As ambient temperatures rise above 35°C, the liquid crystal fluid's optical threshold shifts. A trimpot set perfectly at 20°C will render the screen unreadable in the afternoon heat.
The Fix: Ditch the trimpot. Calculate a fixed voltage divider to lock V0 at approximately 0.45V. Using a 1kΩ resistor tied to GND and a 10kΩ resistor tied to 5V provides a stable, temperature-resilient contrast baseline that remains readable from 10°C to 50°C.
2. Backlight LED Degradation
Driving the LED+ (pin 15) directly from the Arduino's 5V rail pushes roughly 100mA through the onboard limiting resistor. Over 18 months of continuous 24/7 operation, the phosphor degrades, and the backlight dims by up to 40%.
The Fix: Implement PWM backlight control. Use an N-channel MOSFET (like the 2N7000) to switch the LED+ ground path. By driving the MOSFET gate with an Arduino PWM pin at 1kHz and a 60% duty cycle, you reduce thermal stress on the LEDs, effectively doubling the operational lifespan of the display while allowing software-based dimming during nighttime hours.
Code Implementation: Non-Blocking UI & Custom Characters
When integrating sensors like the BME280 alongside your 1602 LCD, using delay() to time screen refreshes will cause sensor read timeouts. We must use millis() for non-blocking UI updates. Furthermore, utilizing the Arduino Wire library efficiently prevents I2C bus congestion.
Generating Custom UI Icons
The HD44780 controller allows up to 8 custom 5x8 pixel characters. For a greenhouse monitor, creating dedicated icons for humidity and temperature saves valuable text space. Below is the hex mapping for a custom water droplet icon stored in the CGRAM:
byte waterDrop[8] = {
  0b00100,
  0b00100,
  0b01010,
  0b01010,
  0b10001,
  0b10001,
  0b10001,
  0b01110
};
Initialize this in your setup() using lcd.createChar(0, waterDrop); and call it in the loop with lcd.write((byte)0);. This renders a crisp, professional icon directly next to your humidity percentage, vastly improving the user interface without requiring external graphics libraries.
2026 Bill of Materials (BOM) & Pricing
Below is the optimized BOM for a production-ready greenhouse panel. Prices reflect Q1 2026 distributor averages (DigiKey/Mouser) for single-unit prototyping.
- MCU: Arduino Uno R4 WiFi (
$27.50) - Chosen for native 12-bit DAC and hardware I2C fault recovery. - Display: 1602 LCD with PCF8574T I2C Backpack (
$4.20) - Green/Yellow backlight preferred for low eye-strain. - Sensor: Bosch BME280 Breakout (I2C) (
$6.50) - Avoid DHT11/DHT22 for professional builds due to slow sampling rates. - Backlight Driver: 2N7000 N-Channel MOSFET (
$0.15) + 10kΩ Gate Pulldown. - Passives: 4.7kΩ I2C Pull-ups, 1kΩ/10kΩ Contrast Divider (
$0.20total).
Total Hardware Cost: ~$38.55 per node.
Expert Troubleshooting FAQ
Q: My LCD shows a row of solid black blocks on the top line.
A: This indicates the microcontroller has successfully initialized the display hardware, but the I2C data transfer is failing or the memory pointer is corrupted. Check your I2C pull-up resistors and ensure you are not writing to the LCD faster than the 1.5ms execution time required by the HD44780 chip for clear/home commands.
Q: The screen flickers when the water pump relay turns on.
A: You are experiencing inductive voltage spikes on the 5V rail. The 1602 LCD is highly sensitive to VCC ripples. Add a 100µF electrolytic capacitor and a 0.1µF ceramic decoupling capacitor directly across the VCC and GND pins on the back of the LCD PCB to filter high-frequency EMI.
By treating the 1602 LCD display Arduino integration not as a simple hobbyist toy, but as a rugged industrial component requiring proper bus termination, thermal contrast management, and PWM backlight driving, you can build smart panels that survive years of harsh real-world deployment.