
Introduction to the XIAO ESP32S3 Architecture
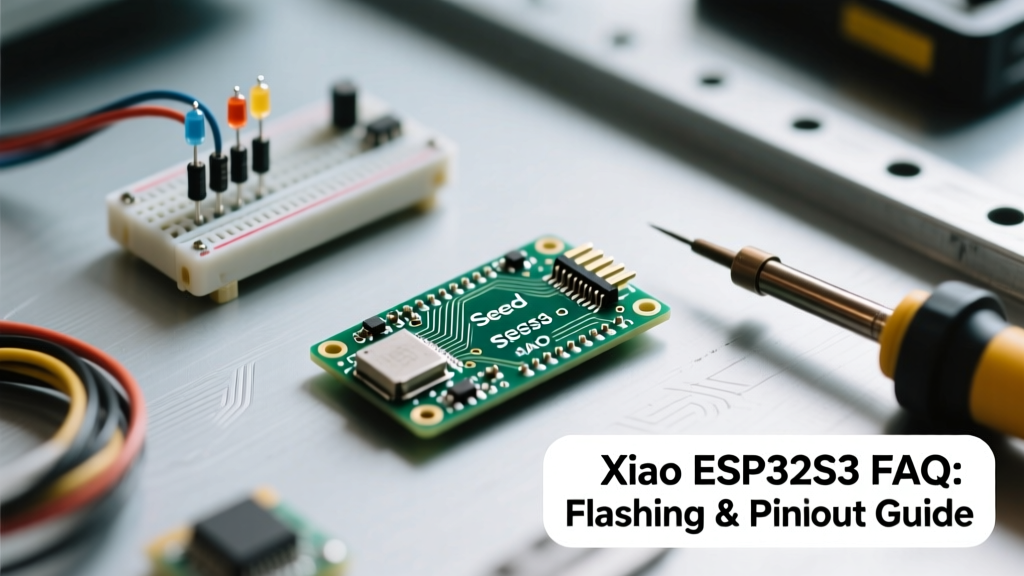
The Seeed Studio XIAO ESP32S3 has rapidly become a staple in the maker community due to its ultra-compact 21x17.5mm footprint and the raw processing power of the Espressif ESP32-S3 chip. Featuring a dual-core Xtensa 32-bit LX7 microcontroller running at 240MHz, native USB OTG support, and Wi-Fi/BLE 5.0 capabilities, it punches well above its weight class. However, its minimalist physical design strips away traditional conveniences like physical BOOT and RESET buttons, leading to frequent stumbling blocks for developers migrating from standard NodeMCU or Arduino Nano boards.
This quick-reference FAQ and troubleshooting guide is designed to bypass the guesswork. We will cover exact Arduino IDE configurations, the physical pad-shorting sequence for bootloader entry, precise GPIO translations, and power management specifics for battery-operated edge AI projects.
Quick-Start: Arduino IDE Board Manager Setup
Before writing a single line of code, your Arduino IDE must be configured to recognize the specific memory partitions and USB controllers of the ESP32-S3 silicon.
- Update Board Manager URLs: Navigate to File > Preferences and paste the following URL into the 'Additional Boards Manager URLs' field:
https://raw.githubusercontent.com/espressif/arduino-esp32/gh-pages/package_esp32_index.json - Install the Core: Open the Boards Manager, search for esp32, and install the latest stable release (v2.0.14 or newer recommended for stable XIAO support).
- Select the Board: Go to Tools > Board > ESP32 Arduino and select XIAO_ESP32S3.
Critical E-E-A-T Note: Do not select the generic 'ESP32S3 Dev Module' unless you are manually configuring the partition scheme and PSRAM. The dedicated 'XIAO_ESP32S3' profile automatically maps the correct QSPI flash and USB-CDC parameters native to Seeed's hardware layout.
The Bootloader Dilemma: How to Force Download Mode
The most common point of failure for beginners is the 'Failed to connect to ESP32-S3' error. Because the XIAO ESP32S3 lacks physical tactile buttons, you must manually manipulate the logic states of the BOOT and RESET pads to force the ROM bootloader into UART download mode.
Method 1: The Physical Pad Shorting Sequence
On the top silkscreen of the XIAO ESP32S3, locate the BOOT and RESET pads (usually situated near the USB-C port or on the reverse side depending on the board revision). Follow this exact sequence:
- Connect the XIAO to your PC via a data-capable USB-C cable (charge-only cables will cause silent failures).
- Using tweezers or a jumper wire, short the BOOT pad to the GND pad. Keep this connection closed.
- While holding BOOT to GND, briefly short the RESET pad to the GND pad and release the RESET connection.
- Release the BOOT pad connection.
- The board is now in download mode. Click 'Upload' in the Arduino IDE.
Method 2: The Software 'Upload Mode' Bypass
Espressif and Seeed Studio implemented a software workaround to eliminate the need for tweezers. If your board is currently responsive and running a sketch with native USB enabled:
- Navigate to Tools > Upload Mode and select UART0 / Hardware CDC and JTAG.
- When you click 'Upload', the Arduino IDE will send a specialized 1200bps touch signal over the USB-CDC interface, instructing the ESP32-S3 to automatically reboot into the bootloader without physical intervention.
XIAO ESP32S3 Pinout Translation Matrix
The silkscreen on the XIAO uses 'D' (Digital) and 'A' (Analog) prefixes, which do not directly match the ESP32-S3 GPIO numbering. Using the wrong GPIO number in your code will result in silent failures or short circuits. Use this translation matrix for your pinMode() and digitalWrite() functions.
| Silkscreen | ESP32-S3 GPIO | Primary Function | ADC / PWM Capability |
|---|---|---|---|
| D0 / A0 | GPIO1 | General I/O, ADC1_CH0 | 12-bit ADC, LEDC PWM |
| D1 / A1 | GPIO2 | General I/O, ADC1_CH1 | 12-bit ADC, LEDC PWM |
| D2 / A2 | GPIO3 | General I/O, ADC1_CH2 | 12-bit ADC, LEDC PWM |
| D3 / A3 | GPIO4 | General I/O, ADC1_CH3 | 12-bit ADC, LEDC PWM |
| D4 / A4 | GPIO5 | General I/O, ADC1_CH4 | 12-bit ADC, LEDC PWM |
| D5 / A5 | GPIO6 | General I/O, ADC1_CH5 | 12-bit ADC, LEDC PWM |
| D6 / A6 | GPIO7 | General I/O, ADC1_CH6 | 12-bit ADC, LEDC PWM |
| D7 / A7 | GPIO8 | General I/O, ADC1_CH7 | 12-bit ADC, LEDC PWM |
| D8 / A8 | GPIO9 | General I/O, ADC1_CH8 | 12-bit ADC, LEDC PWM |
| D9 / A9 | GPIO10 | General I/O, ADC1_CH9 | 12-bit ADC, LEDC PWM |
| D10 (TX) | GPIO43 | Default UART TX | No ADC, LEDC PWM |
| D11 (RX) | GPIO44 | Default UART RX | No ADC, LEDC PWM |
For comprehensive hardware schematics and absolute maximum ratings, always refer to the Seeed Studio XIAO ESP32S3 Wiki.
Power Delivery, LiPo Charging, and Deep Sleep
Designing for wearable or remote IoT deployments requires a strict understanding of the XIAO's power tree.
- USB-C Input: 5V nominal. The onboard ESD protection and power-path management IC handles USB insertion detection.
- LiPo Battery Support: The board features a built-in charging circuit for 3.7V Lithium-Polymer batteries. The default charge current is relatively low (typically ~50mA to 100mA), which is safe for small 200mAh - 400mAh LiPo cells but means charging a 2000mAh cell will take over 20 hours.
- 3.3V Regulator Output: The onboard LDO can supply up to 600mA. If you are driving high-current peripherals like Neopixel LED rings or external LoRa modules, ensure your peak draw does not exceed this limit, or bypass the LDO by feeding regulated 3.3V directly into the 3V3 pin.
- Deep Sleep Current: When utilizing the ESP32-S3's deep sleep modes and powering the board via the LiPo pads (bypassing the USB power-path IC quiescent draw), the XIAO ESP32S3 can achieve a deep sleep current of approximately 14µA. This is critical for multi-year sensor node deployments.
Troubleshooting Common Compilation & Upload Errors
Error: "Serial.println() outputs nothing to the Serial Monitor"
The Cause: The ESP32-S3 features a native USB peripheral, separate from the traditional hardware UART0 used on older ESP32 chips. By default, the Arduino core might route Serial data to the hardware UART pins (D10/D11) instead of the USB-C port.
The Fix: Go to Tools > USB CDC On Boot and select Enabled. This forces the Serial object to map to the native USB-CDC interface, allowing debug output to appear in your IDE's Serial Monitor.
Error: "A fatal error occurred: Failed to connect to ESP32-S3: No serial data received"
The Cause: The IDE is attempting to handshake with the bootloader, but the chip is executing user code that is either blocking the UART/USB interrupts or the board is not in download mode.
The Fix: Perform the physical pad shorting sequence outlined in Method 1. Additionally, verify you are not using a 'Charge Only' USB-C cable, which lacks the D+ and D- data lines required for the handshake.
Error: "Sketch too big; PSRAM not utilized"
The Cause: The XIAO ESP32S3 comes with 8MB of Flash and, depending on the exact SKU, up to 8MB of PSRAM (Octal SPI). If you are compiling large audio buffers or camera frame arrays, they will overflow the internal SRAM.
The Fix: Navigate to Tools > PSRAM and select OPI PSRAM (Octal Peripheral Interface). You must also explicitly initialize PSRAM in your setup function using psramInit() and allocate memory using ps_malloc() or heap_caps_malloc(size, MALLOC_CAP_SPIRAM).
Rapid-Fire FAQ: Advanced MCU Configurations
Q: Can I use the XIAO ESP32S3 to drive a camera module?
A: The base XIAO ESP32S3 does not have the camera connector populated. However, Seeed Studio offers the XIAO ESP32S3 Sense variant, which includes an onboard OV2640 camera module and an SD card slot. If you are using the Sense board, you must use the specific esp_camera.h pin definitions provided in the Espressif Arduino Core examples, as the camera interface consumes GPIO10, GPIO11, GPIO12, GPIO13, GPIO14, and several others that are otherwise broken out on the base board.
Q: How do I retrieve the MAC address for Wi-Fi provisioning?
A: The MAC address is burned into the eFuse during manufacturing. You can retrieve it in your sketch by including #include and calling Serial.println(WiFi.macAddress()); inside your setup() block. This is essential for AWS IoT or MQTT broker authentication where device certificates are tied to hardware MACs.
Q: Which pins support capacitive touch sensing?
A: Unlike the original ESP32, the ESP32-S3 architecture handles touch sensing differently. The XIAO ESP32S3 exposes specific touch-capable GPIOs. Refer to the ESP32-S3 Technical Reference Manual for the exact touch sensor channel mappings, but generally, GPIO1 through GPIO14 on the S3 support the touch sensor peripheral, allowing you to use D0 through D9 as capacitive buttons without external hardware.
Pro-Tip for Production: If you are designing a custom carrier board for the XIAO ESP32S3, ensure you leave the top and bottom copper pours near the USB-C port free of ground planes to maintain the 50-ohm impedance matching required for stable USB 2.0 High-Speed data transmission.