
The 'What's Arduino' Clone Conundrum: Identifying Your Hardware
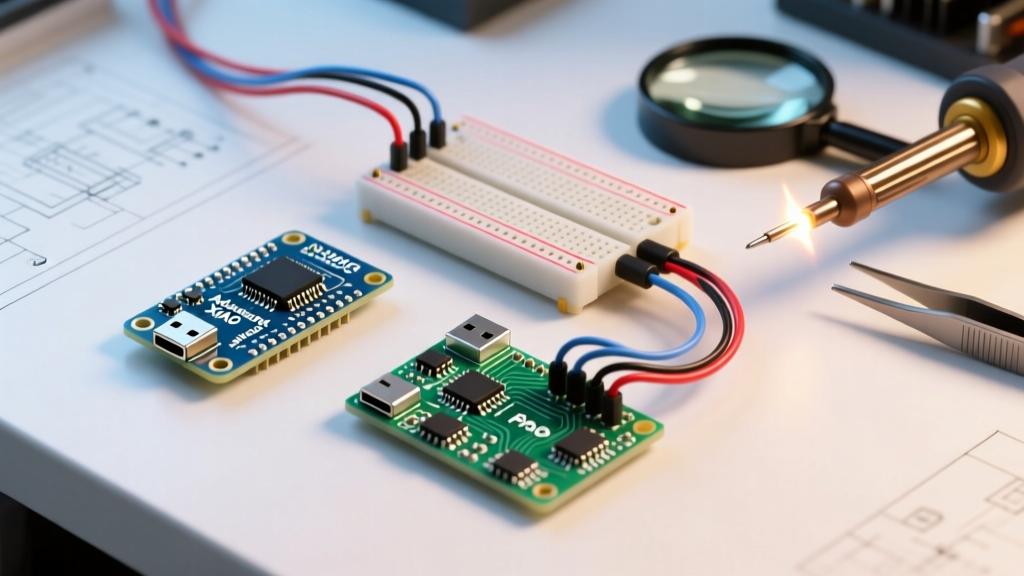
When makers frantically type 'what's arduino' into search engines late at night, they rarely want a history lesson on the Wiring platform or the origins of the Ivrea interaction design institute. They want to know: What's Arduino doing, and why is my board failing to upload? In 2026, the maker market remains heavily saturated with Uno R3 clone boards. While a genuine Arduino Uno R3 (utilizing the ATmega16U2 USB-to-Serial chip) retails around $27.00, clone boards featuring the CH340G or CH340C serial bridge chips can be sourced for $8.50 to $12.00.
These budget boards are fantastic for learning, but they introduce unique failure modes that the official documentation often glosses over. If your IDE is throwing errors or your board appears completely dead, you must first identify the silicon on your PCB. Look at the secondary SMD chip near the USB port. If it reads CH340, CH341, or CP2102, you are dealing with a clone architecture that requires specific driver handling and troubleshooting workflows.
Diagnostic Matrix: LED States & Upload Errors
Before diving into software fixes, observe the physical board. The onboard LEDs are your primary diagnostic tools. Cross-reference your board's behavior with this troubleshooting matrix:
| Symptom / LED State | Probable Cause | Required Fix |
|---|---|---|
| 'ON' LED lit, 'L' LED solid, TX/RX dark | Bootloader missing, corrupted, or wrong fuses set | Burn Bootloader via ICSP |
| 'L' LED blinking rapidly (approx 5Hz) | Sketch stuck in watchdog reset loop or brownout | Upload blank sketch via manual reset |
| Port greyed out in Arduino IDE 2.3.x | CH340 driver missing or blocked by OS security | Install signed WCH drivers |
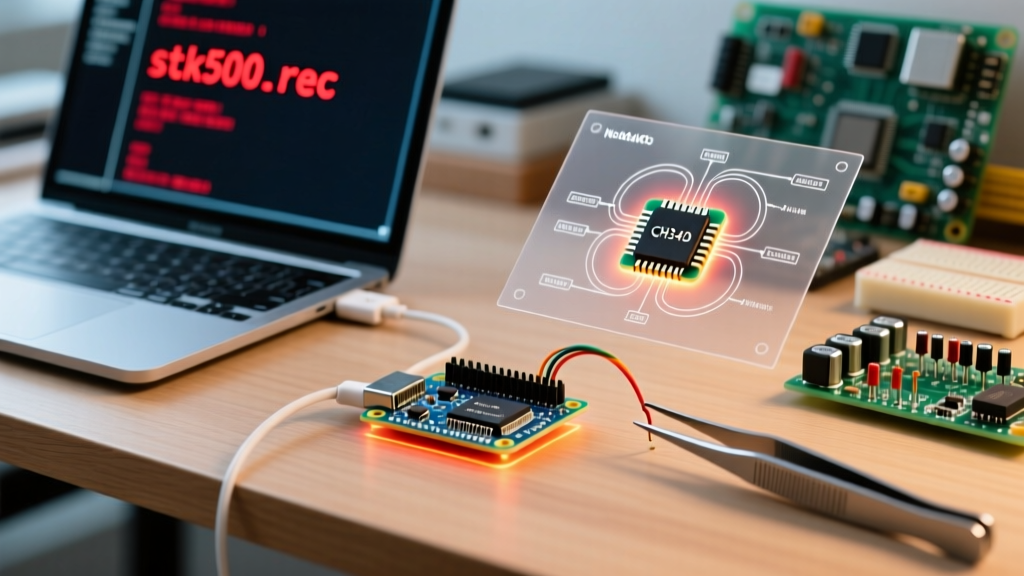
TX/RX flash once, then stk500_recv() error |
Auto-reset circuit failure (blown 100nF capacitor) | Manual reset timing technique |
Fix 1: Resolving CH340/CH341 Driver Conflicts on Modern OS
The most common reason a clone board fails to connect is a driver rejection by the operating system. Modern versions of Windows 11 enforce strict Core Isolation and Memory Integrity policies. These security features will silently block older, unsigned, or improperly certified CH340 drivers, resulting in the board showing up as an 'Unknown USB Device' in Device Manager.
Pro Tip: Never download CH340 drivers from random third-party electronics blogs. Always source the signed WCH (Nanjing Qinheng Microelectronics) driver directly from the manufacturer or trusted educational hubs like SparkFun's CH340 Driver Guide.
Step-by-Step Fix:
- Open Windows Device Manager and uninstall the 'Unknown USB Device', checking the box to 'Attempt to remove the driver for this device'.
- Download the official WCH CH341SER.EXE (version 3.5 or higher, which includes proper WHQL signatures for Windows 11).
- Run the installer as Administrator and click 'INSTALL'.
- Plug in your Arduino clone. It should now enumerate cleanly as 'USB-SERIAL CH340 (COMX)'.
Fix 2: Bypassing the 100nF Auto-Reset Capacitor Failure
If your port is recognized but the Arduino IDE throws the dreaded avrdude: stk500_recv(): programmer is not responding error, your board's auto-reset circuit has likely failed. On genuine boards and high-quality clones, a 100nF ceramic capacitor bridges the DTR (Data Terminal Ready) line from the USB chip to the RESET pin on the ATmega328P. When the IDE opens the serial port, the DTR line toggles, pulling the RESET pin low via the capacitor to trigger the Optiboot bootloader.
On ultra-cheap $8 clones, this capacitor is often omitted, misaligned, or blown during wave soldering. Without it, the microcontroller never resets, and the bootloader never wakes up to receive the hex file.
The 1.2-Second Manual Reset Technique
You can bypass the hardware failure using precise manual timing. The Optiboot bootloader on the ATmega328P listens for serial data for exactly 800ms to 1.5 seconds after a reset before timing out and launching the user sketch.
- Click the Upload button in the Arduino IDE.
- Watch the black console window at the bottom. Wait for the compilation to finish and the text 'Sketch uses X bytes...' to appear.
- The exact millisecond you see 'Sketch uses...', press and release the physical RESET button on the Arduino board.
- The IDE will initiate the serial handshake within the 1.2-second sweet spot, and the upload will succeed.
Fix 3: Reviving a Bricked ATmega328P via ICSP
If the 'L' LED is completely dead or solid, and manual reset fails, your board's bootloader is corrupted, or the fuse bits have been accidentally overwritten (a common issue when experimenting with external crystal oscillators and then reverting to the internal 8MHz RC oscillator). You must use an In-Circuit Serial Programmer (ICSP) to burn a fresh bootloader.
You will need a USBasp programmer (approximately $4.50 online) and six female-to-female jumper wires. For a comprehensive wiring guide, refer to the official Arduino ISP Documentation.
Wiring the 6-Pin ICSP Header:
- MISO: USBasp MISO to Arduino ICSP Pin 1 (Top Left)
- VCC: USBasp 5V to Arduino ICSP Pin 2 (Top Middle)
- SCK: USBasp SCK to Arduino ICSP Pin 3 (Top Right)
- MOSI: USBasp MOSI to Arduino ICSP Pin 4 (Bottom Left)
- GND: USBasp GND to Arduino ICSP Pin 6 (Bottom Right)
Once wired, open the Arduino IDE, select Tools > Programmer > USBasp, and click Tools > Burn Bootloader. The IDE will invoke AVRDUDE under the hood to wipe the flash memory, set the correct high/low/extended fuses for a 16MHz external crystal, and flash the Optiboot hex file. This process takes roughly 12 seconds and will permanently un-brick the microcontroller.
When to Abandon the Clone and Upgrade
While troubleshooting clones builds deep embedded systems knowledge, there is a threshold where hardware limitations impede progress. If you are consistently fighting memory limits (the ATmega328P only has 2KB of SRAM and 32KB of Flash), or you require native USB HID capabilities without relying on the 16U2/CH340 serial bridge, it is time to upgrade.
In 2026, the Arduino Uno R4 WiFi (retailing around $27.50) is the standard upgrade path. It replaces the AVR architecture with a 32-bit Renesas RA4M1 ARM Cortex-M4 running at 48MHz, alongside an ESP32-S3 module for wireless connectivity. Troubleshooting the R4 shifts from hardware-level AVR fuse issues to firmware-level ESP32 bridge updates, offering a much more robust environment for modern IoT and high-speed data acquisition projects.