
Defining the ESP32: Beyond the Basics
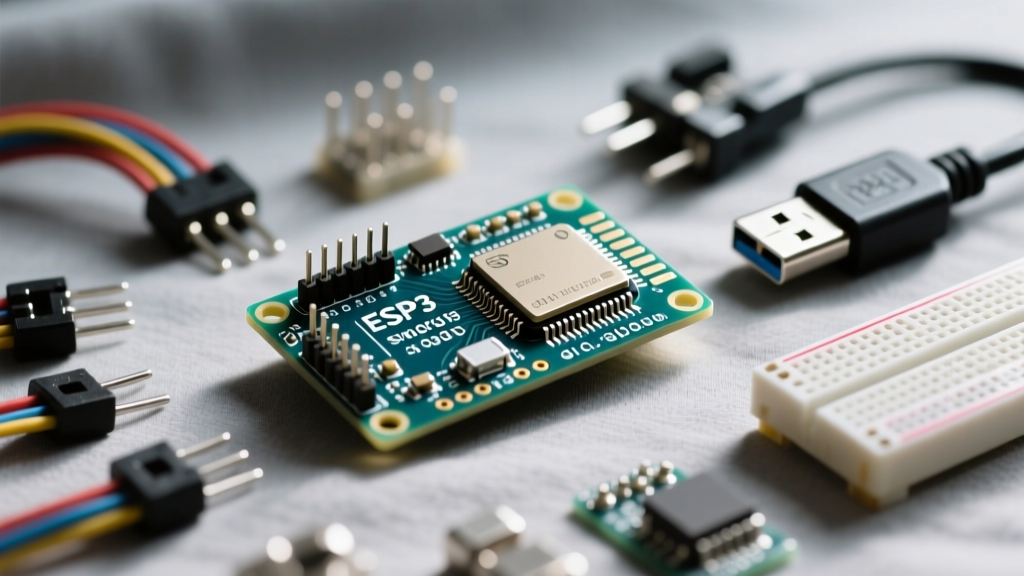
When makers and engineers ask, "what is an ESP32?", the standard answer is a low-cost, low-power microcontroller with integrated Wi-Fi and Bluetooth. However, from a configuration and deployment perspective, the ESP32 is actually a highly complex System-on-Chip (SoC) developed by Espressif Systems that bridges the gap between simple 8-bit microcontrollers and full-fledged Linux-based single-board computers. To truly understand what an ESP32 is, you must understand how to configure its dual-core architecture, manage its wireless radios, and navigate its strict GPIO pinout rules.
This configuration guide moves past superficial overviews. We will dissect the ESP32-WROOM and ESP32-S3 ecosystems, detailing the exact IDE setups, memory partitioning schemes, and hardware strapping configurations required to deploy robust IoT and robotics projects in 2026.
Decoding the Architecture: Cores and Coprocessors
The classic ESP32 utilizes a Tensilica Xtensa 32-bit LX6 dual-core processor, operating at up to 240 MHz. Unlike standard Arduino boards that execute code sequentially on a single core, the ESP32 requires you to configure task allocation.
Core 0 vs. Core 1 Configuration
By default, the Arduino core for the ESP32 assigns the Wi-Fi and Bluetooth stack tasks to Core 0 (the Protocol CPU), while your loop() and setup() functions run on Core 1 (the Application CPU). When writing advanced firmware, you can explicitly pin tasks to specific cores using the FreeRTOS xTaskCreatePinnedToCore() function. This is critical for time-sensitive operations like reading high-speed encoders or generating precise PWM signals without wireless interrupt jitter.
The Ultra-Low-Power (ULP) Coprocessor
Hidden within the ESP32 is an 8-bit ULP coprocessor. It can be configured to monitor sensors, read ADC values, and manage touch pins while the main cores are in deep sleep, consuming mere microamps of current.
Initial Toolchain and IDE Configuration
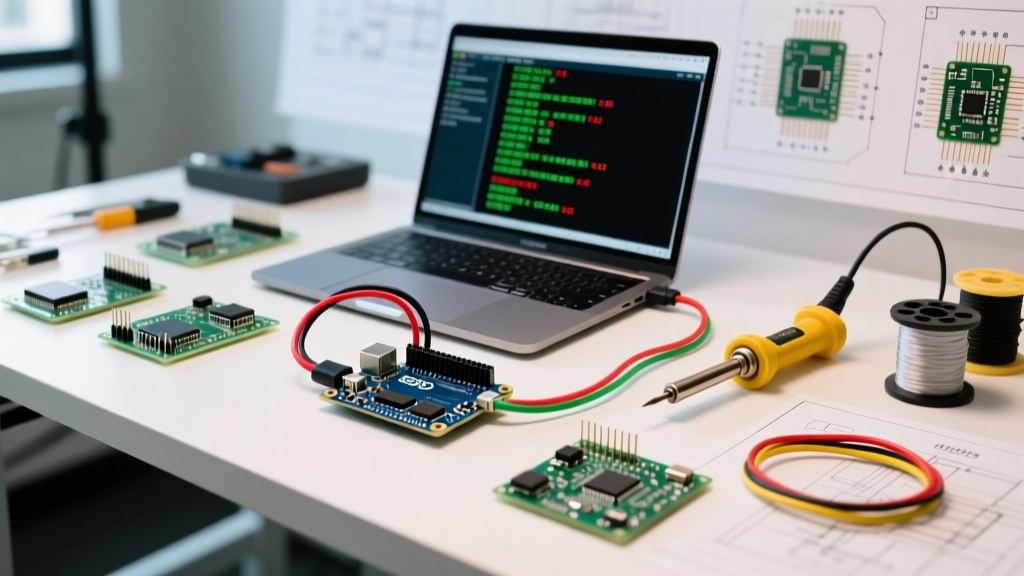
Configuring your development environment is the first hurdle. While the native ESP-IDF (IoT Development Framework) offers maximum control, the Arduino IDE remains the most accessible entry point for rapid prototyping.
Board Manager Configuration Steps
- Open the Arduino IDE and navigate to File > Preferences.
- In the "Additional Boards Manager URLs" field, paste the official Espressif JSON link:
https://raw.githubusercontent.com/espressif/arduino-esp32/gh-pages/package_esp32_index.json. - Open the Boards Manager, search for "esp32", and install the latest package by Espressif Systems.
Selecting the Correct Board Definition
Choosing the wrong board definition will result in incorrect flash speeds and partition schemes. For generic development boards like the SparkFun ESP32 Thing Plus or standard AliExpress clones, select DOIT ESP32 DEVKIT V1. If you are using a board with an octal SPI flash or PSRAM (like the ESP32-S3-DevKitC), you must select the specific S3 variant and configure the PSRAM to "OPI" in the Tools menu to unlock the extra 8MB of memory.
Hardware Pinout & Peripheral Configuration Rules
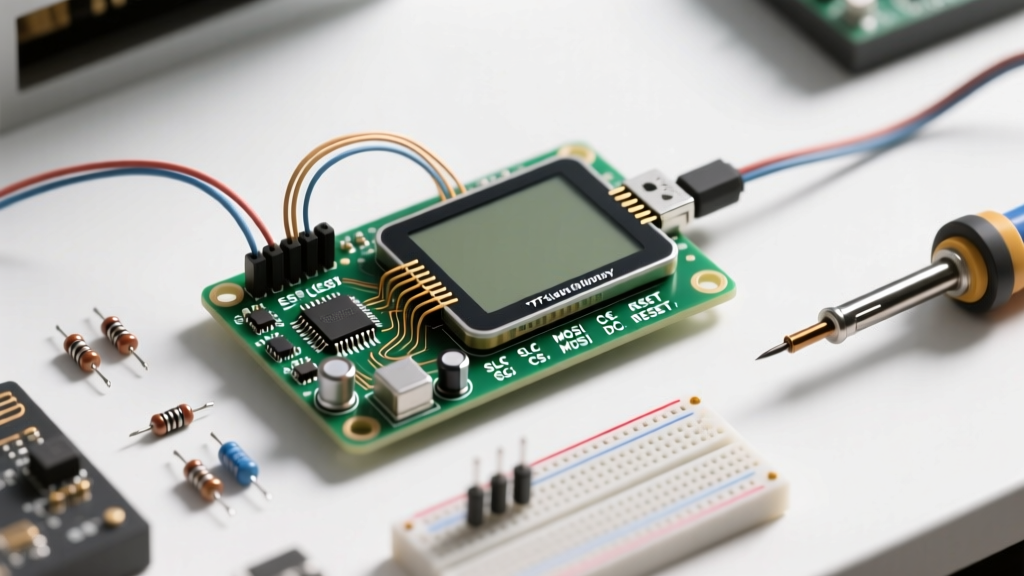
A major point of confusion when learning what an ESP32 is involves its GPIO matrix. Unlike the ATmega328P, the ESP32 features a flexible GPIO matrix, but physical hardware limitations impose strict configuration rules. Misconfiguring these pins will cause boot failures or hardware damage.
GPIO Restrictions and Strapping Pins
Strapping pins are sampled by the ESP32 during the boot sequence to determine the boot mode and flash voltage. If these pins are pulled high or low by external sensors or relays during power-up, the board will hang.
| GPIO Pin | Function / Restriction | Configuration Rule |
|---|---|---|
| GPIO 0 | Boot Mode Selection | Must be HIGH to boot normally. LOW enters serial bootloader. |
| GPIO 2 | Boot Mode / Debug | Must be LOW or floating to boot from flash. Do not attach relays. |
| GPIO 12 | Flash Voltage Select | Must be LOW for 3.3V flash. HIGH switches to 1.8V (can brick board). |
| GPIO 34-39 | Input-Only Pins | No internal pull-up/pull-down resistors. Cannot drive outputs. |
Pro-Tip: Never use GPIO 1 (TX) and GPIO 3 (RX) for general-purpose I/O. These are hardwired to the primary USB-UART bridge (usually a CP2102 or CH340 chip). Attaching external components here will corrupt your serial debug output and prevent firmware uploads.
ADC and Wi-Fi Conflict Configuration
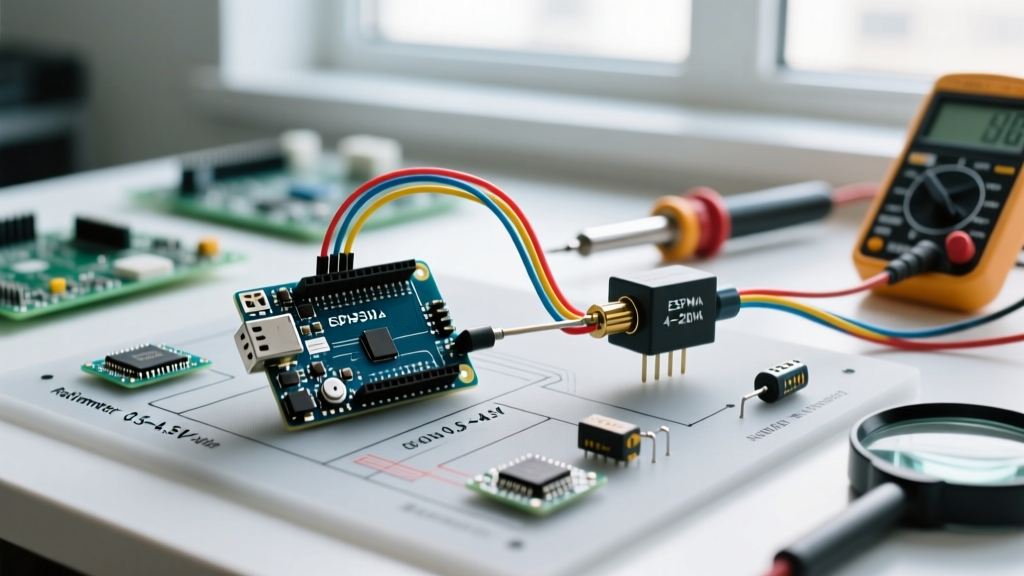
The ESP32 features two Analog-to-Digital Converters: ADC1 and ADC2. A critical configuration detail often missed by beginners is that ADC2 is shared with the Wi-Fi driver. If your sketch initializes the Wi-Fi radio, any attempt to read from ADC2 pins (like GPIO 4, 13, or 14) will fail and return garbage data. Always configure your analog sensors to use ADC1 pins (GPIO 32-36) if wireless connectivity is required.
Configuring Wireless Radios: Coexistence and Power
The defining feature of the ESP32 is its 2.4 GHz RF subsystem. Configuring the Wi-Fi and Bluetooth (Classic and BLE) radios requires an understanding of Espressif's coexistence framework.
RF Coexistence Setup
When both Wi-Fi and Bluetooth are active, they share the same antenna and RF front-end. The ESP32 uses a time-division multiplexing scheme to switch between them. In the Arduino IDE, this is handled automatically, but you can configure the priority in the ESP-IDF using the esp_coexist_preference_set() function. If you are building an audio streaming device, prioritize Wi-Fi; if you are building a BLE mesh gateway, prioritize Bluetooth.
Power Profile Configuration
To optimize battery life, configure the modem sleep states. By calling WiFi.setSleep(true), the ESP32 will turn off the RF radio between DTIM (Delivery Traffic Indication Message) beacons from your router. This drops idle Wi-Fi current consumption from ~80mA down to ~20mA, a vital configuration for solar-powered IoT nodes.
Flash Memory Partitioning: The Hidden Configuration
Understanding what an ESP32 is also means understanding its memory map. The ESP32 does not treat its 4MB or 8MB SPI flash as a single monolithic drive. Instead, it uses a Partition Table (partitions.csv) configured at compile time.
Standard vs. OTA Partition Schemes
- Default (No OTA): Allocates roughly 1.4MB for the application and 1.5MB for SPIFFS/LittleFS file storage. Best for heavy web servers hosting large HTML/JS assets.
- Minimal SPIFFS (OTA Required): Splits the flash into two identical app partitions (App0 and App1) of ~1.2MB each, allowing Over-The-Air updates, leaving only ~190KB for file storage.
- Huge APP (3MB No OTA): Dedicates 3MB to a single application binary. Required when compiling massive firmware with heavy libraries like TensorFlow Lite for Microcontrollers or LVGL graphics.
You can configure these schemes directly in the Arduino IDE under Tools > Partition Scheme. Selecting the wrong scheme for your code size will result in the dreaded "Sketch too big" compilation error, even if the physical flash chip has plenty of empty space.
Final Thoughts on ESP32 Deployment
The ESP32 is far more than a "Wi-Fi Arduino." It is a highly configurable, multi-core RF powerhouse that demands respect for its hardware quirks. By properly configuring your IDE toolchain, respecting the strapping pin limitations, managing the ADC/Wi-Fi conflicts, and selecting the correct flash partition scheme, you unlock the true potential of Espressif's flagship silicon. For deeper technical specifications and register-level configurations, always refer to the official Espressif ESP-IDF documentation and the Arduino ESP32 Core repository.