
Selecting the Ideal ESP32 Screen Interface
Before soldering a single header pin, you must choose the right display protocol. While I2C OLEDs are popular for simple text, SPI TFT screens are mandatory for graphical user interfaces, gauges, and image rendering.
| Feature | I2C (e.g., SSD1306 128x64) | SPI (e.g., ILI9341 320x240) | Parallel 8-bit (e.g., ILI9488) |
|---|---|---|---|
| Refresh Rate | Low (~15 FPS) | High (~60+ FPS) | Very High (Video capable) |
| GPIO Pins Used | 2 (SDA, SCL) | 5 to 6 (MOSI, MISO, SCK, CS, DC, RST) | 12 to 16 |
| Best Use Case | Sensor readouts, basic icons | Charts, touch UI, color images | High-res video, complex 3D |
| ESP32 Compatibility | Excellent | Excellent (via VSPI/HSPI) | Requires specific GPIO mapping |
For 90% of maker projects, a 2.4-inch or 2.8-inch SPI TFT screen based on the ILI9341 or ST7789 controller offers the perfect balance of speed, color depth, and pin economy.
Hardware Wiring and the 3.3V Logic Trap
The most common hardware failure when wiring an ESP32 screen stems from ignoring logic levels. The ESP32 operates strictly at 3.3V. Feeding 5V into any GPIO pin will permanently destroy the silicon. Conversely, many cheap TFT displays sold online are designed for 5V Arduino Uno boards and feature onboard level shifters that require a 5V logic HIGH to register a signal properly.
Pro-Tip: If your display module has a built-in level shifter (often identifiable by a small 8-pin LVC chip on the PCB), you may need to power the display's VCC with 5V while keeping the SPI data lines at 3.3V. However, the safest and most reliable route is to purchase a display specifically rated for 3.3V logic, which directly interfaces with the ESP32 without signal degradation.
VSPI Pin Mapping for ESP32 DevKit V1
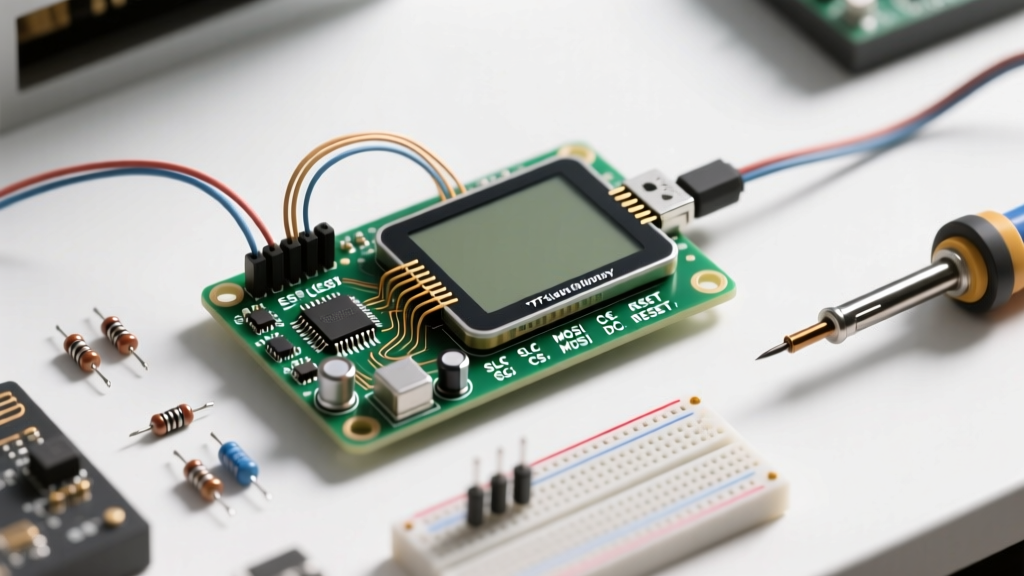
The ESP32 features two hardware SPI buses: VSPI and HSPI. We will use the default VSPI pins to leverage hardware DMA (Direct Memory Access) for flicker-free screen updates.
- SCK (Clock): GPIO 18
- MOSI (Data In): GPIO 23
- MISO (Data Out): GPIO 19 (Required only for touch screens or reading SD cards)
- CS (Chip Select): GPIO 5
- DC (Data/Command): GPIO 16
- RST (Reset): GPIO 17
- BLK (Backlight): GPIO 4 (Connect to a PWM-capable pin for brightness control)
When dealing with high-speed SPI buses, wire capacitance becomes a major factor. Standard 20cm breadboard jumper wires will act as antennas, degrading the square wave clock signal and resulting in corrupted pixels or random reboots. Always use wires under 10cm for SPI lines, and consider soldering directly to the PCB for production units. Always refer to the official Espressif SPI Master Documentation to verify pin routing for your specific ESP32 variant, as pins on the ESP32-S3 or ESP32-C3 differ significantly.
Configuring the TFT_eSPI Library
While the Adafruit_GFX library is beginner-friendly, it is too slow for the ESP32's capabilities. We will use Bodmer's TFT_eSPI library, which utilizes ESP32 DMA and custom SPI clocks to achieve massive frame rates. You can find excellent baseline tutorials on platforms like Random Nerd Tutorials, but the secret to success lies in the User_Setup.h file.
After installing TFT_eSPI via the Arduino Library Manager, you must navigate to the library folder and edit User_Setup.h. Comment out all default driver definitions and uncomment your specific chip:
#define ILI9341_DRIVER
// #define ST7789_DRIVER
Next, define the exact GPIO pins you wired in the previous step:
#define TFT_CS   5
#define TFT_DC  16
#define TFT_RST 17
#define TOUCH_CS -1 // Disable touch if not used
Finally, push the SPI clock speed. The ESP32 can easily handle 40MHz, and some high-quality screens can hit 80MHz. Start at 40MHz for stability:
#define SPI_FREQUENCY 40000000
Writing the First Sprite-Based Sketch
Drawing directly to the screen causes visible flickering because the display refreshes while the microcontroller is still pushing pixel data. To solve this, we use Sprites (memory buffers). A sprite draws the entire frame in the ESP32's RAM, then pushes it to the screen in one rapid DMA burst.
#include <TFT_eSPI.h>
TFT_eSPI tft = TFT_eSPI();
TFT_eSprite sprite = TFT_eSprite(&tft);

void setup() {
  tft.init();
  tft.setRotation(1);
  sprite.createSprite(320, 240);
  sprite.setSwapBytes(true); // Fix color endianness
}

void loop() {
  sprite.fillSprite(TFT_BLACK);
  sprite.setTextColor(TFT_CYAN);
  sprite.setTextSize(2);
  sprite.setCursor(50, 100);
  sprite.println("ESP32 Screen Active");
  sprite.pushSprite(0, 0);
  delay(16); // ~60 FPS
}
Troubleshooting Common Display Failures
Even with perfect wiring, ESP32 screen integrations often fail on the first boot. Use this diagnostic framework to isolate the issue:
1. The "White Screen of Death"
If the backlight turns on but the screen is solid white, the display is receiving power but no valid initialization commands. This is almost always caused by swapping the CS and DC pins, or a mismatch in the User_Setup.h pin definitions. Verify your GPIO mappings with a multimeter.
2. Inverted or Wrong Colors
If black appears as white, or red appears as blue, the RGB/BGR color order is flipped. Add #define TFT_RGB_ORDER TFT_BGR to your setup file. If the screen is inverted (negative), add tft.invertDisplay(true); in your setup loop.
3. Severe Flickering or Tearing
If you are not using Sprites, flickering is inevitable. If you are using Sprites and still see tearing, your SPI frequency is too high for the physical wire length. Drop SPI_FREQUENCY to 27000000 (27MHz) and ensure your jumper wires are shorter than 10cm to reduce capacitance.
4. Touch Screen Interference
If your display includes an XPT2046 touch controller, it shares the SPI bus. The touch controller operates at a maximum of 2.5MHz, while the TFT runs at 40MHz. TFT_eSPI handles this by temporarily dropping the SPI clock when polling the touch chip. If your touch inputs are erratic, ensure the TOUCH_CS pin is defined correctly and isolated from the TFT_CS pin.
Conclusion
Mastering the ESP32 screen requires moving beyond basic plug-and-play assumptions. By respecting 3.3V logic boundaries, leveraging the VSPI hardware bus, and utilizing the TFT_eSprite buffer architecture, you can build commercial-grade user interfaces on a hobbyist budget.