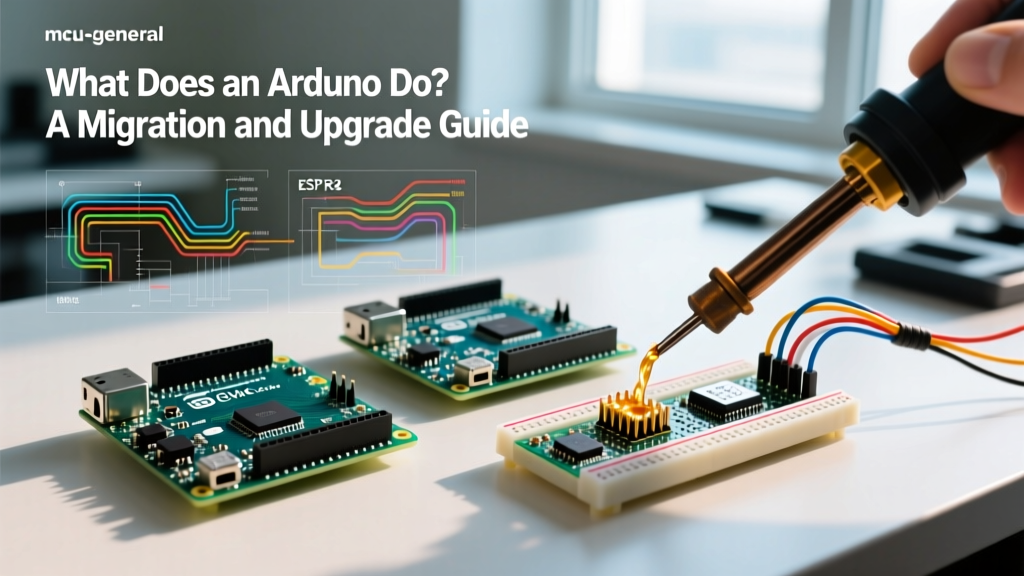

The Core Question: What Does an Arduino Do?
At its most fundamental level, makers and engineers frequently ask: what does an Arduino do? Simply put, an Arduino is a programmable microcontroller ecosystem that bridges the gap between software logic and physical hardware. It reads physical inputs (sensor data, button presses, analog voltages), processes that data using C++ compiled instructions, and triggers physical outputs (activating stepper motors, toggling relays, publishing MQTT payloads).
For beginners, the classic Arduino Uno R3 handles these tasks via a 16MHz ATmega328P chip. However, as projects scale from blinking LEDs to industrial edge-computing or high-frequency DSP (Digital Signal Processing), the limitations of legacy hardware become apparent. In 2026, understanding what an Arduino does also means understanding how to migrate your legacy codebase and upgrade your hardware to modern ARM and Xtensa architectures without bricking your peripherals.
Triggers for Hardware Migration
Before initiating a migration, you must identify the exact bottleneck in your current setup. Upgrading blindly leads to wasted budget and incompatible toolchains. Look for these specific failure modes:
- SRAM Exhaustion: If your Uno R3 sketch uses more than 1.8KB of SRAM (leaving less than 200 bytes for the stack), you will experience random reboots and corrupted I2C buffers.
- ADC Resolution Limits: The legacy 10-bit ADC (1024 steps) yields a resolution of ~4.8mV per step at 5V. Precision analog sensing (e.g., load cells or medical-grade pulse oximetry) requires the 12-bit or 14-bit ADCs found on newer boards.
- Interrupt Latency: AVR architectures struggle with sub-microsecond interrupt handling when multiple libraries (like NeoPixel and SoftwareSerial) compete for timer resources.
Hardware Migration Matrix: Upgrading Your Board
The table below outlines the primary upgrade paths available in the current ecosystem, complete with 2026 market pricing and architectural shifts.
| Board | MCU Core | Clock | SRAM | Logic Level | 2026 Price | Best Migration Target |
|---|---|---|---|---|---|---|
| Uno R3 | ATmega328P (AVR) | 16 MHz | 2 KB | 5V | $27.00 | Legacy education / Simple I/O |
| Uno R4 WiFi | RA4M1 (Cortex-M4) | 48 MHz | 32 KB | 5V / 3.3V | $27.50 | IoT & DSP migration |
| Nano ESP32 | ESP32-S3 (Xtensa) | 240 MHz | 512 KB | 3.3V | $21.00 | High-speed wireless / AI |
| Portenta H7 | STM32H747 (Dual) | 480 MHz | 1 MB | 3.3V | $115.00 | Industrial edge AI / Vision |
Software Migration: AVR to ARM Cortex-M4
The most catastrophic failure mode during migration occurs when developers copy-paste legacy AVR direct port manipulation code into an ARM-based board like the Uno R4 or Portenta H7. The official Arduino Port Manipulation Documentation warns about architecture-specific registers, but many legacy tutorials ignore this.
The Direct Port Trap
On the ATmega328P, you might bypass digitalWrite() for speed by writing directly to the PORTD register:
// Legacy AVR (Uno R3)
DDRD = B11111110;  // Set pins 1-7 as output
PORTD = B11111110; // Set pins 1-7 HIGH
If you flash this to an Arduino Uno R4 WiFi (Renesas RA4M1), it will fail to compile or silently misbehave. The ARM architecture uses entirely different memory-mapped I/O registers. For the RA4M1, you must use the Renesas CMSIS headers (e.g., R_PORT4->PODR) or revert to the standard Arduino API, which the R4 core heavily optimizes using hardware abstraction layers (HAL).
ADC Resolution Shifts
When migrating analog sensor code, remember that the Uno R4 defaults to a 14-bit ADC, whereas the Uno R3 uses a 10-bit ADC. If your legacy code maps a 0-1023 range to a PWM output, your R4 readings will overflow or scale incorrectly. Always enforce the resolution explicitly in your setup() function:
void setup() {
  // Force 10-bit resolution to maintain legacy sketch compatibility
  analogReadResolution(10);
}
The 5V to 3.3V Logic Trap
When answering what an Arduino does in modern IoT contexts, the answer increasingly involves 3.3V logic. The classic Uno R3 operates at 5V. Upgrading to the Nano ESP32 or Portenta H7 means shifting to 3.3V logic. Connecting a legacy 5V I2C sensor (like an older BME280 breakout without onboard regulation) directly to the 3.3V SDA/SCL pins of a Nano ESP32 will fry the ESP32-S3's GPIO matrix.
⚠️ CRITICAL MIGRATION WARNING: Never rely on internal clamping diodes to drop 5V signals down to 3.3V. Continuous overvoltage will degrade the silicon and cause thermal throttling or permanent GPIO latch-up.Migration Fix: You must implement bi-directional logic level shifters. The Adafruit BSS138-based level shifters ($3.95) are ideal for I2C lines up to 400kHz. For high-speed SPI migrations (e.g., driving an ILI9341 display on a Portenta), use a dedicated TXB0108 IC to prevent signal degradation and edge-rate ringing.
Upgrading the Toolchain: Arduino IDE 2.x and CLI
Migrating hardware is only half the battle; your toolchain must also evolve. The legacy Arduino IDE 1.8.x is officially deprecated. As of 2026, professional makers and engineering teams use the arduino-cli for headless compilation, CI/CD pipeline integration, and automated board manager updates.
Step-by-Step CLI Migration
- Install the CLI: Download the latest binary for your OS and add it to your system PATH.
- Initialize Config: Run
arduino-cli config initto generate the YAML configuration file. - Update Core Index: Execute
arduino-cli core update-indexto pull the latest 2026 board definitions, including the new Arduino Mbed OS cores for the Portenta and Nano series. - Compile with FQBN: Use the Fully Qualified Board Name (FQBN) to compile. For example:
arduino-cli compile --fqbn arduino:mbed_nano:nanoesp32 ./my_legacy_sketch.
Real-World Case Study: Smart Greenhouse Migration
To illustrate what an Arduino does when pushed to its limits, consider a commercial smart greenhouse project originally built on an Uno R3 with an ENC28J60 Ethernet module. The legacy system drew 180mA continuously, suffered from SPI buffer overflows during heavy MQTT telemetry, and lacked the SRAM to handle TLS encryption for secure cloud payloads.
The Upgrade: The system was migrated to the Nano ESP32.
- Power: By utilizing the ESP32-S3's deep sleep modes and a TPL5110 timer IC, average current draw dropped from 180mA to 45µA between sensor polling intervals.
- Connectivity: The bulky Ethernet shield was eliminated in favor of native 2.4GHz WiFi, utilizing the ArduinoMqttClient library with hardware-accelerated TLS via the ESP32's crypto peripherals.
- Code Refactor: The blocking
delay()functions used for DHT22 sensor reading were replaced with FreeRTOS tasks, allowing the WiFi stack to maintain connectivity in the background without dropping packets.
Conclusion
Understanding what an Arduino do requires looking past the basic blink sketch and recognizing the platform as a scalable industrial tool. By carefully planning your migration matrix, respecting voltage logic thresholds, and adopting modern CLI toolchains, you can seamlessly upgrade your projects from legacy AVR limitations to the high-performance ARM and Xtensa architectures defining the 2026 maker landscape.