
Understanding the Arduino Library Ecosystem
When developing firmware for microcontrollers like the Arduino Uno R4 Minima, ESP32-S3, or Raspberry Pi Pico, writing low-level hardware abstraction code from scratch is rarely efficient. Libraries act as pre-compiled or source-level C/C++ wrappers that expose complex hardware protocols (I2C, SPI, UART) and sensor logic through simple API calls. Understanding exactly how to include libraries in Arduino IDE 2.x is a foundational skill for any embedded systems engineer or DIY maker.
Unlike desktop software development environments that rely on package managers like npm or pip, the Arduino ecosystem uses a hybrid approach. The IDE relies on a global sketchbook directory, a centralized metadata index, and specific folder structures to resolve dependencies during the compilation phase. According to the official Arduino Core Concepts documentation, a library must contain a valid source directory and, ideally, a metadata file to be properly recognized by the modern IDE toolchain.
Method 1: The Built-in Library Manager (Standard Configuration)
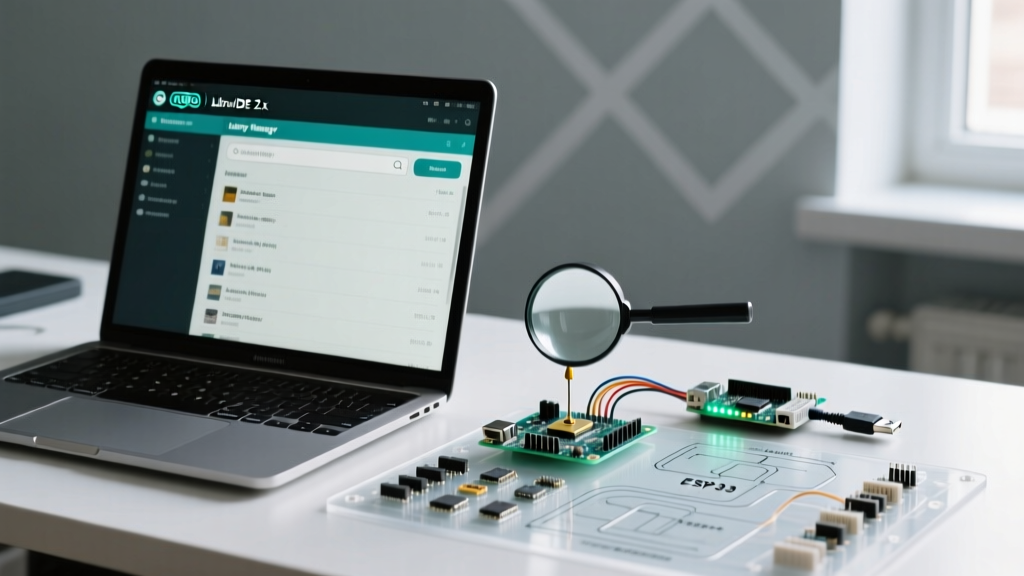
The most reliable way to install and include verified libraries is through the integrated Library Manager. This tool pulls from the official Arduino Library Index, ensuring that dependencies are automatically resolved and version histories are maintained.
- Open the Manager: In Arduino IDE 2.3.x, navigate to Sketch > Include Library > Manage Libraries... or use the keyboard shortcut
Ctrl+Shift+I(Windows/Linux) /Cmd+Shift+I(macOS). - Search and Filter: Type your target library (e.g.,
Adafruit NeoPixel) into the search bar. Use the dropdown filters to restrict results by 'Updatable', 'Installed', or specific hardware architectures (e.g., 'ESP32'). - Version Selection: Click the library entry. A version dropdown will appear. While the latest release is default, you can select legacy versions if your sketch relies on deprecated API calls.
- Installation & Inclusion: Click Install. Once finished, click the Include button that replaces the install button, or manually type
#include <Adafruit_NeoPixel.h>at the top of your sketch.
Expert Insight: The Library Manager caches the repository index in a file named library_index.json.gz located in your local Arduino15 configuration folder. If the manager fails to load or shows stale data, deleting this cache file forces a fresh pull from the remote server upon the next restart.
Method 2: Importing Third-Party .ZIP Archives
Not all libraries are submitted to the official Arduino index. Many specialized or proprietary sensor libraries are hosted exclusively on GitHub or manufacturer portals as .zip archives.
- Download the repository as a
.zipfile from GitHub (do not extract it manually). - In the IDE, navigate to Sketch > Include Library > Add .ZIP Library...
- Select the downloaded archive. The IDE will automatically extract the contents, verify the folder structure, and place it into your global
librariesdirectory.
Warning: If the ZIP file contains a nested folder (e.g., repo-name-master/repo-name-master/src), the IDE may fail to parse the header files. Always ensure the root of the ZIP contains the src folder or the .h and .cpp files directly.
Method 3: Manual Git Cloning and Custom Paths
For advanced users contributing to library development or requiring bleeding-edge commits not yet tagged in a release, manual installation via Git is the preferred workflow.
Locating the Sketchbook Directory
By default, the Arduino IDE stores user-installed libraries in the libraries subfolder of your sketchbook. The default paths are:
- Windows:
C:\Users\[Username]\Documents\Arduino\libraries - macOS:
~/Documents/Arduino/libraries - Linux:
~/Arduino/libraries
Executing the Clone
Open your terminal and navigate to your libraries folder. Execute a standard Git clone:
cd ~/Documents/Arduino/libraries
git clone https://github.com/FastLED/FastLED.git
Restart the Arduino IDE. The compiler will now recognize the library, and you can include it using #include <FastLED.h>. Because it is a Git repository, you can easily pull updates or checkout specific branches for testing without re-downloading archives.
Configuration Matrix: Installation Methods Compared
| Method | Best Use Case | Auto-Updates | Dependency Resolution |
|---|---|---|---|
| Library Manager | Production sketches, standard sensors | Yes (via IDE notifications) | Automatic (prompts for missing dependencies) |
| .ZIP Import | Proprietary hardware, offline environments | No | Manual (user must install sub-dependencies) |
| Manual Git Clone | Library development, beta testing | Manual (git pull) |
Manual |
Deep Dive: The library.properties Metadata File
To truly master how to include libraries in Arduino, you must understand the metadata file that governs library behavior. According to the Arduino Library Specification, every compliant library must include a library.properties file in its root directory.
This plain text file dictates how the IDE categorizes, displays, and compiles the library. A standard configuration looks like this:
name=BME280_Sensor
version=1.0.4
author=Jane Doe <jane@example.com>
maintainer=Jane Doe <jane@example.com>
sentence=Driver for Bosch BME280 environmental sensor.
paragraph=Supports I2C and SPI interfaces. Provides temperature, pressure, and humidity readings.
category=Sensors
url=https://github.com/janedoe/BME280_Sensor
architectures=*
The architectures Flag: This is a critical configuration parameter. If a library is hardcoded for AVR registers (like direct port manipulation on an ATmega328P), the author will set architectures=avr. If you attempt to compile this for an ESP32, the IDE will throw an architecture mismatch error, preventing silent failures or hardware damage.
Troubleshooting Common Compilation Errors
Even with correct installation, configuration mismatches frequently cause compilation failures. Here is how to resolve the most common errors encountered in 2026.
Error 1: fatal error: X.h: No such file or directory
Cause: The compiler's include path cannot locate the header file. This usually happens if the library was installed while the IDE was running, or if the folder structure is malformed.
Fix: Restart the IDE to force a rebuild of the internal library cache. If the error persists, verify that the folder name inside your libraries directory exactly matches the name defined in the library.properties file.
Error 2: Multiple Libraries Found
Compiler Output: Multiple libraries were found for "SD.h"
Cause: The Arduino ecosystem has a strict hierarchy for library resolution. If you have a custom SD card library in your sketchbook, but the ESP32 core also ships with a built-in SD library, the compiler flags the ambiguity.
Fix: The IDE defaults to the library located in the user's sketchbook/libraries folder over core-bundled libraries. To force the use of a specific library, you can remove the conflicting version via the Library Manager or use the arduino-cli to explicitly define include paths in a custom platform.txt file.
Error 3: Architecture Mismatch
Compiler Output: #error "This library only supports boards with an AVR processor"
Cause: The library utilizes direct hardware register manipulation (e.g., DDRB, PORTB) that does not exist on ARM-based (Arduino Due, Zero) or Xtensa/RISC-V (ESP32) architectures.
Fix: Search the Library Manager for an architecture-agnostic alternative (e.g., swapping an AVR-specific GPIO library for the universal FastGPIO or standard digitalWrite() abstractions).
Advanced Configuration: Headless CI/CD with arduino-cli
For professional firmware teams and advanced makers utilizing continuous integration (CI/CD) pipelines, the graphical IDE is insufficient. The arduino-cli tool provides a command-line interface for headless library management. As detailed in the arduino-cli library commands documentation, you can script your dependency installation.
Example workflow for a GitHub Actions runner:
arduino-cli core update-index
arduino-cli core install arduino:avr
arduino-cli lib install "Adafruit BusIO" "Adafruit GFX Library"
arduino-cli compile --fqbn arduino:avr:uno ./src
This approach ensures that your build environment is perfectly reproducible, eliminating the 'it compiles on my machine' syndrome that plagues embedded development.
Best Practices for Dependency Management
As your project portfolio grows, your global libraries folder can become bloated with hundreds of unused packages, slowing down the IDE's initial indexing phase. To maintain a lean configuration:
- Audit Regularly: Use the Library Manager's 'Updatable' and 'Installed' filters to remove deprecated or abandoned libraries.
- Use Local Includes for Portability: If a project relies on a heavily modified, custom fork of a library, place the library folder directly inside the sketch directory and include it using quotes instead of angle brackets:
#include "MyCustomLib.h". This tells the compiler to look in the local sketch directory first, ensuring the project remains portable across different machines without requiring global installations. - Lock Versions in Production: When deploying firmware to commercial IoT devices, always note the exact version numbers of your dependencies in a
README.mdorrequirements.txtequivalent to prevent silent breaking changes from upstream updates.