
The Hidden Culprit Behind Erratic Microcontroller Behavior
When an embedded project works perfectly on the workbench but fails unpredictably in the field, the root cause is almost always tied to misunderstood Arduino power requirements. Symptoms like random ATmega328P resets, erratic analog-to-digital converter (ADC) readings, and failed I2C communications rarely point to bad code; they point to voltage sag, thermal throttling, or high-frequency ripple on the power rails. In 2026, with the widespread adoption of power-hungry add-ons like the Arduino Uno R4 WiFi and high-torque servos, pushing the limits of legacy power architectures is easier than ever.
This troubleshooting guide dissects the exact failure modes of Arduino power delivery networks and provides actionable, component-level fixes to ensure rock-solid operation.
Decoding the Three Power Input Paths
To troubleshoot power starvation, you must first understand how the board routes electricity. The standard Arduino Uno architecture offers three distinct power input methods, each with strict current and voltage boundaries.
| Input Path | Voltage Range | Max Current Limit | Protection & Components | Ideal Use Case |
|---|---|---|---|---|
| USB Type-A/B/C | 4.75V - 5.25V | 500mA (USB 2.0) | 500mA PTC Resettable Polyfuse | Desktop programming, low-power sensor logging |
| DC Barrel Jack | 7V - 12V (Recommended) | ~300mA (Thermally limited) | 1N4007 Diode, NCP1117 LDO Regulator | Battery packs, unregulated wall adapters |
| 5V / Vin Pins | 5V (5V Pin) / 7-12V (Vin) | Depends on external PSU | Bypasses USB fuse; 5V pin bypasses LDO | High-current robotics, custom switching PSUs |
Symptom-to-Cause Diagnostic Matrix
Use this diagnostic flow to identify the exact point of failure in your power delivery network.
Symptom 1: The 'Random Reset' Loop
The Behavior: The microcontroller restarts unexpectedly, often when a relay clicks, a servo moves, or an LED strip animates.
The Root Cause: Brown-out Detection (BOD). The ATmega328P features an internal BOD circuit that forces a reset if the VCC rail drops below a specific threshold (typically 2.7V or 4.3V, depending on fuse settings). When a high-current load activates, it causes a momentary voltage droop on the 5V rail, triggering the BOD.
The Fix: You need bulk capacitance. Solder a 470µF to 1000µF electrolytic capacitor directly across the VCC and GND pins of the high-current load (not just on the Arduino header). This provides a localized energy reservoir to handle transient current spikes (di/dt) without pulling down the main rail.
Symptom 2: The 'Hot Voltage Regulator' Thermal Shutdown
The Behavior: The board resets after 30–60 seconds of operation. Touching the SOT-223 voltage regulator near the DC jack reveals it is burning hot.
The Root Cause: Linear regulators dissipate excess voltage as heat. If you supply 12V to the barrel jack and draw 250mA from the 5V rail, the NCP1117 LDO regulator must dissipate the difference. The math is unforgiving: P = (12V - 5V) × 0.25A = 1.75 Watts. Given the SOT-223 package's junction-to-ambient thermal resistance of roughly 100°C/W, the silicon junction temperature will spike to 175°C above ambient, instantly triggering the internal thermal shutdown protection.
The Fix: Lower your input voltage to the 7V–9V sweet spot, or completely bypass the onboard LDO by using an external switching buck converter wired directly to the 5V pin.
Symptom 3: Noisy ADC and Sensor Readings
The Behavior: Analog sensors (like load cells or potentiometers) return jittery values, even when the physical input is perfectly stable.
The Root Cause: High-frequency switching noise from external DC-DC converters or digital logic coupling into the analog VCC rail.
The Fix: Implement a hardware low-pass filter. Place a 10-ohm resistor in series with the sensor's VCC supply, followed by a 100nF (0.1µF) MLCC ceramic capacitor to ground at the sensor pin. This creates an RC filter that starves high-frequency noise while passing DC.
Step-by-Step Fixes for Power Starvation
Fix 1: Upgrading the USB Cable (The AWG Factor)
Many makers blame the Arduino board when the real culprit is a substandard USB cable. Cheap cables use 28AWG wire for the power lines. At a 500mA draw, 28AWG wire exhibits a voltage drop of roughly 0.38V over a standard 6-foot cable run. This leaves only 4.62V reaching the board—well below the USB 2.0 specification and dangerously close to the microcontroller's brownout threshold.
- Action: Replace your cable with a high-quality 22AWG or 20AWG USB cable rated for charging. This reduces the voltage drop to less than 0.1V, ensuring a solid 4.9V+ reaches the development board.
Fix 2: Bypassing the LDO for High-Current Robotics
If your project involves multiple servos (e.g., MG996R drawing up to 2.5A at stall) or high-lumen LEDs, the onboard traces and regulators will fail. You must inject power directly.
- Purchase a high-efficiency switching buck converter module, such as the Pololu D24V50F5 (approx. $9.95) or a generic LM2596 module (approx. $2.50).
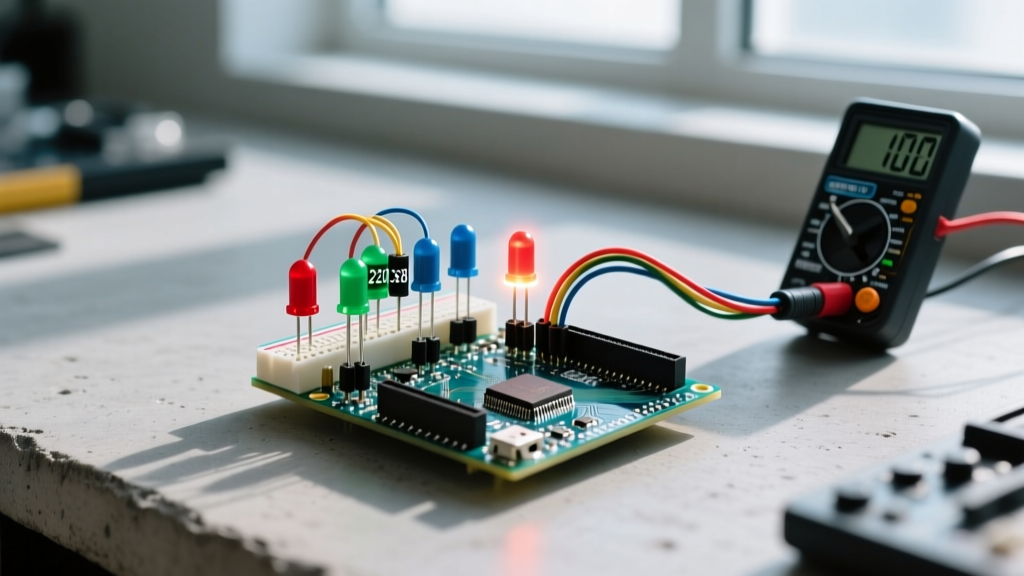
- Configure the buck converter's output to exactly 5.1V using a multimeter before connecting it to the microcontroller.
- Wire the converter's VOUT directly to the Arduino's 5V pin and GND to GND.
⚠️ CRITICAL WARNING: When injecting 5V directly into the 5V pin, you are bypassing the board's reverse-polarity protection diode and the USB polyfuse. If your external power supply fails and outputs 12V, or if you accidentally plug in the USB cable simultaneously while the external PSU is back-feeding, you will instantly destroy the ATmega chip and the USB interface IC. Always use a Schottky diode (e.g., 1N5819) on the external 5V line if dual-power redundancy is required.
Real-World Power Budgeting (2026 Hardware Perspective)
Modern maker ecosystems demand rigorous power budgeting. The transition from the classic Uno R3 to the Arduino Uno R4 WiFi fundamentally changed baseline power requirements due to the inclusion of the Renesas RA4M1 and ESP32-S3 modules.
| Component / Board | Idle Current (mA) | Peak Load (mA) | Recommended PSU Rating |
|---|---|---|---|
| Arduino Uno R3 (ATmega328P) | ~45 mA | ~80 mA | 5V / 1A |
| Arduino Uno R4 WiFi | ~110 mA | ~350 mA (WiFi TX) | 5V / 2A |
| SG90 Micro Servo (x4) | 10 mA | 800 mA (Stall) | External 5V / 3A BEC |
| WS2812B LED Strip (60 LEDs/m) | ~5 mA | 3.6A (Full White) | External 5V / 5A |
| I2C OLED Display (128x64) | ~15 mA | ~20 mA | Powered via Board 5V |
As shown above, attempting to power an Uno R4 WiFi alongside a 60-LED WS2812B strip via the USB port is a mathematical impossibility. The USB port will either drop voltage, trigger the host computer's overcurrent protection, or trip the board's resettable polyfuse. For mixed-signal and high-draw projects, a dedicated external switching power supply wired to a common ground bus is mandatory.
Advanced Troubleshooting: Measuring Rail Integrity
Do not rely solely on a multimeter's DC voltage reading to diagnose power issues. A standard digital multimeter (DMM) samples at a few hertz and will completely miss microsecond voltage droops caused by RF transmission spikes.
- Use Min/Max Mode: If your DMM has a Min/Max capture mode, enable it while triggering your high-current loads to catch transient sags.
- Oscilloscope Verification: For persistent ADC noise or I2C bus failures, connect an oscilloscope probe to the 5V rail. Set the AC coupling and timebase to 1µs/div. You should see a flat line. If you observe 50mV+ peak-to-peak ripple, your power supply's output capacitors are either undersized or degrading, necessitating the addition of parallel low-ESR ceramic decoupling capacitors.
Summary of Best Practices
Mastering Arduino power requirements means treating the power delivery network as a critical circuit, not an afterthought. Always calculate your worst-case stall currents, respect the thermal limits of linear regulators, and isolate noisy digital loads from sensitive analog sensors. By implementing proper decoupling, utilizing high-AWG cabling, and leveraging external switching regulators for heavy loads, you will eliminate the vast majority of 'ghost in the machine' microcontroller failures.