
The Limitations of the Native Arduino Voltmeter
Building a basic arduino voltmeter using the native analogRead() function is a rite of passage for makers. However, as projects mature from blinking LEDs to precision battery monitoring or laboratory power supplies, the limitations of the ATmega328P’s internal Analog-to-Digital Converter (ADC) become glaringly obvious. According to the official Arduino analogRead documentation, the standard 10-bit ADC provides 1024 discrete steps. With a default 5V reference, each step represents approximately 4.88mV. This quantization error is unacceptable when measuring small voltage drops across shunt resistors or tracking the precise discharge curve of a LiFePO4 cell.
Furthermore, the native ADC relies on the microcontroller's VCC as its default voltage reference. If you power your Arduino via a standard PC USB port, VCC can fluctuate between 4.7V and 5.1V, instantly destroying your calibration. Migrating to a dedicated external ADC is not just an upgrade; it is a necessity for reliable instrumentation.
Hardware Migration: Enter the ADS1115
The Texas Instruments ADS1115 is a 16-bit, precision, I2C-compatible ADC that has become the gold standard for MCU voltage measurement upgrades. As of 2026, breakout boards featuring the ADS1115 are widely available from reputable manufacturers for roughly $3.50 to $5.00, making it a highly cost-effective migration path. The Texas Instruments ADS1115 Datasheet highlights its internal Programmable Gain Amplifier (PGA) and low-drift voltage reference, which completely isolate your measurements from the noisy digital switching of the Arduino's power rails.
Migration Matrix: Native vs. External ADCs
| Feature | ATmega328P (Uno/Nano) | ADS1115 (External I2C) | MCP3424 (Alternative) |
|---|---|---|---|
| Resolution | 10-bit (1024 steps) | 16-bit (65536 steps) | 18-bit (262144 steps) |
| Max Sample Rate | ~9.6 kSPS | 860 SPS | 240 SPS (at 18-bit) |
| Voltage Reference | VCC (Noisy) or 1.1V Internal | Internal Precision (Low Drift) | Internal Precision |
| Typical Breakout Cost | $0 (Included in MCU) | $3.50 - $5.00 | $4.00 - $6.00 |
| Best Use Case | Basic potentiometers, LDRs | Battery monitors, precision sensors | Slow-moving thermal/strain gauges |
Step-by-Step Wiring & Level Shifting
A critical edge case in modernizing your arduino voltmeter is logic level compatibility. While legacy 5V Arduinos (Uno, Nano) remain popular, the broader maker ecosystem in 2026 has heavily shifted toward 3.3V logic (ESP32, Nano 33 IoT, RP2040). Most high-quality ADS1115 breakouts are designed for 3.3V operation. If you are migrating a legacy 5V Uno, you must implement I2C level shifting to prevent damaging the ADC's SDA/SCL pins over time.
Standard 3.3V Migration Wiring
- VDD: Connect to 3.3V. Do not exceed 3.6V.
- GND: Connect to common ground.
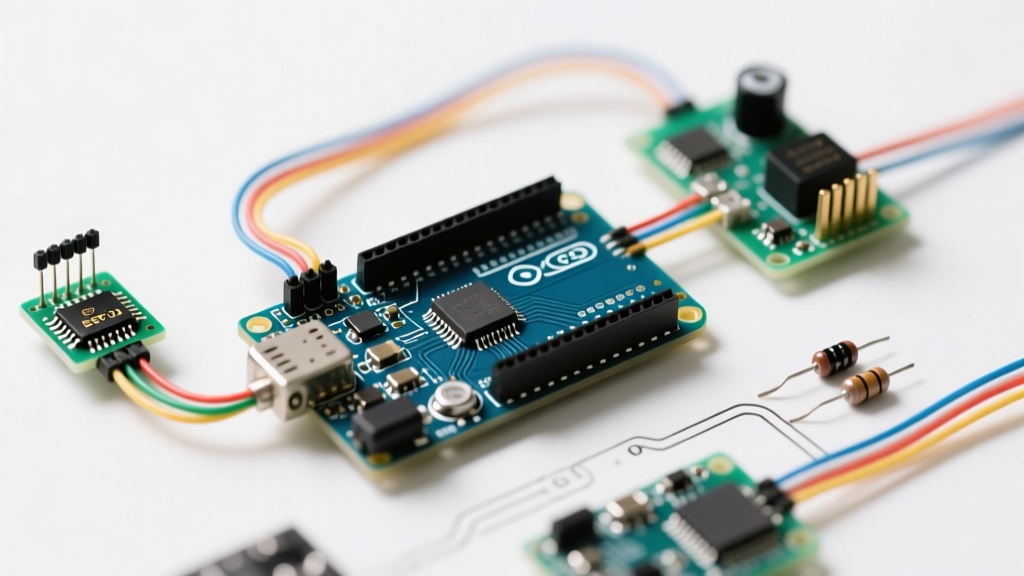
- SCL / SDA: Connect to hardware I2C pins (e.g., A5/A4 on Nano, GPIO 22/21 on ESP32).
- ADDR: Tie to GND for I2C address
0x48. Tie to VDD for0x49. - A0 - A3: Analog measurement inputs.
Expert Tip: I2C bus capacitance increases with wire length. If your voltage sensing wires exceed 30cm, upgrade your I2C pull-up resistors from the standard 4.7kΩ to 2.2kΩ to maintain sharp signal edges and prevent communication timeouts.
Designing the Voltage Divider for High Voltage
The ADS1115 cannot safely measure voltages higher than its VDD + 0.3V. If powered at 3.3V, the absolute maximum input voltage on any analog pin is 3.6V. To measure a 12V car battery or a 24V solar array, you must migrate your front-end analog circuitry to include a precision voltage divider and a hardware anti-aliasing filter.
The 0-20V Measurement Circuit
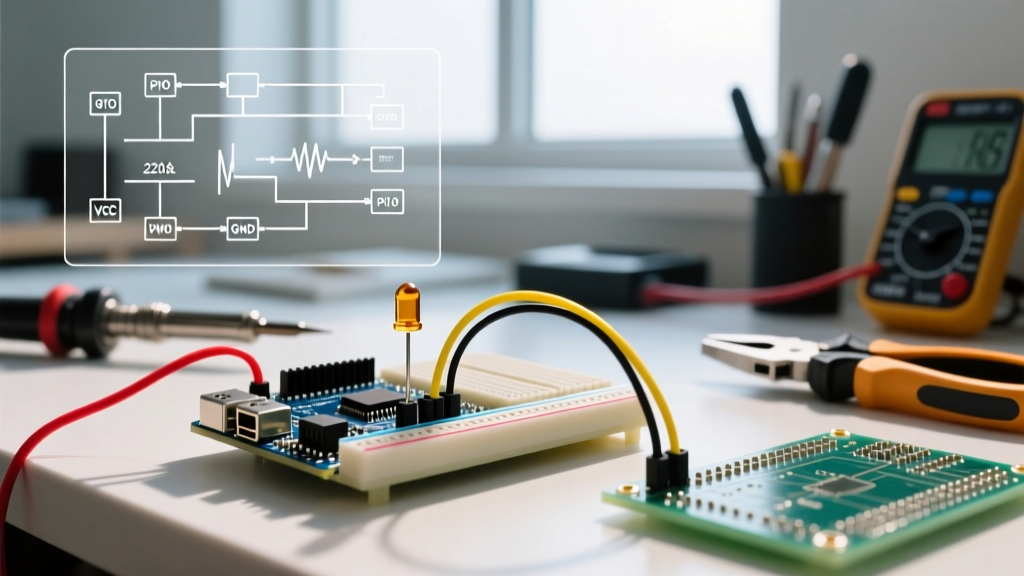
- Resistor Network: Use an 82kΩ resistor (R1) in series with a 15kΩ resistor (R2). This yields a division ratio of roughly 0.154. A 20V input will result in a 3.09V output, safely within the 3.3V limit.
- Hardware Filtering: Solder a 100nF (0.1µF) X7R ceramic capacitor directly across R2 (from the ADC input pin to GND). This creates a low-pass RC filter that eliminates high-frequency switching noise from DC-DC converters before it reaches the ADC sampling capacitor.
- Impedance Matching: The ADS1115 has a high input impedance, but the internal sampling capacitor requires a brief burst of current. The 82kΩ/15kΩ network provides a Thevenin equivalent resistance of roughly 12.7kΩ, which is perfectly adequate for the ADS1115's sampling rate without requiring an external op-amp buffer.
Firmware Migration: Rewriting the Sketch
Migrating from analogRead() to the ADS1115 requires shifting from synchronous blocking calls to I2C register configuration. The Adafruit Learning System provides the excellent Adafruit_ADS1X15 library, which abstracts the complex I2C register maps.
Configuring the Programmable Gain Amplifier (PGA)
The most common mistake makers make during this migration is leaving the PGA at its default setting. The PGA dictates the full-scale range and, consequently, the resolution per bit.
- GAIN_TWOTHIRDS: ±6.144V range (187.5µV per bit). Use only if VDD is 5V.
- GAIN_ONE: ±4.096V range (125µV per bit). Ideal for 3.3V systems measuring up to 3.3V.
- GAIN_TWO: ±2.048V range (62.5µV per bit). Best for high-precision low-voltage shunt measurements.
Below is the core migration logic for initializing the ADC and reading a single-ended voltage on channel 0:
#include <Adafruit_ADS1X15.h>

Adafruit_ADS1115 ads;

void setup() {
  Serial.begin(115200);
  // Initialize with I2C address 0x48
  if (!ads.begin(0x48)) {
    Serial.println('Failed to initialize ADS1115.');
    while (1);
  }
  // Set PGA to +/- 4.096V for optimal 3.3V system resolution
  ads.setGain(GAIN_ONE);
}

void loop() {
  int16_t raw_adc;
  float voltage;

  raw_adc = ads.readADC_SingleEnded(0);
  // 125µV per bit at GAIN_ONE
  voltage = raw_adc * 0.000125;

  Serial.print('Raw ADC: ');
  Serial.print(raw_adc);
  Serial.print(' | Voltage: ');
  Serial.println(voltage, 4);

  delay(250);
}
Real-World Edge Cases & Calibration
Even with a 16-bit ADC, real-world physics introduces variables that software must account for. When finalizing your arduino voltmeter upgrade, address these three edge cases:
1. Floating Input Noise
If your breakout board has four channels (A0-A3) but you only use A0, the unused channels act as antennas, picking up electromagnetic interference (EMI). While this won't damage the chip, reading from them will yield erratic data and slightly increase I2C bus latency. Tie unused channels to GND via a 10kΩ resistor, or simply ensure your firmware never polls them.
2. Resistor Tolerance and Drift
Your ADC might be accurate to 0.01%, but if your voltage divider uses standard 5% carbon film resistors, your overall system accuracy is bottlenecked to 5%. Migrate to 1% or 0.1% metal film resistors. For laboratory-grade accuracy, implement a software calibration multiplier derived from measuring a known precision voltage reference (e.g., an LM4040 4.096V shunt reference) with a calibrated multimeter.
3. Differential vs. Single-Ended Measurements
The readADC_SingleEnded() function measures voltage relative to the ADC's GND pin. If you are measuring a shunt resistor that is not referenced to system ground (high-side current sensing), you must migrate your code to use readADC_Differential_0_1(). This measures the voltage difference directly between A0 and A1, rejecting common-mode noise and allowing for precise high-side current calculations without complex op-amp circuits.
Conclusion
Migrating your arduino voltmeter from the internal 10-bit ATmega ADC to an external 16-bit ADS1115 fundamentally transforms your project from a hobbyist toy into a reliable diagnostic tool. By addressing logic-level shifting, implementing proper RC hardware filtering, and correctly configuring the internal PGA, you achieve sub-millivolt precision that unlocks advanced capabilities in battery management, power supply monitoring, and sensor integration.