
The Micro-MCU Paradigm: Why Tiny Arduinos Break Standard Workflows
Transitioning from a full-sized Arduino Uno to a tiny Arduino form factor—such as the ATtiny85, ATtiny1614, or the Seeed Studio XIAO series—is a rite of passage for hardware engineers. You gain massive reductions in BOM cost, PCB footprint, and power consumption. However, what you lose in physical size, you often pay for in workflow friction. Standard development habits relying on native USB-CDC serial monitors, abundant I/O pins, and generous 32KB flash memory instantly evaporate.
In 2026, the ecosystem for microcontrollers has matured significantly, yet many makers still fumble with jumper wires on breadboards and struggle with opaque compilation errors. This guide dissects the exact workflow optimizations required to prototype, program, and debug tiny Arduinos efficiently, transforming a frustrating bottleneck into a streamlined production pipeline.
Phase 1: Toolchain Migration and Compiler Optimization
While the Arduino IDE 2.x has improved its board manager and auto-completion, it remains suboptimal for the strict memory constraints of tiny Arduinos. For professional workflow optimization, PlatformIO is the undisputed champion. It allows granular control over compiler flags, which is critical when you are fighting for every byte of SRAM and Flash.
Enabling Link Time Optimization (LTO)
The ATtiny85 features a mere 8KB of Flash and 512 bytes of SRAM. By default, the standard AVR-GCC compiler leaves significant overhead. Enabling Link Time Optimization (-flto) can reduce your final binary size by 10% to 25% without altering a single line of C++ code. It achieves this by optimizing across translation units during the linking phase, stripping out unused functions that standard compilation misses.
Here is the optimal platformio.ini configuration for an ATtiny85 workflow:
[env:attiny85]
platform = atmelavr
board = attiny85
framework = arduino
board_build.f_cpu = 8000000L
build_flags =
    -flto
    -Os
    -fno-fat-lto-objects
upload_protocol = usbasp
For those who must stay within the Arduino IDE, installing SpenceKonde's ATTinyCore is mandatory. It provides access to advanced menu options, including LTO toggles and precise clock speed configurations that the default Arduino core lacks entirely.
Phase 2: Eradicating the Breadboard Bottleneck
The most significant time-sink in a tiny Arduino workflow is the physical act of connecting the programmer to the target chip. Fumbling with six loose Dupont jumper wires on a breadboard for every single code upload introduces intermittent connection failures, pinout mistakes, and broken leads.
The SOIC8 Clip Solution
If you are programming bare ATtiny85 chips before soldering them to your custom PCB, abandon the breadboard. Invest in a Pomona 5250 SOIC8 Test Clip (typically retailing around $28). This high-quality clip grabs the chip legs securely, allowing you to wire the clip once to your ISP programmer (like a USBasp or Pololu AVR Programmer) and simply snap it onto the chip for flashing.
Pogo-Pin Programming Jigs
For custom PCBs, design a 6-pin or 3-pin programming header footprint that matches a Tag-Connect cable (e.g., TC2030-IDC for ISP, or TC2030-MCP-NL for UPDI). Tag-Connect cables use spring-loaded pogo pins that mate with flat copper pads on your PCB—no physical header required. This saves board space, reduces BOM costs, and allows you to program and test a board in under three seconds by simply pressing the cable onto the pads.
Phase 3: Navigating the ISP vs. UPDI Protocol Trap
A major workflow disruption occurs when makers assume all tiny Arduinos use the same programming protocol. They do not.
- Legacy TinyAVR (ATtiny85, ATtiny84): These use the traditional ISP (In-System Programming) protocol, requiring 4 wires (MOSI, MISO, SCK, RESET) plus VCC and GND. You can use a dedicated USBasp or an Arduino Uno running the 'Arduino as ISP' sketch.
- Modern TinyAVR (ATtiny1614, ATtiny3216): These use Microchip's UPDI (Unified Program and Debug Interface). UPDI requires only a single data wire (plus VCC and GND). Standard ISP programmers will not work.
Workflow Pro-Tip: To unify your workbench, build or purchase a Serial-to-UPDI adapter using the jtag2updi firmware on a cheap Arduino Nano. This allows you to use standard USB-Serial adapters to flash modern tinyAVRs without buying proprietary Microchip SNAP or PICkit4 programmers.
Phase 4: Debugging Without a Serial Monitor
The ATtiny85 lacks native USB hardware, meaning you cannot simply open a Serial Monitor to print debug variables. While the SoftwareSerial library exists, it consumes precious Flash, hogs the CPU (disabling interrupts during byte transmission), and requires dedicating one of your few I/O pins.
Alternative Debugging Methodologies
- Hardware Logic Analyzers: A $15 USB 24MHz 8-channel logic analyzer running PulseView software is invaluable. You can decode I2C, SPI, and UART protocols visually, verifying sensor communication without writing a single line of debug code.
- EEPROM Circular Buffers: For field-deployed tiny Arduinos, write critical state variables to the internal EEPROM. When the device is retrieved, read the EEPROM via ISP and dump it to a CSV file on your PC to reconstruct the device's operational timeline.
- PWM Analog Debugging: Map internal variables (like sensor readings or PID loop outputs) to a PWM pin. Connect a multimeter or an oscilloscope to the pin. A voltage reading of 2.5V instantly tells you your variable is at roughly 50% capacity, providing real-time telemetry without serial overhead.
Phase 5: The Modern Alternative: Seeed Studio XIAO
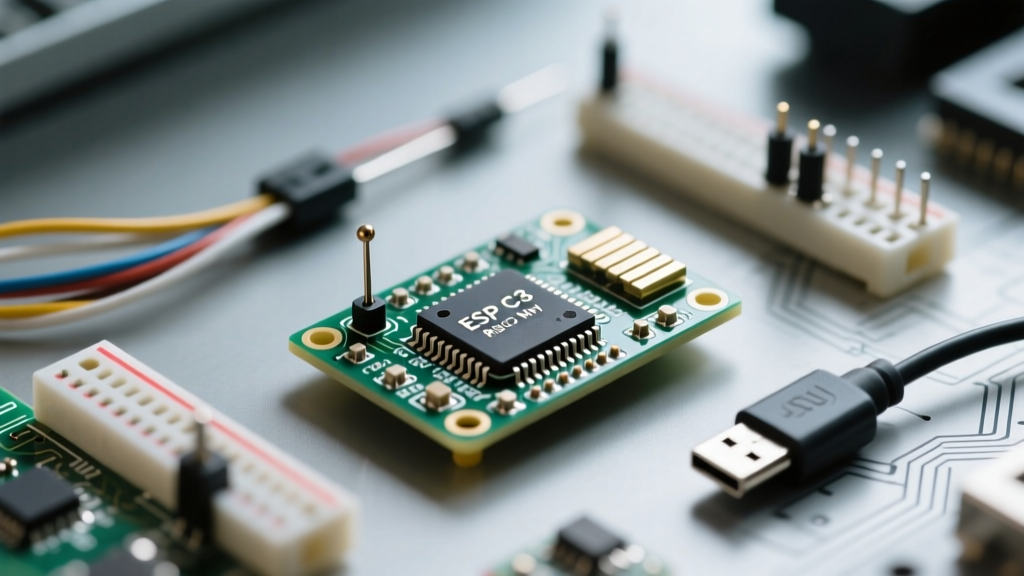
If your project requires WiFi, Bluetooth, or native USB debugging, the ATtiny85 is no longer the optimal choice. The Seeed Studio XIAO series (specifically the XIAO ESP32-C3 and XIAO RP2040) has revolutionized the tiny Arduino landscape. Measuring just 21 x 17.5mm, they offer native USB-C, immense processing power, and native Serial debugging, entirely bypassing the ISP/UPDI hardware friction.
According to the Seeed Studio XIAO ESP32-C3 Documentation, these boards support Arduino IDE natively, cost around $4.99, and eliminate the need for external programmers, drastically accelerating the prototyping phase for IoT applications.
Micro-MCU Workflow Comparison Matrix
| Feature | ATtiny85 (Bare Chip) | ATtiny1614 (Bare Chip) | Seeed XIAO ESP32-C3 |
|---|---|---|---|
| Approx. Cost (2026) | $2.80 | $1.90 | $4.99 |
| Programming Protocol | ISP (6-wire) | UPDI (1-wire) | Native USB-C |
| Flash / SRAM | 8KB / 512B | 16KB / 2KB | 4MB / 400KB |
| Serial Debugging | SoftwareSerial (Heavy) | Hardware UART (Needs FTDI) | Native USB-CDC |
| Best Workflow Use-Case | Ultra-low power, simple logic | Modern sensor nodes, ADC tasks | IoT, WiFi/BLE, rapid prototyping |
Summary: Building Your Tiny Arduino Checklist
Optimizing your tiny Arduino workflow is about front-loading the setup to save hours of frustration later. Standardize your programming jigs using SOIC clips or Tag-Connect footprints. Migrate to PlatformIO to leverage LTO compiler flags, and choose your microcontroller family based on your debugging needs—stick to ATtiny for ultra-low-power analog tasks, but pivot to XIAO when wireless connectivity and native serial logging are required. By implementing these structural changes to your workbench, micro-MCU development becomes just as fluid as working with full-sized development boards.