
The Reality of Running Arduino on Raspberry Pi in 2026
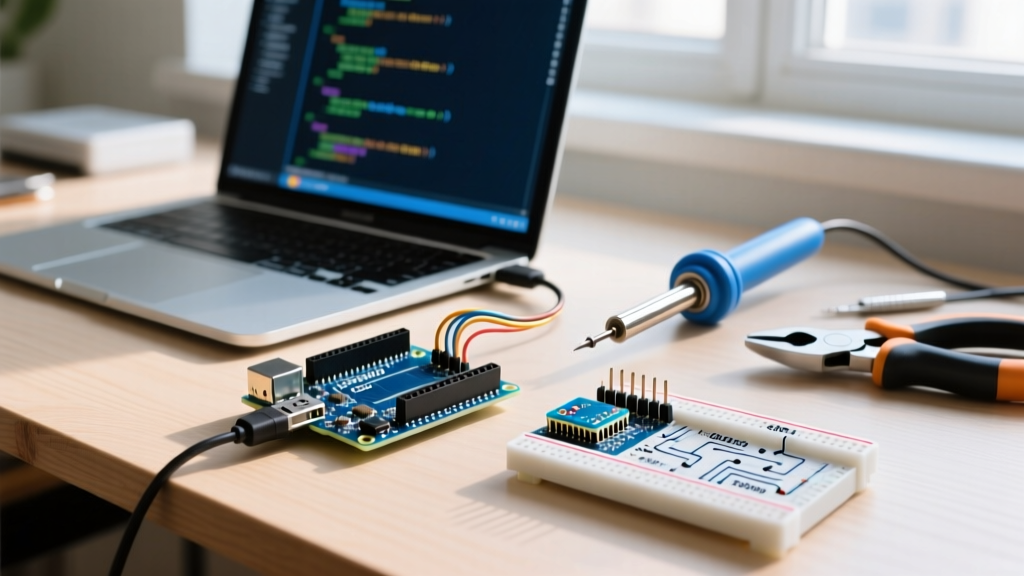
Deploying an arduino on raspberry pi setup remains one of the most powerful architectures for edge-computing robotics, IoT gateways, and automated test rigs. The Raspberry Pi handles heavy lifting—like computer vision, MQTT brokering, and local databases—while the Arduino manages deterministic, real-time hardware I/O. However, migrating to Raspberry Pi OS 'Bookworm' (Debian 12) and Arduino IDE 2.3+ has introduced new friction points for makers and engineers.
Whether you are programming a genuine Arduino Uno R4 Minima ($20), a CH340-based Nano clone ($4), or a Raspberry Pi Pico (RP2040), Linux USB subsystem quirks, AppArmor sandboxing, and power delivery limits can abruptly halt your workflow. This guide bypasses generic forum advice and provides exact, command-line troubleshooting steps for the most persistent serial and upload failures.
Diagnostic Matrix: Quick Symptom Matching
Before diving into terminal commands, identify your exact failure mode using the diagnostic matrix below.
| Symptom in Arduino IDE 2.x | Root Cause | Immediate Fix Command |
|---|---|---|
| 'Permission denied' on /dev/ttyACM0 | User missing from dialout group | sudo usermod -a -G dialout $USER |
| Port appears, then instantly vanishes | brltty (Braille driver) hijacking CH340 | sudo apt remove brltty |
| Upload hangs at 'Uploading...' | Auto-reset circuit failure / DTR line issue | Manual reset or check udev modem rules |
| Pico UF2 upload fails silently | Corrupted Earle Philhower core cache | rm -rf ~/.arduino15/packages/rp2040 |
Fix 1: The 'Permission Denied' & Dialout Group Quirks
The most frequent roadblock when setting up an arduino on raspberry pi is the IDE's inability to write to the serial port. In Linux, serial devices are owned by the dialout group. By default, the standard 'pi' or 'admin' user is not a member.
The Standard Fix
Open your Raspberry Pi terminal and execute:
sudo usermod -a -G dialout $USER
sudo reboot
Note: A full reboot is often required on Pi OS Bookworm to ensure the systemd logind session registers the new group membership. Logging out and back in via the GUI sometimes fails to update the active session token.
The Snap/Flatpak Sandbox Trap
If you installed the Arduino IDE via the Snap store or Flatpak, the dialout fix will not work. These package formats use strict AppArmor or Bubblewrap sandboxing that isolates the application from host hardware nodes. Do not use Snap for hardware development on the Pi. Instead, download the official AppImage or .deb package directly from the Arduino Software Page. If you must use Flatpak, grant explicit USB access via Flatseal or the command line:
flatpak override --user --device=all cc.arduino.IDE2Fix 2: The 'Vanishing Port' & The brltty Conflict
If you plug in an Arduino Nano clone (using the CH340G USB-to-Serial chip) and hear the Pi OS USB connect sound, but the port never appears in the Arduino IDE dropdown—or appears for one second and vanishes—you have encountered the brltty conflict.
Debian includes brltty, a background daemon for Braille displays. The CH340 chip's USB Vendor/Product ID (1a86:7523) overlaps with a legacy Braille display driver. The moment the Pi detects the Arduino, brltty aggressively claims the USB interface and crashes the Arduino's serial enumeration.
Verification and Removal
Verify the hijack by running dmesg | grep tty immediately after plugging in the board. If you see ch341-uart converter now disconnected followed by a brltty claim, remove the package entirely. Unless you are actively using a USB Braille reader with your Pi, this package is unnecessary.
sudo apt remove brltty
sudo apt autoremove
For a comprehensive overview of how Debian handles USB serial drivers, refer to the Debian Reference Guide on Hardware.
Fix 3: Persistent udev Rules for Python-to-Arduino Bridges
When your Raspberry Pi acts as a gateway, you likely have a Python script using pyserial to read sensor data from the Arduino. A major flaw in standard Linux device mapping is that /dev/ttyACM0 can randomly become /dev/ttyACM1 after a reboot or a USB bus reset, breaking your Python script.
Creating a Custom Symlink
Force the Pi OS to assign a permanent name to your specific Arduino board using udev rules. First, find your Arduino's unique USB attributes:
udevadm info --name=/dev/ttyACM0 --attribute-walk | grep ATTRS{serial}Note the serial string (e.g., 5573932383335191B1A1). Next, create a custom rule file:
sudo nano /etc/udev/rules.d/99-arduino.rulesPaste the following rule, replacing the serial with your board's ID:
SUBSYSTEM=="tty", ATTRS{serial}=="5573932383335191B1A1", SYMLINK+="ttyARDUINO_GATEWAY", MODE="0666"Reload the rules with sudo udevadm control --reload-rules && sudo udevadm trigger. Now, point your Python scripts to /dev/ttyARDUINO_GATEWAY. The MODE="0666" parameter ensures any user or Docker container on the Pi can read the serial stream without root privileges.
Hardware Edge Cases: Power Delivery & Ground Loops
Software fixes cannot resolve hardware-level USB bus resets. The Raspberry Pi 5 features an upgraded power delivery IC capable of supplying up to 1.6A across all USB ports combined (when using the official 27W USB-C PD power supply). However, an Arduino Uno R4 Wi-Fi coupled with a 5V relay shield can easily draw 600mA+ during actuator switching.
Warning: USB Backpowering
Never power a Raspberry Pi via the GPIO 5V pins while simultaneously connecting it to an Arduino that is powered via its own USB cable or a high-current barrel jack. Slight voltage differentials (e.g., Pi at 5.1V, Arduino USB at 4.9V) will cause current to flow backward through the USB data lines, potentially frying the Pi's USB controller or the Arduino's ATmega16U2 serial IC.
The Powered Hub Solution
If your Pi's kernel logs (dmesg) show over-current condition or random USB disconnects when the Arduino actuates a motor, insert a powered USB 3.0 hub between the Pi and the Arduino. A hub like the Sabrent 60W 4-Port Hub (~$35) isolates the Arduino's power draw from the Pi's internal bus, stabilizing the serial connection.
Raspberry Pi Pico (RP2040) Upload Failures
If your definition of 'arduino on raspberry pi' includes using the Pi to program the Raspberry Pi Pico via the Arduino IDE, you are likely using the Earle Philhower arduino-pico core. A common failure mode occurs when the IDE attempts to put the Pico into UF2 bootloader mode, but the /dev/ttyACM0 port drops before the binary transfer begins.
This happens because modern Pi OS aggressively suspends idle USB devices to save power. The Pico's bootloader enumeration takes roughly 400ms longer than a standard serial connection, causing the Pi's USB autosuspend daemon to kill the port.
The Fix: Disable USB autosuspend in the Pi's boot parameters. Edit /boot/firmware/cmdline.txt (note the path change in Bookworm) and append usbcore.autosuspend=-1 to the end of the single-line string. Reboot the Pi. For more on Pi boot configurations, consult the Raspberry Pi Configuration Documentation.
Summary Checklist for a Bulletproof Setup
- IDE Source: Always use the official
.debor AppImage. Avoid Snap/Flatpak for direct hardware access. - Permissions: Add user to
dialoutand reboot. - Clone Boards: Purge
brlttyto prevent CH340 hijacking. - Automation: Write
udevrules to lock in persistent/dev/ttysymlinks for Python scripts. - Power: Use a powered USB hub if your Arduino shield draws more than 300mA.
By addressing the OS-level USB subsystem and power delivery realities of the Raspberry Pi, you transform a fragile prototyping setup into a robust, deployment-ready edge node.