
Following an Arduino coding tutorial is the standard rite of passage for embedded systems enthusiasts and DIY makers. However, tutorials are typically written in sterile, perfectly configured environments. When you attempt to replicate a project—whether it is a basic LED blink, an I2C sensor read, or a complex ESP32 web server—you will inevitably encounter compilation failures, upload timeouts, or silent logic bugs. This troubleshooting guide dissects the most common points of failure encountered during and after an Arduino coding tutorial, providing exact, hardware-level fixes for 2026 development environments.
The 'Compilation Failed' Bottleneck: Syntax and Library Conflicts
The modern Arduino IDE (currently on version 2.3.x as of 2026) features an improved Language Server Protocol (LSP) for real-time error checking. Despite this, library dependency hell remains a primary hurdle. Many legacy tutorials reference libraries that have since been deprecated, renamed, or updated with breaking API changes.
Missing or Incompatible Libraries
If a tutorial relies on the Adafruit_SSD1306 library for a 128x64 OLED display, you must also install the Adafruit_GFX dependency. Failing to do so yields a fatal compilation error that often confuses beginners because the error message points to a file inside the library itself, rather than your sketch. According to the Adafruit Library Guide, always use the Library Manager to resolve dependency trees automatically rather than downloading raw ZIP files from GitHub.
Common Compilation Errors and Exact Fixes
| Error Message | Root Cause | Exact Fix |
|---|---|---|
'Wire' was not declared in this scope |
Missing I2C library inclusion. | Add #include <Wire.h> at the top of your sketch. |
Expected ';' before '}' token |
Missing semicolon on the preceding line, or unmatched curly braces. | Check the line directly above the error. Use IDE auto-format (Ctrl+T) to align braces. |
No such file or directory |
Typo in the library include statement or wrong capitalization. | Linux/macOS file systems are case-sensitive. Ensure #include <Servo.h> matches the exact filename. |
Multiple definition of `setup' |
Two tabs in the IDE contain a setup() or loop() function. |
Check all open tabs. Delete or rename duplicate core functions. |
Upload Failures: When the IDE Rejects Your Board
You have cleared the compilation errors, but the IDE hangs at 'Uploading...' before throwing the dreaded avrdude: stk500_getsync() attempt 10 of 10: not in sync: resp=0x00 error. This is a hardware-to-software handshake failure, meaning the computer cannot communicate with the microcontroller's bootloader.
CH340 Clone Drivers vs. Genuine ATmega16U2
Genuine boards like the Arduino Uno R4 Minima (approx. $27.50) or classic Uno R3 use native USB-to-Serial chips (like the ATmega16U2) which utilize standard OS drivers. Budget clones (approx. $4.50 on AliExpress) almost universally use the WCH CH340G or CH341 chip. On Windows 11, automatic background driver updates occasionally replace the working WCH driver with a broken generic Microsoft driver, instantly breaking the upload handshake.
The Fix: Open Windows Device Manager, locate the 'USB-SERIAL CH340' device under Ports (COM & LPT), right-click and select 'Update driver' > 'Browse my computer' > 'Let me pick from a list'. Manually select the WCH driver version 3.8.2023.2 (or newer). If it fails, uninstall the device, check 'Attempt to remove the driver for this device', and reinstall the official CH341SER.EXE package.
The Manual Reset Timing Trick
If you are using a genuine board and still getting the stk500_getsync error, the auto-reset circuit (which uses the DTR line to pulse the RESET pin via a 0.1µF capacitor) might be failing or blocked by a shield. You can manually trigger the bootloader.
Pro-Tip: When the IDE console shows 'Sketch uses X bytes... Global variables use Y bytes', immediately press and release the physical RESET button on the Arduino. This manually invokes the bootloader, giving the AVRDude uploader the 500ms window it needs to establish a connection and push the hex file.
Logic Bugs: The Code Compiles and Uploads, But Nothing Happens
The most frustrating outcome of any Arduino coding tutorial is a successful upload followed by a completely unresponsive circuit. This is rarely a hardware failure; it is almost always a logic or configuration bug.
Serial Monitor Baud Rate Mismatches
If your tutorial uses Serial.begin(9600); to print sensor data, but your IDE Serial Monitor dropdown is set to 115200 baud, you will see garbage characters like ÿÿÿ or ????. As detailed in the SparkFun Serial Communication Guide, baud rate dictates the timing of the bits (9600 baud = 104.16µs per bit). A mismatch causes the receiver to sample the voltage line at the wrong intervals, resulting in gibberish. Always verify that the integer inside Serial.begin() exactly matches the monitor dropdown.
Floating Pins and Uninitialized Variables
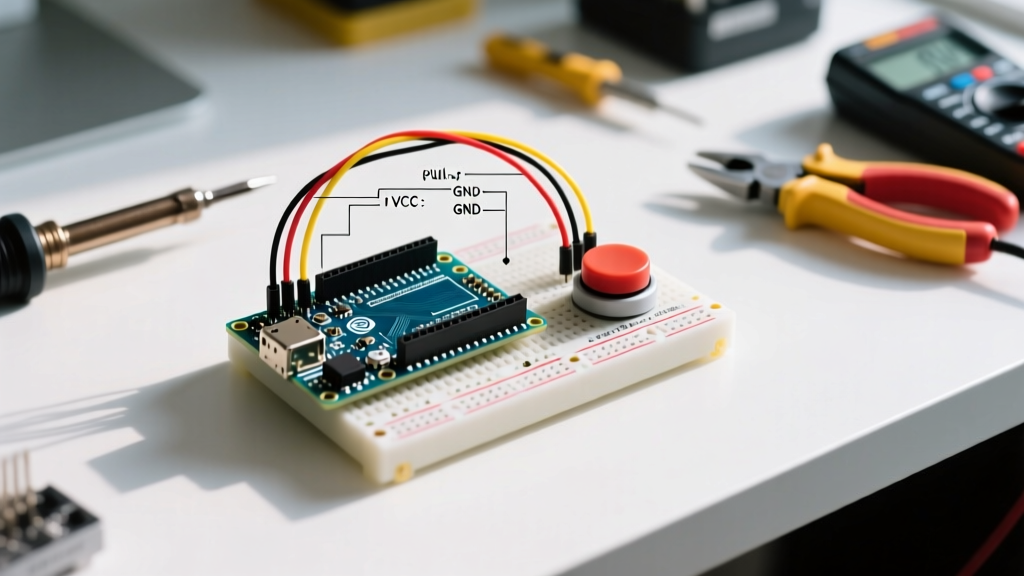
Many tutorials omit pull-up or pull-down resistors for simplicity, assuming internal microcontroller resistors will save the day. If a tutorial reads a pushbutton using digitalRead(2) without specifying pinMode(2, INPUT_PULLUP);, the pin is left 'floating'. It will act as an antenna, picking up electromagnetic interference from your room's AC wiring, causing the input to rapidly bounce between HIGH and LOW.
The Fix: Always initialize digital input pins with INPUT_PULLUP unless an external 10kΩ resistor is physically wired to the breadboard. Remember that INPUT_PULLUP inverts the logic: a pressed button reads LOW, and an unpressed button reads HIGH.
Memory Overflows: SRAM and Flash Limits
Advanced Arduino coding tutorials often involve IoT payloads, JSON parsing, or large LCD string arrays. The classic ATmega328P microcontroller features 32KB of Flash memory but only 2,048 bytes of SRAM. SRAM is where all your variables, strings, and the stack live during runtime.
The F() Macro Solution
Every time you write Serial.println('Debugging the sensor array state machine...');, that 48-character string is copied from Flash into precious SRAM at boot. If a tutorial includes heavy serial debugging, you will silently run out of memory, causing the board to randomly reboot or freeze.
Wrap your string literals in the F() macro: Serial.println(F('Debugging the sensor array...'));. This forces the compiler to leave the string in Flash memory and read it byte-by-byte during execution, completely bypassing SRAM consumption. According to the Arduino IDE 2.x Documentation, utilizing PROGMEM and the F() macro is mandatory for any sketch approaching 70% SRAM utilization.
Systematic Debugging Checklist
When an Arduino coding tutorial fails, do not randomly change code. Follow this exact top-down sequence:
- Verify Board and Port: Check Tools > Board (ensure you aren't compiling for an Uno when you have a Nano) and Tools > Port (unplug and replug the USB to verify the COM port disappears and reappears).
- Run the BareMinimum Sketch: Upload the default 'BareMinimum' example. If this fails, your issue is purely hardware/driver related (cable, CH340 driver, or dead bootloader). If it succeeds, the issue is in your tutorial code.
- Isolate the Code: Comment out the bottom 50% of the
loop()function. Compile and upload. If it works, the bug is in the commented section. Use binary search (commenting out halves) to isolate the exact line causing the crash. - Check Power Delivery: If using a breadboard with multiple servos or sensors, the Arduino's onboard 5V regulator (typically rated for 500mA-800mA) will brownout and reset the MCU. Use a dedicated 5V 2A buck converter for high-draw peripherals.
- Inspect the USB Cable: Up to 30% of upload failures are caused by 'charge-only' USB-A to USB-B or Micro-USB cables that lack the internal D+ and D- data lines. Always test with a verified data cable.
By approaching errors methodically rather than relying on trial and error, you transform frustrating roadblocks into deep learning opportunities about embedded systems architecture.