
The Ecosystem Shift: ARM Cortex-M Meets the Arduino IDE
Transitioning from 8-bit AVRs to 32-bit ARM Cortex-M microcontrollers using the STM32 Arduino environment unlocks massive processing power, hardware floating-point units (FPU), and advanced DMA capabilities. However, this leap in architecture introduces a complex layer of Hardware Abstraction Layer (HAL) dependencies, linker script configurations, and proprietary debug protocols (SWD/JTAG). As of 2026, with Arduino IDE 2.3.x being the standard, the toolchain relies heavily on the arm-none-eabi-gcc compiler and the official STMicroelectronics core.
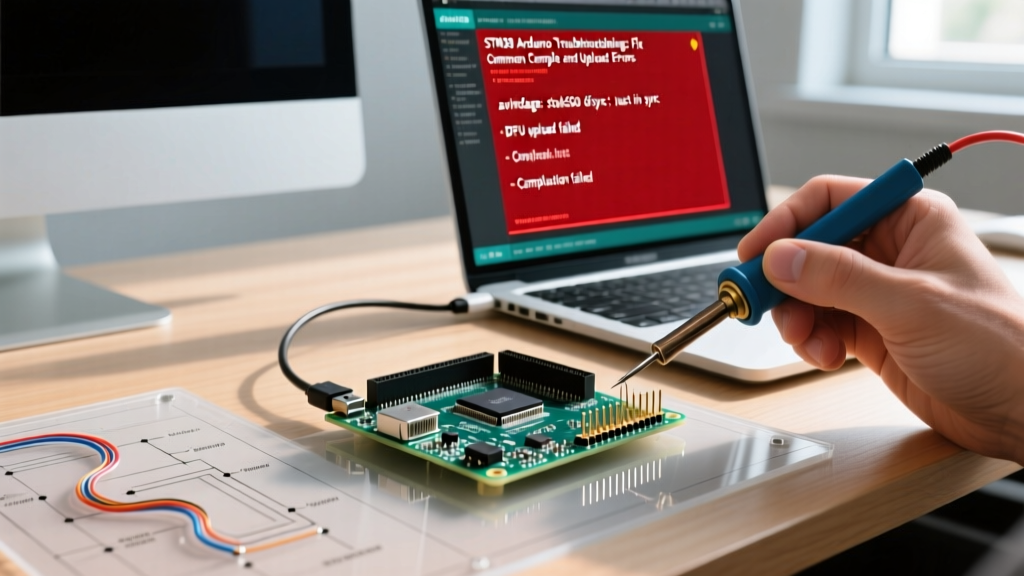
When your sketch fails to compile or your ST-Link V2 refuses to flash the payload, the error logs can be notoriously cryptic. This guide provides deep-dive diagnostic frameworks for the most persistent compilation, upload, and runtime errors encountered in the STM32 Arduino ecosystem.
The Core Conflict: Official ST Core vs. Legacy STM32duino
Before diagnosing code, you must verify your board manager package. The community is split between two primary cores, and mixing their syntax guarantees compilation failure.
| Feature | Official ST Core (STMicroelectronics) | Legacy Core (Roger Clark / STM32duino) |
|---|---|---|
| Maintenance Status | Active, heavily funded by ST (v2.8+) | Deprecated, community-maintained only |
| Architecture Base | STM32 HAL & LL (Low Layer) Drivers | Standard Peripheral Library (SPL) |
| IDE Compatibility | Arduino IDE 2.x, PlatformIO, CLI | Arduino IDE 1.8.x (Legacy) |
| Board Definitions | Generic STM32F1/F4/H7 + Nucleo/Disco | Maple Mini, Blue Pill (Generic F103) |
Expert Tip: Always use the Official ST Core Wiki to verify board manager URLs. Relying on outdated Roger Clark repositories will result in missing CMSIS pack errors in modern IDE versions.
Compilation & Linker Errors: Missing Definitions and Memory Overflows
Fatal Error: stm32f1xx_hal.h: No such file or directory
This error occurs when the compiler cannot locate the CMSIS (Cortex Microcontroller Software Interface Standard) device headers. It almost always stems from a mismatch between the selected board variant and the installed CMSIS pack.
- Diagnosis: You selected a generic STM32F4 board but included a library hardcoded for F1 HAL definitions, or the Arduino IDE failed to download the CMSIS pack due to network timeouts.
- Resolution: Navigate to Tools > Board > Board Manager, search for "STM32", and force a reinstall of the official ST core. If using PlatformIO, ensure your
platform = ststm32andframework = arduinoare correctly paired inplatformio.ini.
RAM/Flash Overflow: `.bss` Section Exceeds RAM
The STM32F103C8T6 ("Blue Pill") is famous for having 20KB of SRAM and 64KB of Flash. However, many clone chips actually possess 128KB of Flash. If your sketch exceeds 64KB, the linker throws a region overflow error.
The Fix: In the Arduino IDE, go to Tools > Optimize and select Smallest (-Os). If you are certain your hardware has 128KB flash (common with GD32 or genuine high-yield ST batches), you must override the linker script. Create a custom ldscript.ld in your sketch folder and modify the FLASH (rx) origin and length parameters to 0x08010000 and 128K respectively, then reference it via compiler flags.
Upload Failures: ST-Link, DFU, and Serial Bootloader Diagnostics
Flashing an STM32 is fundamentally different from toggling the DTR line on an ATmega328P. You are dealing with SWD (Serial Wire Debug), USB DFU (Device Firmware Upgrade), or the embedded ROM serial bootloader.
ST-Link V2: "Error: libusb_open() failed with LIBUSB_ERROR_ACCESS"
This is a pervasive issue on Linux and macOS environments when using generic ST-Link V2 clones (the $3 USB dongles).
- Linux Fix: The OS lacks the udev rules to grant non-root users access to the USB device. Create a file named
99-stlink.rulesin/etc/udev/rules.d/and add:SUBSYSTEM=="usb", ATTR{idVendor}=="0483", ATTR{idProduct}=="3748", MODE="0666" - Windows Fix: Clone ST-Links often ship with invalid EEPROM descriptors. Use Zadig to replace the WinUSB driver with the libusbK driver specifically for the ST-Link interface.
Serial Bootloader: "Failed to connect to MCU" (Timeout)
When using the built-in USART bootloader (typically via a USB-to-TTL adapter like the FT232RL or CP2102), the chip must be forced into system memory boot mode.
Hardware State Requirement:
BOOT0 Pin = HIGH (3.3V)
BOOT1 (PB2) Pin = LOW (GND)
You must physically press the RESET button on the board AFTER setting these jumper states, then initiate the upload within 3 seconds before the bootloader times out.
If you are using the STM32duino (Maple) USB bootloader, the IDE relies on a "1200bps touch" to trigger a reset into DFU mode. If your sketch crashes before initializing the USB peripheral (e.g., a HardFault in setup()), the COM port vanishes, and the 1200bps touch fails. You must manually hold the BOOT0 button, press RESET, release BOOT0, and then click "Upload".
Runtime & Peripheral Errors: I2C Freezes and Pin Mapping
Unlike AVRs where I2C (Wire) is hardcoded to A4/A5, STM32 microcontrollers feature highly flexible pin multiplexing. This flexibility is a primary source of runtime errors.
I2C Bus Lockups and Missing Pull-ups
The STM32 I2C peripheral is notoriously sensitive to bus capacitance and missing pull-up resistors. If your I2C OLED or BME280 sensor freezes the MCU entirely (requiring a hard reset), check the following:
- Pull-up Resistors: The internal pull-ups (approx. 40kΩ) are too weak for reliable I2C communication. You must install external 4.7kΩ pull-up resistors to 3.3V for 100kHz operation, or 2.2kΩ for 400kHz Fast Mode.
- Pin Remapping: On the STM32F103, I2C1 defaults to PB6 (SCL) and PB7 (SDA). If your breakout board expects them elsewhere, you must explicitly remap them in code using
Wire.setSCL(PB8);andWire.setSDA(PB9);before callingWire.begin();.
Decoding the Dreaded HardFault_Handler
When an STM32 encounters a fatal runtime error (e.g., unaligned memory access, division by zero, or executing code from an unmapped Flash address), it drops into the HardFault_Handler infinite loop. The Arduino IDE serial monitor will simply stop printing.
Diagnostic Strategy:
Override the default weak handler in your sketch to dump the Core Fault Status Register (CFSR) to the serial port before halting:
extern "C" void HardFault_Handler(void) {
  Serial.print("CFSR: 0x");
  Serial.println(SCB->CFSR, HEX);
  Serial.print("HFSR: 0x");
  Serial.println(SCB->HFSR, HEX);
  while(1) { __asm volatile("bkpt #0"); }
}
By reading the SCB->CFSR output via a secondary UART or SWO trace, you can pinpoint whether the fault was a Memory Management fault (MMFSR), Bus Fault (BFSR), or Usage Fault (UFSR).
Unbricking Chips with STM32CubeProgrammer
If you accidentally enable Read-Out Protection (RDP) Level 1 or 2, or corrupt the Option Bytes via a bad sketch, your ST-Link will report "Cannot connect to target" or "Device is protected". The STM32CubeProgrammer utility is mandatory for recovery.
- Connect via ST-Link under the "UR" (Under Reset) mode in the connection settings.
- Navigate to the OB (Option Bytes) tab.
- Change the RDP level from 1 back to 0.
- Click Apply. Warning: Downgrading RDP from Level 1 to Level 0 triggers a mandatory, irreversible full-chip mass erase.
Summary: The Counterfeit Silicon Variable
Finally, when diagnosing inexplicable STM32 Arduino upload and debug errors, consider the silicon itself. The market is saturated with GD32, CKS32, and APM32 clones. While mostly pin-compatible, these chips have different DBGMCU_IDCODE registers. The official ST core and OpenOCD may reject them during the SWD initialization phase. If you suspect a clone chip, append -DALLOW_GD32 to your compiler flags or use community-maintained OpenOCD scripts that bypass the strict ST device ID checks.