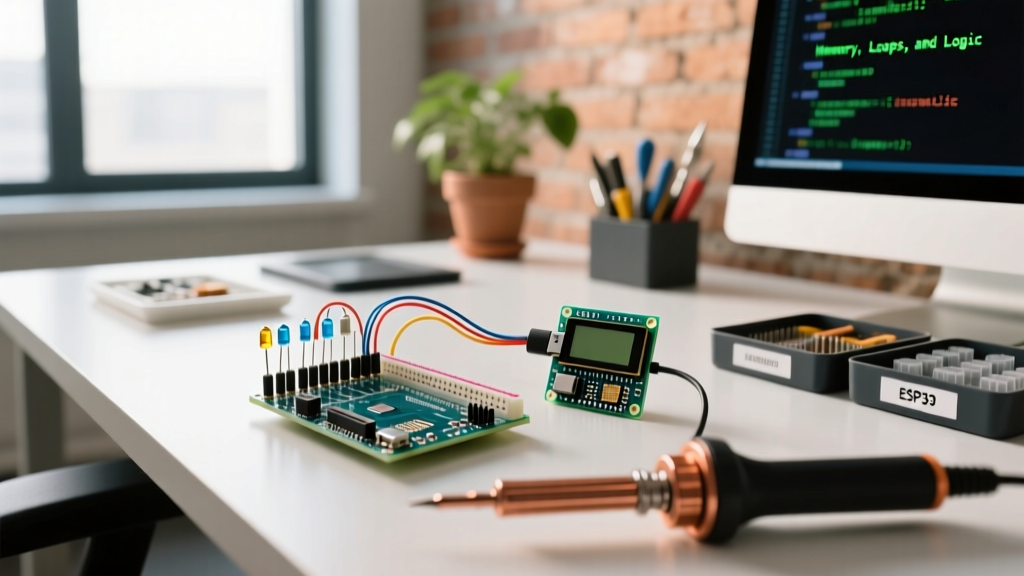

The Reality of Coding in Arduino: Beyond the Abstraction
For many makers, coding in Arduino begins with blinking an LED and quickly evolves into building complex IoT nodes, motor controllers, and sensor arrays. However, treating the Arduino ecosystem purely as a beginner's abstraction layer often leads to critical failure modes in production: heap fragmentation, watchdog resets, and race conditions. In 2026, with advanced boards like the Arduino Nano ESP32 and Uno R4 Minima dominating the market, understanding the bare-metal realities of your sketch is no longer optional—it is a requirement for reliable embedded design.
At its core, the Arduino framework is a C++ wrapper built on top of vendor-specific HALs (Hardware Abstraction Layers). When you write a sketch, you are not writing a standalone program; you are writing a module that gets linked against a hidden main.cpp file provided by the core. Understanding how this underlying architecture manages memory, execution loops, and hardware interrupts is the key to mastering embedded development.
The Compilation Pipeline: From .ino to Machine Code
When you click 'Upload' in Arduino IDE 2.3, the IDE performs several preprocessing steps before the compiler ever sees your code. First, it concatenates all .ino files in your sketch folder into a single temporary .cpp file. Next, it automatically generates function prototypes for any custom functions you have defined, allowing you to call functions before they are declared in the text.
Once preprocessed, the code is handed off to the GCC toolchain. For classic AVR boards (like the Uno R3), this is avr-gcc. For modern ARM and Xtensa boards (like the Uno R4 or Nano ESP32), it uses arm-none-eabi-gcc or xtensa-esp32-elf-gcc. The compiler translates your C++ into object files, which are then linked with the Arduino core libraries and standard C libraries (like avr-libc or newlib) to produce the final binary hex or bin file flashed to the microcontroller's Flash memory.
Memory Architecture: SRAM, Flash, and EEPROM
One of the most common pitfalls when coding in Arduino is misunderstanding memory boundaries. Microcontrollers possess three distinct types of memory, and confusing them leads to immediate crashes or silent data corruption.
| Board Model | Microcontroller | Flash (Program) | SRAM (Variables) | Architecture |
|---|---|---|---|---|
| Arduino Uno R3 | ATmega328P | 32 KB | 2 KB | 8-bit AVR |
| Arduino Uno R4 Minima | Renesas RA4M1 | 256 KB | 32 KB | 32-bit ARM Cortex-M4 |
| Arduino Nano ESP32 | ESP32-S3 | 8 MB (External) | 512 KB | 32-bit Xtensa LX7 |
The Danger of the String Object
On an ATmega328P with only 2,048 bytes of SRAM, dynamic memory allocation is highly dangerous. Using the Arduino String class (capital 'S') relies on the heap. Every time you concatenate a String, the microcontroller allocates a new block of memory and abandons the old one. Over a few hours of runtime, this causes heap fragmentation. Eventually, malloc() fails because there is no single contiguous block of memory large enough for the new string, resulting in a hard crash.
Expert Tip: On AVR boards, always use fixed-size
chararrays (C-strings) and functions likesnprintf(). If you must use dynamic strings on ESP32 or ARM boards, pre-allocate memory usingString.reserve()or migrate tostd::stringwith custom allocators to pool memory efficiently.
Execution Paradigms: Super-Loop vs. RTOS
The fundamental structure of every Arduino sketch relies on setup() and loop(). However, how these functions are executed depends entirely on the underlying silicon.
The Bare-Metal Super-Loop (AVR)
On classic AVR boards, the hidden main() function calls setup() once, and then enters an infinite while(1) loop that continuously calls your loop() function. This is known as a 'super-loop'. If you use delay(1000), the CPU literally does nothing but increment a counter for one second. It cannot read sensors, update displays, or handle communications. You must adopt non-blocking timing patterns using millis().
The FreeRTOS Environment (ESP32)
When coding in Arduino on an ESP32, you are actually interacting with FreeRTOS. The Arduino core creates a background task called loopTask with a default priority of 1. If you write a blocking infinite loop inside loop() without calling delay() or yield(), the FreeRTOS Idle Task will starve. The ESP32's Task Watchdog Timer (TWDT) will detect this starvation within 5 seconds and trigger a panic reset.
According to the Espressif Arduino-ESP32 Core Documentation, you should leverage FreeRTOS task creation for parallel processing on the ESP32's dual cores, rather than trying to cram all logic into the main loop().
Mastering Non-Blocking Timing Patterns
To maintain responsiveness in a super-loop architecture, makers must master the 'BlinkWithoutDelay' state-machine pattern. This relies on tracking elapsed time without halting the CPU.
- Capture the baseline: Store
unsigned long previousMillis = millis(); - Calculate elapsed time: Use
unsigned long currentMillis = millis(); - Check the interval:
if (currentMillis - previousMillis >= interval) - Reset and act: Update
previousMillisand toggle your pin or read your sensor.
Critical Edge Case: The millis() function overflows and rolls back to zero after approximately 49.7 days. By using the subtraction method shown above (currentMillis - previousMillis), the unsigned integer math naturally handles the rollover without breaking your logic. Never use addition (if (currentMillis >= previousMillis + interval)), as this will fail catastrophically during the rollover event.
Hardware Interrupts and ISR Constraints
Polling pins inside loop() is inefficient and prone to missing microsecond-level events. Hardware interrupts allow the MCU to pause the main program, execute an Interrupt Service Routine (ISR), and resume. As detailed in the AVR Libc Interrupt Documentation, ISRs must be treated with extreme caution.
Golden Rules of ISRs
- Keep it brief: An ISR should only set a flag or update a buffer. Never perform complex math or call
Serial.print()inside an ISR. - No delays: Functions like
delay()andmillis()rely on Timer0 interrupts. Since interrupts are globally disabled while an ISR runs, callingdelay()inside an ISR will cause an immediate deadlock. - Use volatile: Any variable shared between an ISR and the main
loop()must be declared with thevolatilekeyword. This prevents the GCC compiler from caching the variable in a CPU register, ensuring the main loop always reads the fresh value from SRAM. - Avoid I2C/SPI: Standard Arduino Wire and SPI libraries use interrupts internally. Calling them from within an ISR will cause a system hang.
Modern Debugging: Moving Beyond Serial.println()
While the Arduino Language Reference provides excellent syntax guidelines, it rarely covers advanced debugging. In 2026, relying solely on Serial.println() is considered an anti-pattern for complex projects. Serial output introduces timing delays that can mask race conditions and alter the behavior of real-time systems.
Modern boards like the Arduino Uno R4 Minima feature an exposed SWD (Serial Wire Debug) header. By connecting a $15 CMSIS-DAP compatible debugger, you can utilize the Arduino IDE 2.x integrated Cortex-Debug interface. This allows you to:
- Set hardware breakpoints that halt the CPU instantly without consuming Flash memory or altering execution timing.
- Inspect peripheral registers (like ADC or Timer configurations) in real-time.
- Profile CPU usage and identify exactly which functions are consuming the most clock cycles.
By combining a deep understanding of memory allocation, RTOS task management, and hardware-level debugging, you transition from simply writing sketches to engineering robust, production-grade embedded firmware.