
What Does It Mean to Spoof an Arduino?
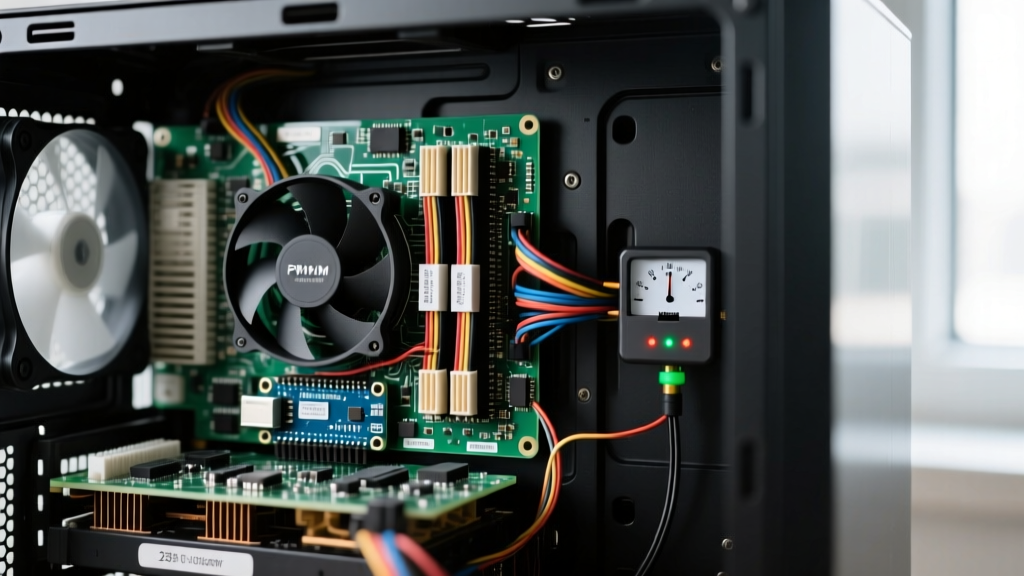
In the microcontroller community, the phrase spoof Arduino devices generally refers to the practice of configuring a development board to masquerade as a different class of hardware. While mainstream media often associates hardware spoofing exclusively with malicious 'BadUSB' attacks, legitimate makers and firmware engineers rely on these techniques daily. Hardware spoofing is a cornerstone of Hardware-in-the-Loop (HITL) testing, automated QA pipelines, and rapid prototyping.
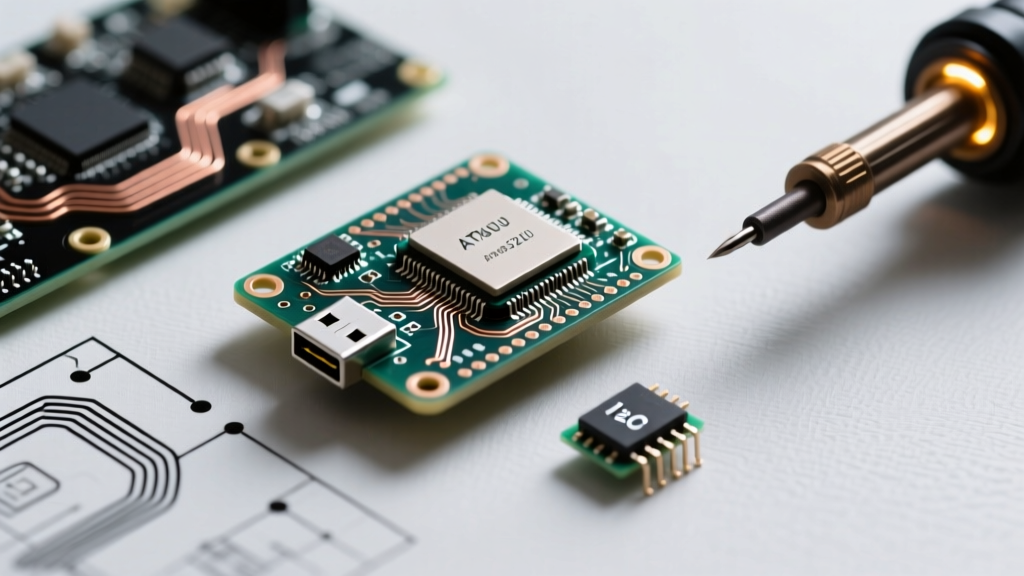
When you spoof a microcontroller, you are manipulating its USB descriptors, I2C slave addresses, or MAC addresses to trick a host operating system or a master controller into treating it as a standard keyboard, a specific environmental sensor, or a known network node. In 2026, with the maturation of the TinyUSB stack and the widespread availability of native-USB chips like the RP2040 and ESP32-S2, hardware emulation is more accessible than ever.
USB HID Spoofing: Turning MCUs into Keyboards and Mice
The most common form of Arduino spoofing involves USB Human Interface Device (HID) emulation. By altering the USB device descriptor, an Arduino can identify itself to a Windows, macOS, or Linux host as a generic 104-key keyboard or a multi-axis mouse. This is heavily utilized for automated software testing, accessibility macros, and KVM switching.
Required Hardware: Native USB vs. UART Bridges
To successfully execute USB HID spoofing, your silicon must support native USB communication. Standard boards like the Arduino Uno R3 utilize an ATmega328P paired with an ATmega16U2 UART-to-USB bridge. While you can flash custom firmware (like HoodLoader2) onto the 16U2 to spoof a keyboard, it is highly inefficient. Instead, rely on native USB architectures:
- ATmega32U4 (Arduino Leonardo / Pro Micro): The legacy standard. Genuine units cost around $22, while reliable clones with the correct USB-C footprint can be sourced for $5 to $8.
- RP2040 (Raspberry Pi Pico): The 2026 champion for complex HID spoofing. Priced at just $4, it supports the Adafruit TinyUSB library, allowing you to define highly complex, multi-report HID descriptors (e.g., combining a gamepad, keyboard, and consumer control device on a single endpoint).
- ESP32-S2 / S3: Ideal when your spoofing project requires Wi-Fi or Bluetooth Low Energy (BLE) alongside USB HID capabilities. Expect to pay $7 to $12 for dev boards like the Adafruit QT Py ESP32-S2.
Step-by-Step: Building a Keyboard Emulator
Here is the fundamental workflow for spoofing a keyboard using the native Arduino Keyboard Library. This example types a system shortcut to lock a Windows workstation upon receiving a serial trigger.
- Initialize the HID Stack: Call
Keyboard.begin()in yoursetup()function. This loads the HID descriptor into the USB endpoint. - Implement Enumeration Delay: Host operating systems require time to enumerate new USB devices. Always include a
delay(1000)todelay(2500)after initialization. Skipping this is the number one cause of failed HID injection scripts. - Inject the Keystroke: Use
Keyboard.press(KEY_LEFT_GUI)followed byKeyboard.press('l'). - Release the Keys: Crucially, you must call
Keyboard.releaseAll(). Failing to do so leaves the host OS thinking the 'Windows' key is permanently held down, effectively locking the user out of their machine.
I2C Sensor Spoofing: Virtual Hardware for Firmware Testing
USB spoofing targets host PCs, but I2C spoofing targets other microcontrollers. Suppose you are developing flight controller firmware that relies on a BME280 environmental sensor (I2C address 0x76) and an MPU6050 accelerometer (address 0x68). Waiting for physical hardware revisions or dealing with noisy bench sensors can stall development. Instead, you can use a secondary Arduino to spoof these sensors.
By utilizing the Arduino Wire Library in Slave mode, an Arduino Nano can listen for I2C master requests and feed mock telemetry data back to the primary flight controller.
Implementing the I2C Slave Callback
To spoof an I2C device, you must register a request event handler. When the master device issues an I2C read command to your spoofed address, the requestEvent callback is triggered.
#include <Wire.h>

void setup() {
  // Spoof the MPU6050 address
  Wire.begin(0x68);
  Wire.onRequest(requestEvent);
}

void loop() {
  // Generate mock telemetry or read from a serial UI
  delay(10);
}

void requestEvent() {
  // Master expects 6 bytes of accelerometer data (X, Y, Z as 16-bit ints)
  byte mockData[6] = {0x00, 0x10, 0x00, 0x05, 0x40, 0x00};
  Wire.write(mockData, 6);
}
Hardware Note: Ensure your I2C bus has appropriate pull-up resistors. For standard 100kHz I2C spoofing, 4.7kΩ resistors tied to 3.3V or 5V (matching the master's logic level) are mandatory to prevent floating data lines and corrupted mock telemetry.
Hardware Emulation Comparison Matrix
When deciding how to approach sensor spoofing, consider the trade-offs between physical hardware, software mocking, and dedicated I2C spoofing MCUs.
| Method | Cost (2026) | Setup Time | Accuracy / Edge Cases | Best Use Case |
|---|---|---|---|---|
| Physical Sensor (e.g., BME280) | $4 - $12 | 5 mins (wiring) | High (real noise/drift) | Final integration testing |
| I2C MCU Spoofing (Nano/Pico) | $4 - $8 | 45 mins (coding) | Perfect (deterministic) | Regression testing, CI/CD pipelines |
| Software Mocking (Unity/CMock) | $0 | 2+ hours | Variable (depends on mocks) | Unit testing logic branches |
Network and MAC Address Spoofing
A lesser-known but highly useful technique involves network spoofing using Arduino Ethernet shields based on the W5500 TCP/IP offload chip. In IoT deployments, network administrators often implement MAC address filtering or captive portals that whitelist specific hardware.
You can spoof the MAC address of a commercial device to test how your network infrastructure handles DHCP requests, ARP conflicts, or captive portal bypasses. In the standard Arduino Ethernet library, the MAC address is defined as a byte array:
// Spoofing a generic commercial IoT MAC prefix
byte mac[] = { 0xDE, 0xAD, 0xBE, 0xEF, 0xFE, 0xED };
By scripting an Arduino to iterate through thousands of MAC addresses and request DHCP leases, network engineers can perform stress tests on local routers to identify DHCP pool exhaustion vulnerabilities—a critical step in securing smart-home and industrial IoT networks.
Ethical Boundaries and Security Context
Because HID spoofing is the underlying mechanism for tools like the Hak5 USB Rubber Ducky, it is vital to understand the legal and ethical boundaries of these techniques.
Security Warning: Using HID spoofing to execute unauthorized payloads, bypass authentication screens, or exfiltrate data from machines you do not own or have explicit, written permission to test is illegal under computer fraud statutes (such as the CFAA in the United States). Always confine BadUSB and keystroke injection testing to isolated virtual machines or hardware you personally own.
For makers building automated macros or accessibility tools, ensure your device includes a physical 'arm' switch. A spoofed keyboard that accidentally triggers while plugged into a host for firmware updates can inadvertently type keystrokes into the IDE, corrupting code or executing unwanted terminal commands.
Frequently Asked Questions
Can I spoof an Arduino Uno R3 as a keyboard?
Not natively. The ATmega328P on the Uno does not have a native USB peripheral. The ATmega16U2 chip acting as the serial bridge can be reprogrammed via DFU mode to act as a keyboard, but this disables your ability to use the standard Serial Monitor and upload sketches via the Arduino IDE without reverting the firmware. For HID spoofing, always use an ATmega32U4 (Leonardo/Micro) or RP2040.
Why does my HID spoofing script fail on macOS?
macOS has strict security permissions regarding simulated keystrokes. Even if the Arduino successfully spoofs a keyboard at the hardware descriptor level, macOS will block the input from automating system-level actions (like opening Spotlight or locking the screen) unless the terminal application or automation software reading the input is granted 'Accessibility' permissions in System Settings.
How do I handle I2C clock stretching when spoofing?
If the master controller relies on clock stretching to wait for sensor data, standard Arduino Wire implementations on AVR chips can struggle, as they do not support hardware clock stretching in slave mode. If your spoofed sensor requires heavy computation before responding, consider upgrading your spoofing hardware to an RP2040, which handles I2C timing constraints via its Programmable I/O (PIO) state machines, as detailed in the SparkFun microcontroller guides.