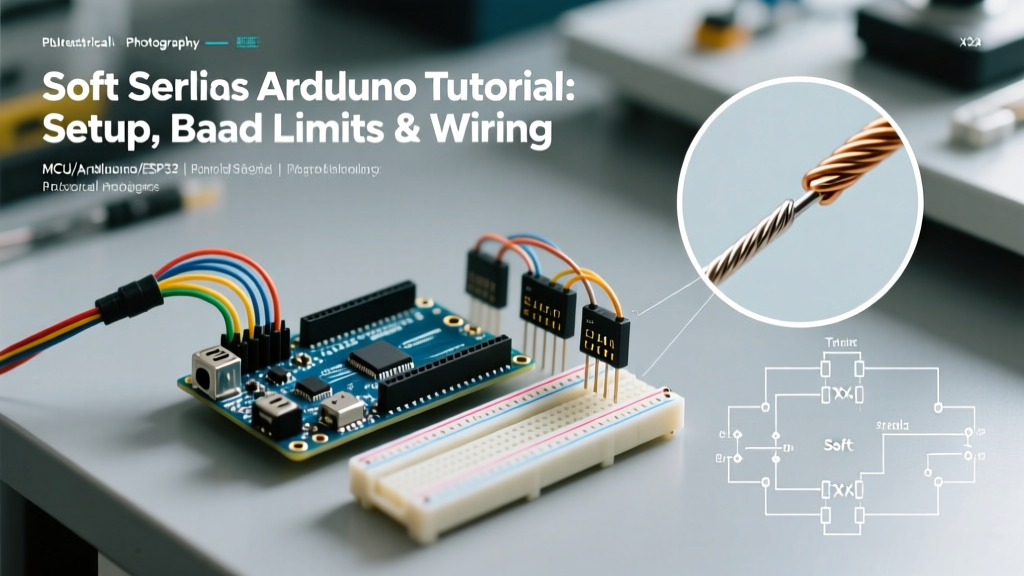

The Reality of Soft Serial Arduino Communication
In the modern maker workspace, it is incredibly common to connect multiple UART-based peripherals to a single microcontroller. You might be integrating a NEO-M9N GPS module, an HC-05 Bluetooth transceiver, and a P10 LED matrix display simultaneously. If you are using an Arduino Uno or Nano (based on the ATmega328P), you only have one hardware serial port (pins 0 and 1), which is already monopolized by the onboard ATmega16U2 USB-to-serial chip for debugging and sketch uploads.
This is where the soft serial Arduino technique becomes essential. By using the built-in SoftwareSerial library, you can emulate UART communication on any digital pin using software-based bit-banging. However, software serial is not a magic bullet; it comes with strict CPU overhead, baud rate limitations, and interrupt conflicts that can crash your sketch if not managed correctly.
This tutorial provides a deep-dive, professional-grade guide to implementing, wiring, and troubleshooting software serial on AVR-based Arduino boards in 2026.
Hardware vs. Software Serial: By the Numbers
Before writing a single line of code, you must understand the architectural differences between hardware UART and software-emulated UART. Hardware serial utilizes dedicated silicon (the USART peripheral) to handle bit-shifting independently of the main CPU. Software serial relies on the main CPU executing tight timing loops to read and write voltage transitions.
| Feature | Hardware Serial (UART) | SoftwareSerial (Bit-Banged) |
|---|---|---|
| CPU Overhead | Near zero (handled by USART & interrupts) | Extremely high (blocks CPU during TX/RX) |
| Max Reliable Baud | 2,000,000+ (depends on clock) | 57,600 bps (115,200 drops characters) |
| Interrupt Safety | Safe (uses interrupt vectors) | Disables global interrupts during RX/TX |
| Pin Flexibility | Fixed to specific TX/RX pins | Any digital pin (with RX caveats) |
| Simultaneous Ports | All active concurrently | Only one port can listen() at a time |
Expert Insight: At 115,200 baud, a single bit lasts only 8.68 microseconds. On a 16MHz Arduino Uno, the CPU has roughly 138 clock cycles to detect, sample, and process that bit. TheSoftwareSeriallibrary achieves this by disabling all global interrupts (cli()). If a byte arrives while the CPU is busy, or if you are using libraries that rely on timers (likeServo.horEncoder.h), data corruption and jitter will occur.
Pin Selection Rules: ATmega328P vs ATmega2560
A common point of failure for beginners is assuming that any digital pin can be used for the RX (Receive) line of a soft serial port. While the TX (Transmit) line can be assigned to any digital pin, the RX pin must support Pin Change Interrupts (PCINT).
Arduino Uno / Nano / Pro Mini (ATmega328P)
You are in luck. On the ATmega328P, all digital pins (D0-D13) and all analog pins (A0-A5) support pin change interrupts. You can safely assign your soft serial RX pin to any of these.
Arduino Mega 2560 (ATmega2560)
The Mega 2560 has a vastly different pin mapping. If you attempt to use SoftwareSerial on pins that lack PCINT support, the read() function will simply hang or return garbage. On the Mega, only the following pins are valid for SoftwareSerial RX:
- 10, 11, 12, 13
- 14, 15 (Note: These are also Hardware Serial3 TX/RX)
- 50, 51, 52, 53
- A8, A9, A10, A11, A12, A13, A14, A15
Step-by-Step: Wiring a Secondary UART Device
Let us walk through a real-world scenario: connecting a 3.3V ESP-01 (ESP8266) Wi-Fi module to a 5V Arduino Uno using soft serial. The ESP-01 communicates via UART at a default baud rate of 115,200, but for soft serial reliability, we will reconfigure it to 9,600 baud later.
The 5V to 3.3V Voltage Divider (Crucial Step)
The Arduino Uno operates at 5V logic. The ESP-01 RX pin is strictly 3.3V tolerant. Feeding 5V directly into the ESP-01 RX pin will degrade the silicon over time and eventually destroy the module. You must use a voltage divider on the TX-to-RX line.
- Connect a 1kΩ resistor between the Arduino Software TX pin (e.g., Pin 3) and the ESP-01 RX pin.
- Connect a 2kΩ resistor between the ESP-01 RX pin and Ground (GND).
- Connect the Arduino Software RX pin (e.g., Pin 2) directly to the ESP-01 TX pin. (The Uno's ATmega328P recognizes anything above 3.0V as a logic HIGH, so the 3.3V TX from the ESP-01 is safe and sufficient).
- Ensure both devices share a common Ground (GND) connection.
SoftwareSerial Code Implementation
Below is a robust implementation that initializes the soft serial port, sets a reliable baud rate, and bridges data between the hardware serial monitor and the soft serial peripheral.
#include <SoftwareSerial.h>

// Define pins: RX on Pin 2, TX on Pin 3
SoftwareSerial mySoftSerial(2, 3);

void setup() {
  // Hardware serial for PC debugging
  Serial.begin(115200);
  while (!Serial) { delay(10); }

  // Soft serial for peripheral (keep under 57600 for stability)
  mySoftSerial.begin(9600);

  Serial.println(F("Soft Serial Arduino Bridge Initialized."));
}

void loop() {
  // Read from Soft Serial, print to Hardware Serial
  if (mySoftSerial.available()) {
    Serial.write(mySoftSerial.read());
  }

  // Read from Hardware Serial, print to Soft Serial
  if (Serial.available()) {
    mySoftSerial.write(Serial.read());
  }
}
Advanced Troubleshooting & Edge Cases
The "Multiple Ports" Trap (The listen() Function)
The standard SoftwareSerial library has a severe limitation: it can only actively listen to one software port at a time. If you initialize three soft serial ports for three different sensors, the last one initialized becomes the active listener. To read from another port, you must explicitly call portName.listen().
The Catch: Calling listen() clears the receive buffer of the previously active port. If a byte arrives on Port A while you are listening to Port B, that byte is permanently lost. If your project requires simultaneous, continuous data streams from multiple UART devices, do not use an Arduino Uno. Upgrade to an ESP32 (which features 3 hardware UARTs and flexible pin mapping via the GPIO matrix) or a Teensy 4.1.
Garbage Characters and Baud Mismatches
If your Serial Monitor outputs a stream of question marks (?????) or Wingdings-style garbage, you have a baud rate mismatch or a wiring fault. According to SparkFun's Serial Communication Guide, inverted logic is another common culprit. Some GPS modules output inverted RS-232 logic instead of standard TTL UART. The SoftwareSerial constructor includes an optional third boolean parameter to handle this: SoftwareSerial mySerial(2, 3, true); (where true enables inverted logic).
Better Alternatives: AltSoftSerial and NeoSWSerial
If your project demands higher baud rates (up to 115,200) or you need to use software serial alongside interrupt-heavy libraries, abandon the default Arduino library. Instead, use Paul Stoffregen's AltSoftSerial or SlashDev's NeoSWSerial. These libraries utilize hardware timer interrupts rather than CPU-blocking polling loops, drastically reducing jitter and allowing background tasks to run smoothly. Note that AltSoftSerial is strictly bound to specific hardware timer pins (Pins 8 and 9 on the Uno).
Final Verdict for 2026 Maker Projects
While the soft serial Arduino technique remains a vital tool for prototyping and expanding low-speed peripheral connections on legacy AVR boards, the landscape of microcontrollers has shifted. With RP2040 and ESP32-S3 boards now available for under $6, relying on bit-banged UART for mission-critical, high-speed data parsing is no longer recommended for production designs. Use SoftwareSerial for 9600-baud sensor polling, debugging secondary modules, and quick bench tests, but always respect the CPU timing boundaries outlined above to ensure stable, crash-free operation.
For further reading on the official library constraints, refer to the Arduino SoftwareSerial Documentation.