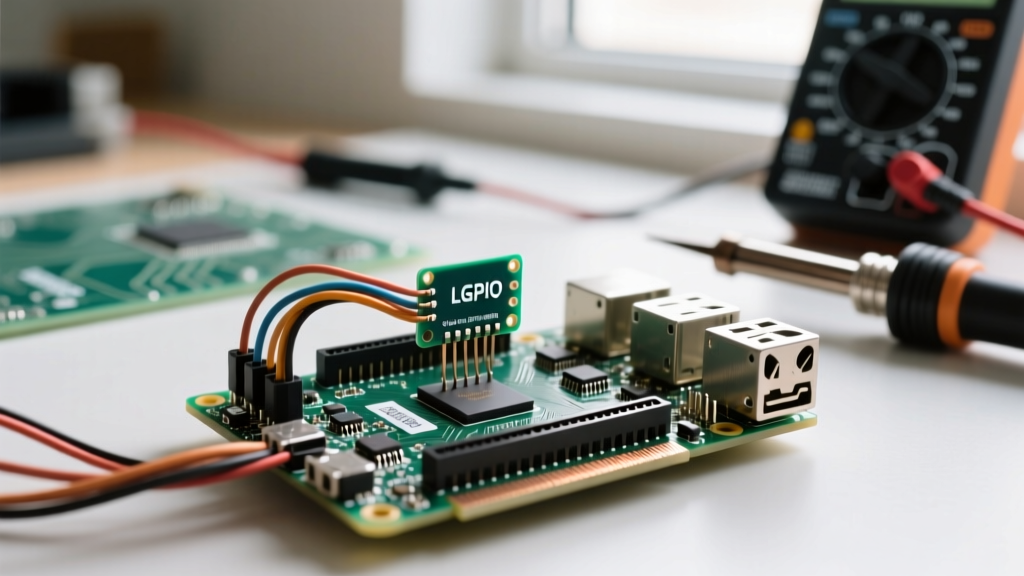

The transition from legacy GPIO libraries to modern, daemonless interfaces has fundamentally changed how makers and engineers interact with Linux Single Board Computers (SBCs). At the forefront of this shift is lgpio, a robust C library and Python module designed to control local GPIO via the Linux kernel's character device interface. For projects requiring precise motor control, LED dimming, or signal generation, understanding how to set up PWM pin on lgpio is a critical skill. Unlike older libraries that relied on background daemons or direct memory mapping, lgpio operates securely within the kernel's GPIO subsystem, offering a safer and more standardized approach to Pulse Width Modulation (PWM).
The Architecture of lgpio PWM Control
To master PWM on lgpio, you must first understand its architectural foundation. Legacy libraries like pigpio required a constantly running background daemon to manage software PWM timing, which consumed system resources and introduced complex dependency chains. lgpio eliminates this by leveraging the Linux kernel's built-in gpiochip character devices (found at /dev/gpiochipX).
When you configure a PWM pin using lgpio, the library translates your API calls into ioctl system calls directed at the kernel's GPIO and PWM subsystems. This means timing and signal generation are handled closer to the hardware layer, resulting in cleaner waveforms and better integration with the operating system's security model. Because lgpio does not require root privileges if the user is part of the gpio group, it is the preferred method for secure, production-grade IoT deployments.
Understanding the Linux GPIO Character Device
A common stumbling block when setting up PWM on modern SBCs is identifying the correct GPIO chip handle. The Linux kernel enumerates GPIO controllers dynamically. On the Raspberry Pi 4 and earlier models, the primary GPIO controller is typically mapped to gpiochip0. However, the Raspberry Pi 5 introduced the RP1 southbridge chip, which fundamentally altered the device tree.
On a Raspberry Pi 5, the primary GPIO header is managed by gpiochip4. If you attempt to open chip 0 on an RPi 5, your PWM setup will fail silently or throw a bad handle error. Always verify your chip mapping using the lgpio command-line utility or by checking ls /dev/gpiochip* before initializing your code.
Hardware vs. Software PWM in the lgpio Ecosystem
When you call the PWM transmission function in lgpio, the library intelligently routes your request based on the pin's hardware capabilities. The Raspberry Pi SoC features dedicated hardware PWM channels, but they are restricted to specific physical pins. If you request PWM on a non-dedicated pin, lgpio falls back to kernel-timed software PWM.
| Feature | Hardware PWM (Dedicated Pins) | Software PWM (Any GPIO) |
|---|---|---|
| Available Pins (RPi) | GPIO 12, 13, 18, 19 | All standard GPIO pins |
| Maximum Frequency | Up to ~125 MHz (Theoretical) | ~10 kHz - 20 kHz (OS Jitter) |
| Signal Jitter | Near Zero (Clock-driven) | Noticeable at high frequencies |
| CPU Overhead | Zero (Handled by PWM peripheral) | Low (Kernel timers) |
| Best Use Case | Audio DACs, High-speed servos | LED dimming, Standard 50Hz servos |
For a comprehensive mapping of the Raspberry Pi's hardware peripherals, refer to the Raspberry Pi Hardware Documentation. Understanding these boundaries is crucial when deciding which physical pin to wire to your motor driver or LED array.
Step-by-Step: How to Set Up PWM Pin on lgpio (Python)
The Python implementation of lgpio is highly readable and perfect for rapid prototyping. The core function for PWM generation is tx_pwm(). This function requires four primary arguments: the chip handle, the GPIO number, the frequency (in Hz), and the duty cycle (as a percentage from 0 to 100).
import lgpio
import time

# Define the GPIO chip (Use 0 for RPi 4, 4 for RPi 5)
CHIP = 4
PWM_PIN = 18  # Hardware PWM capable pin
FREQUENCY = 1000  # 1 kHz
DUTY_CYCLE = 50   # 50% duty cycle

# Open the GPIO chip
h = lgpio.gpiochip_open(CHIP)

try:
    # Claim the pin for output (optional but recommended for state management)
    lgpio.gpio_claim_output(h, PWM_PIN)

    # Start PWM transmission
    lgpio.tx_pwm(h, PWM_PIN, FREQUENCY, DUTY_CYCLE)
    print(f'PWM running on GPIO {PWM_PIN} at {FREQUENCY}Hz')

    # Keep the script alive to maintain the signal
    time.sleep(5)

finally:
    # Stop PWM and clean up
    lgpio.tx_pwm(h, PWM_PIN, 0, 0)
    lgpio.gpiochip_close(h)
Notice that the duty cycle in lgpio is expressed as a direct percentage (0-100). This is a significant departure from libraries like WiringPi, which used a 0-1024 scale, or raw hardware registers that require complex clock divider calculations. lgpio abstracts the math, allowing you to think in terms of physical signal properties.
Bare-Metal Performance: C Implementation
For applications requiring minimal latency or integration into embedded C/C++ frameworks, the native lgpio C API provides direct access to the kernel interfaces. The function signature mirrors the Python module but requires explicit handling of integer types and error codes.
#include <stdio.h>
#include <lgpio.h>
#include <unistd.h>

#define CHIP 4
#define PWM_PIN 18

int main() {
    int h = lgGpiochipOpen(CHIP);
    if (h < 0) {
        printf('Failed to open gpiochip: %d\n', h);
        return 1;
    }

    // Configure PWM: Handle, Pin, Frequency, Duty%, Offset%, Cycles
    // Cycles = 0 means infinite (run until stopped)
    int status = lgTxPwm(h, PWM_PIN, 1000.0, 50.0, 0.0, 0);

    if (status == 0) {
        printf('PWM successfully initialized.\n');
        sleep(5);
    } else {
        printf('PWM setup failed with error: %d\n', status);
    }

    // Stop PWM by setting frequency and duty to 0
    lgTxPwm(h, PWM_PIN, 0.0, 0.0, 0.0, 0);
    lgGpiochipClose(h);
    return 0;
}
According to the official lgpio documentation by Joan2937, the lgTxPwm function also accepts an offset parameter. This is an advanced feature that allows you to phase-shift multiple PWM signals, which is incredibly useful for multiphase motor control or interleaved power supply designs.
Troubleshooting Common lgpio PWM Failures
When setting up PWM on Linux SBCs, you may encounter specific error codes. Here is a framework for diagnosing the most common issues:
- LG_BAD_GPIO (-2): This usually means the pin number you passed does not exist on the current chip, or you are using the Broadcom (BCM) numbering scheme while the kernel expects the physical pin mapping. lgpio strictly uses the BCM GPIO numbers (e.g., 18, not physical pin 12).
- LG_NOT_PERMITTED (-5): Your user lacks read/write access to
/dev/gpiochipX. Fix this by adding your user to thegpiogroup viasudo usermod -aG gpio $USERand rebooting, or by setting up custom udev rules. - Severe Signal Jitter: If you are using software PWM (a non-dedicated pin) and pushing the frequency above 5 kHz, Linux kernel scheduling latency will distort the waveform. Move your signal to GPIO 12, 13, 18, or 19 to engage the hardware PWM peripheral.
- PWM Fails to Stop: If your script crashes, the kernel may retain the PWM state. Always implement
try/finallyblocks or signal handlers (likeSIGINT) to explicitly calltx_pwmwith a 0% duty cycle before exiting.
Reference Table: lgpio PWM Function Signatures
| Function (Python / C) | Parameters | Purpose |
|---|---|---|
tx_pwm / lgTxPwm | handle, gpio, freq, duty, offset, cycles | Starts or updates a PWM waveform on a specific pin. |
gpio_claim_output | handle, gpio, level | Claims the pin for standard output (good practice before PWM). |
gpiochip_open | chip_number | Opens the character device to obtain a file handle. |
By understanding the underlying Linux character device architecture and the distinction between hardware and software PWM channels, you can reliably deploy robust signal generation on any modern SBC. Whether you are driving a high-precision servo or dimming a high-power LED array, lgpio provides the modern, secure, and daemonless foundation required for professional maker projects.