
The Definitive Guide to ICSP Programmer Arduino Troubleshooting
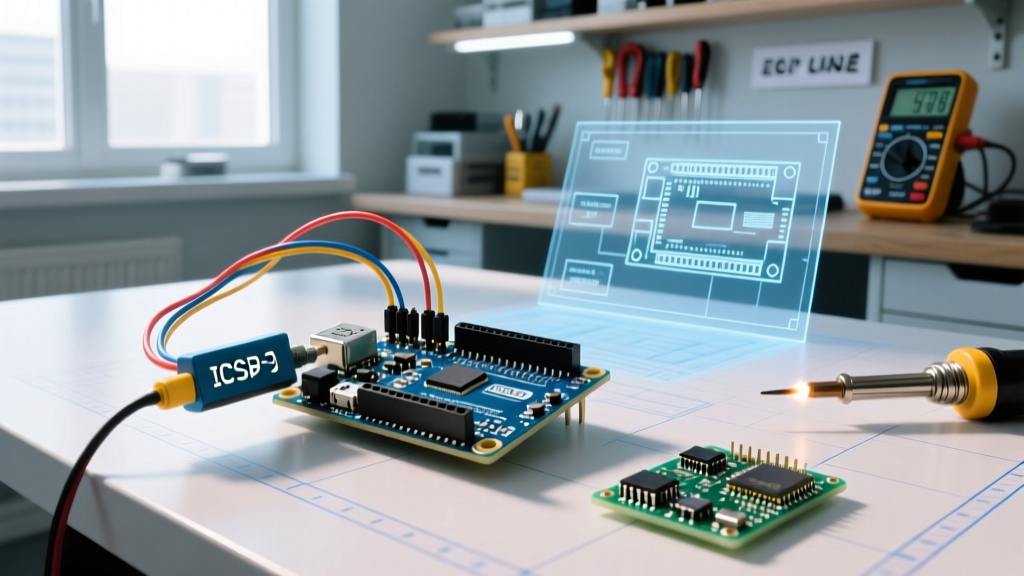
When working with custom AVR PCBs, recovering bricked ATmega chips, or deploying production firmware, the standard Arduino USB-to-Serial bootloader isn't always enough. This is where an ICSP programmer Arduino setup becomes essential. In-Circuit Serial Programming (ICSP) allows you to communicate directly with the microcontroller's SPI bus, bypassing the bootloader entirely to flash raw hex files or burn a fresh bootloader.
However, ICSP programming is notoriously unforgiving. A single swapped wire, a mismatched clock speed, or a corrupted Windows driver can halt your workflow with cryptic avrdude errors. In this 2026 troubleshooting guide, we dissect the most common ICSP programming failures, provide exact hardware diagnostics, and deliver actionable fixes for both Arduino IDE 2.x and PlatformIO environments.
Hardware Matrix: Choosing the Right ICSP Programmer
Before diving into software errors, ensure your hardware matches your project's requirements. The market has evolved, but the core architectures remain consistent.
| Programmer Model | Avg. Price (2026) | Target Use Case | Common Failure Points |
|---|---|---|---|
| USBasp v2.0 (Clone) | $4 - $8 | Hobbyist, quick bootloader burns | Outdated firmware, 5V/3.3V jumper misconfigurations, driver conflicts. |
| Pololu USB AVR Programmer v2.1 | $22 - $26 | Reliable prototyping, 3.3V-5V logic | Rare hardware faults; mostly user wiring errors. |
| Microchip Atmel-ICE (ATATMEL-ICE) | $130 - $145 | Professional debugging, ARM & AVR | Overkill for simple Arduino; requires proper 10-pin to 6-pin adapters. |
| Arduino as ISP (Uno/Nano) | $0 (Spare Board) | Emergency recovery, offline flashing | Auto-reset capacitor missing, serial monitor conflicts. |
Expert Tip: If you are using a cheap USBasp clone purchased online, check the physical PCB for a 5V/3.3V jumper. Forcing 5V logic into a 3.3V ATmega328P running on a low-dropout regulator can permanently damage the target silicon.
The 6-Pin ICSP Pinout: Verifying Physical Connections
Over 60% of all avrdude initialization errors stem from incorrect physical wiring. Unlike the 10-pin ARM SWD headers, the standard 2x3 AVR ICSP header lacks a physical keying notch on cheaper cables, making it incredibly easy to plug in upside down or offset by one pin.
Standard AVR 6-Pin ICSP Mapping
- Pin 1 (MISO): Master In, Slave Out (Data from Target to Programmer)
- Pin 2 (VCC): Target Power (Usually 5V or 3.3V. Some programmers use this to power the target; others only use it for voltage sensing).
- Pin 3 (SCK): Serial Clock
- Pin 4 (MOSI): Master Out, Slave In (Data from Programmer to Target)
- Pin 5 (RESET): Active Low Reset (Crucial for entering programming mode)
- Pin 6 (GND): Common Ground
Diagnostic Check: Use a multimeter in continuity mode. With the system unpowered, probe Pin 6 (GND) on the ICSP cable and the GND plane on your custom PCB. If you don't get a beep, your cable is seated incorrectly or the header is unsoldered.
Troubleshooting Core avrdude Errors
When the Arduino IDE or PlatformIO attempts to flash via ICSP, it invokes avrdude under the hood. The open-source AVRDUDE project provides the low-level communication, and its error codes are your best diagnostic tool.
Error 1: 'could not find USB device with vid=0x16c0 pid=0x5dc'
The Scenario: You plug in your USBasp, select 'USBasp' as the programmer in the Arduino IDE, and hit 'Burn Bootloader'. The console immediately throws a USB Vendor ID/Product ID mismatch error.
The Root Cause: Windows has assigned a generic CDC or WinUSB driver to the device instead of the required libusbK or libusb-win32 driver that avrdude relies on to claim the USB endpoint.
The Fix:
- Download and run the Zadig utility (an open-source Windows driver installer).
- In Zadig, go to Options > List All Devices.
- Select 'USBasp' from the dropdown menu.
- On the right side, ensure the target driver is set to
libusbK(v3.1.0 or newer). - Click 'Replace Driver'. Once complete, restart the Arduino IDE.
Error 2: 'initialization failed, rc=-1'
The Scenario: The programmer is recognized, but avrdude cannot establish SPI communication with the target microcontroller.
The Root Cause: This is a hardware or clocking failure. The programmer is sending SCK pulses, but the target is not responding on the MISO line.
Actionable Fixes:
- Check Target Power: If your custom PCB doesn't have a dedicated power supply, ensure your programmer supports 'VCC back-powering'. The Pololu v2.1 can supply up to 100mA; a cheap USBasp clone might only supply 20mA, causing the ATmega to brownout during the flash sequence.
- Verify the Crystal Oscillator: If your custom board uses an external 16MHz crystal, but the ATmega328P's fuses are currently set to the internal 8MHz RC oscillator (the factory default), the chip will ignore the external crystal. This is normal, but if your PCB layout has a broken trace to the XTAL1 pin, the chip will fail to clock entirely.
- Missing Reset Pull-up: The RESET pin (Pin 5) must be pulled HIGH (to VCC) via a 10kΩ resistor. If your custom PCB omits this pull-up, ambient noise can trigger spurious resets, aborting the SPI handshake.
Error 3: 'Yikes! Invalid device signature'
The Scenario: Avrdude connects, but reads the wrong silicon signature. For example, you expect an ATmega328P (0x1E 0x95 0x0F), but avrdude returns 0x00 0x00 0x00 or 0x53 0x4F 0x53.
The Root Cause & Fixes:
- Signature 0x00 0x00 0x00: The MISO line is completely dead. Check for cold solder joints on the ATmega's PB4 (MISO) pin. Ensure the target chip is actually seated in the ZIF socket or soldered to the board.
- Signature 0x53 0x4F 0x53 (or similar garbage): MISO and MOSI are swapped. The programmer is reading its own outgoing data on the MISO line. Swap the MOSI and MISO wires at the ICSP header.
- Wrong Chip Selected: If you are flashing an ATmega16A but selected 'Arduino Uno' (ATmega328P) in the IDE, the signatures won't match. Always verify the exact silicon marking on the IC.
Warning: Never use the -F (force) flag in avrdude to bypass signature checks unless you are absolutely certain of your wiring. Forcing a flash on a misidentified chip can corrupt the lock bits, permanently bricking the MCU.
Advanced Fix: Resolving Clock Speed Mismatches (The -B Flag)
One of the most misunderstood concepts in ICSP programming is the SPI clock speed. According to Microchip's AVR datasheets, the ISP programming clock (SCK) must be less than 1/4 of the target CPU's system clock.
If you are programming an ATtiny85 running on its factory-default 1MHz internal oscillator, the maximum allowed SCK speed is 250kHz. However, many default USBasp configurations push SCK at 1MHz or higher, resulting in silent failures or corrupted fuse bits.
How to Adjust the Bitclock in PlatformIO
In modern 2026 development workflows, PlatformIO is the preferred environment for advanced AVR tasks. To slow down the ISP clock, you must pass the -B (bitclock) flag to avrdude in your platformio.ini file.
[env:attiny85_isp]
platform = atmelavr
board = attiny85
framework = arduino
upload_protocol = usbasp
upload_flags =
    -B32
    -e
In this example, -B32 sets the bitclock period to 32 microseconds, resulting in an SCK frequency of roughly 31.25kHz. This is safely below the 250kHz threshold for a 1MHz target, guaranteeing a stable handshake. Once you successfully burn the bootloader and change the fuses to use an 8MHz or 16MHz clock, you can remove the -B flag to speed up subsequent uploads.
Adjusting Bitclock in Arduino IDE 2.x
The Arduino IDE GUI does not natively expose the -B flag. To modify it, you must edit the platform.txt file located in your Arduino15 packages directory (e.g., ~/.arduino15/packages/arduino/hardware/avr/1.8.x/). Find the line starting with tools.avrdude.upload.params.verbose and append -B 32 to the tools.avrdude.upload.pattern string. For a safer, non-destructive alternative, we highly recommend following the official Arduino ISP documentation to use a spare Arduino Uno as a programmer, as the ArduinoISP sketch allows you to define the SPI clock speed directly in the C++ source code before uploading it to the host Uno.
Final Verification: Reading Fuses and Lock Bits
Before deploying your custom PCB to the field, always verify the fuse bits. A misconfigured 'Brown-out Detection' (BOD) level can cause your device to randomly lock up in low-battery scenarios. Use the excellent open-source tool AVRDUDESS (a GUI wrapper for avrdude) to read and decode the High, Low, and Extended fuse bytes visually. For an ATmega328P running a standard Arduino bootloader, your target fuses should typically read: Low: 0xFF, High: 0xDE, Extended: 0xFD.
By methodically checking your physical pinout, resolving USB driver conflicts via Zadig, and mastering the avrdude bitclock flags, you can eliminate 99% of ICSP programming headaches. For deeper insights into custom board design and bootloader configurations, consult the comprehensive guides available at SparkFun's AVR Bootloader Tutorial.