
The Ultimate Serial.Print Arduino Quick Reference
Whether you are debugging a custom PCB with an ATmega328P or streaming high-frequency sensor data from an ESP32-S3, Serial.print() remains the most vital diagnostic tool in a maker's arsenal. Despite the introduction of advanced hardware debuggers and SWD/JTAG interfaces, serial output via UART or Native USB CDC (Communications Device Class) is still the primary method for real-time microcontroller telemetry.
In 2026, the landscape of Arduino-compatible boards has shifted heavily toward native USB architectures like the Raspberry Pi RP2040 and ESP32-S3. This evolution changes how the underlying HardwareSerial and USBSERIAL classes handle buffering, baud rates, and execution blocking. This comprehensive FAQ and quick reference guide cuts through the fluff, providing exact technical specifications, edge-case troubleshooting, and memory-management strategies for Serial.print().
Core Syntax & Base Formatting Matrix
The Serial.print() function supports multiple base formats for numerical data. According to the official Arduino Serial Reference, omitting the format parameter defaults to decimal (base 10). Below is the quick-reference matrix for formatting integer types.
| Format Constant | Base | Code Example | Output (val = 45) | Use Case |
|---|---|---|---|---|
DEC | 10 | Serial.print(val, DEC); | 45 | Standard human-readable metrics |
HEX | 16 | Serial.print(val, HEX); | 2D | Memory addresses, I2C/SPI registers |
OCT | 8 | Serial.print(val, OCT); | 55 | Unix file permissions, legacy systems |
BIN | 2 | Serial.print(val, BIN); | 101101 | Bitmasking, GPIO pin state debugging |
FAQ: Setup, Baud Rates, and Physical Connections
Why does my Serial Monitor output gibberish or question marks?
Gibberish output (e.g., ÿÿÿ or random Unicode characters) is almost always a baud rate mismatch or a physical grounding issue. If you are using an external USB-to-TTL adapter (like an FTDI FT232RL, CH340G, or CP2102N), the hardware UART baud rate must perfectly match the Serial Monitor setting.
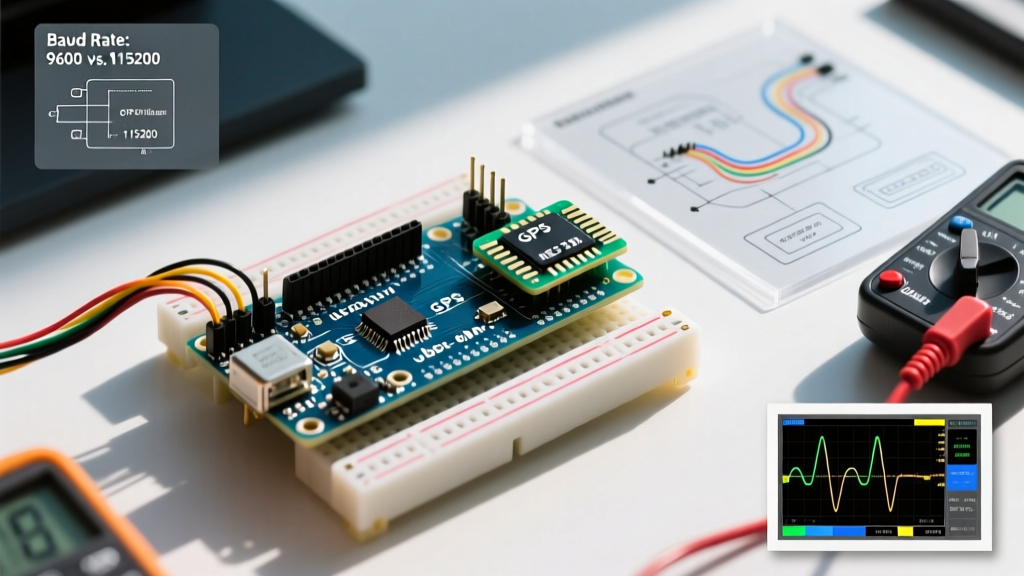
- The 9600 vs 115200 Standard: Legacy tutorials default to 9600 baud. In 2026, 115200 is the standard for hardware UART. It clears the TX buffer 12 times faster, reducing blocking time.
- The Missing Ground Trap: If you are wiring an external FTDI adapter to a custom breadboard MCU, you must connect the GND pin of the adapter to the GND of the MCU. Without a common ground reference, the RX pin sees floating voltage noise, resulting in corrupted bytes.
Does the baud rate matter on Native USB boards (RP2040, ESP32-S2/S3)?
No. On boards featuring Native USB CDC, the microcontroller communicates over the USB D+/D- data lines using the USB protocol stack, not hardware UART. The baud rate you specify in Serial.begin(115200); is completely ignored by the hardware. You can set it to Serial.begin(1); or Serial.begin(999999); and the data will still transmit at full USB 2.0 Full-Speed (12 Mbps) rates. However, you still must match the baud rate dropdown in the Arduino IDE Serial Monitor to successfully open the virtual COM port.
FAQ: Memory, Buffers, and Execution Blocking
Does Serial.print() block my code from executing?
Yes, conditionally. Serial.print() does not transmit data directly to the wire; it writes bytes to a RAM-based TX Ring Buffer. An Interrupt Service Routine (ISR) pulls bytes from this buffer one by one and shifts them out via the UART shift register.
Expert Insight: On the standard ATmega328P (Arduino Uno/Nano), the TX buffer is exactly 64 bytes (defined inHardwareSerial_private.h). If you attempt toSerial.print()a 100-byte string, the first 64 bytes are placed in the buffer instantly. The function will then block execution and wait in awhileloop until the ISR frees up enough space for the remaining 36 bytes.
To prevent timing-critical code from stalling, use Serial.availableForWrite() to check buffer capacity before printing, or use non-blocking serial libraries for high-speed data logging.
How much Flash memory does Serial.print() consume?
Calling Serial.print() for the first time in a sketch pulls the entire HardwareSerial library into your compiled binary. On an ATmega328P (32KB Flash), this adds approximately 1.2 KB to 1.5 KB to your sketch size. Furthermore, printing floating-point numbers invokes the dtostrf() (double to string format) C-lib function under the hood, which can add another 1.5 KB of Flash usage. If you are programming an ATtiny85 (8KB Flash), heavy serial debugging can easily cause a 'sketch too big' compilation error.
Advanced Formatting & Edge Cases
How do I print HEX values with leading zeros?
A common frustration when dumping memory registers or MAC addresses is that Serial.print(0x0A, HEX) outputs A instead of 0A. The Arduino core does not have a built-in padding modifier like C's printf("%02X"). You must write a quick inline helper function:
void printHexPad(uint8_t val) {
  if (val < 0x10) Serial.print('0');
  Serial.print(val, HEX);
}
Can I use Serial.print() on an ATtiny85?
The ATtiny85 lacks a hardware UART (USART) module. To use serial output, you have two options:
- SoftwareSerial: Uses bit-banging via timer interrupts. It is notoriously unreliable at baud rates above 38400 and disables interrupts during transmission, which breaks PWM and timing functions. See the Arduino SoftwareSerial Documentation for pin limitations.
- TinyDebug / Serial over USI: A much better alternative for 2026 projects. Libraries like
TinyDebuguse the USI (Universal Serial Interface) or direct pin toggling to achieve stable 115200 baud on Pin PB2 (or PB3) with minimal CPU overhead.
Master Troubleshooting Matrix
Use this diagnostic matrix to quickly resolve the most common Serial.print() anomalies encountered in the lab.
| Symptom | Root Cause | Exact Fix / Action |
|---|---|---|
| Monitor is completely blank | Missing Serial.begin() or wrong COM port selected. |
Verify Serial.begin(115200); is in setup(). Check Device Manager for the active COM port. |
| Output stops randomly after a few minutes | TX Buffer overflow due to missing Serial Monitor connection. | If the Serial Monitor is closed, the TX buffer fills up and blocks the MCU. Add if (Serial) { Serial.print(); } to check USB connection state. |
| Printed Floats show 'ovf' or 'nan' | Math overflow or uninitialized float variables. | Check for division by zero or sensor timeouts returning NaN. Add bounds checking before printing. |
| Intermittent dropped characters | PC Serial Monitor buffer overflow. | The Arduino IDE Serial Monitor can drop bytes if data arrives faster than the Java UI can render it. Switch to a dedicated terminal like PuTTY or Tera Term. |
| ESP32 crashes on Serial.print() | Calling Serial before USB CDC is initialized. | Add delay(2000); or while(!Serial); at the start of setup() for ESP32-S2/S3 native USB boards. |
Pro-Tips for Production Firmware
As highlighted in comprehensive guides like SparkFun's Serial Communication Tutorial, serial communication is invaluable for prototyping but requires careful handling in production environments.
- Strip Serial for Production: Before flashing final firmware to a production ATmega328P or ESP32, comment out or use preprocessor macros (
#ifdef DEBUG) to removeSerial.print()calls. This reclaims up to 2KB of Flash, frees up 128 bytes of SRAM (the RX/TX buffers), and eliminates ISR overhead. - Use Binary Framing: If you are sending data to a Python script or Node-RED dashboard, stop using
Serial.println()with comma-separated strings. Instead, pack your data into binary structs and transmit raw bytes. It reduces payload size by up to 70% and eliminates string-parsing latency on the host PC. - Watchdog Timers: If your serial output is critical for a remote logging station, ensure your hardware watchdog is configured. If the TX buffer blocks indefinitely due to a severed physical wire (in some specific RS-485 transceiver fault states), the watchdog will reset the MCU rather than leaving it hung in a
whileloop.
By understanding the underlying hardware buffers, USB CDC paradigms, and memory costs of Serial.print(), you can transition from simply 'printing variables' to engineering robust, non-blocking telemetry systems for any microcontroller project.