
- The
constrain(x, a, b)function restricts a variable to a defined minimum (a) and maximum (b) range. - Clamping 10-bit Analog-to-Digital Converter (ADC) readings to 0–1023 prevents math errors from voltage spikes.
- Constraining 8-bit Pulse Width Modulation (PWM) outputs to 0–255 protects hardware from overflow bugs.
- Always pair
constrain()withmap()when translating sensor scales to motor or LED outputs.
The constrain() function in Arduino C++ restricts a variable to fall within a specified minimum and maximum range. If the value exceeds the maximum, it returns the maximum; if it falls below the minimum, it returns the minimum. This guide is designed for embedded systems hobbyists, robotics students, and junior firmware engineers needing to clamp analog sensor readings and Pulse Width Modulation (PWM) outputs to prevent hardware damage and logic errors.
The Core Answer: How the Constrain Arduino Function Works
The syntax for the function is constrain(x, a, b). The parameter x is the variable to evaluate, a is the lower bound, and b is the upper bound. According to the official Arduino language reference, the function evaluates the variable and returns the clamped result without modifying the original variable in memory unless explicitly reassigned.
int rawSensor = 1050;
int safeSensor = constrain(rawSensor, 0, 1023);
// safeSensor now equals 1023
This mathematical boundary is critical when physical inputs fluctuate unpredictably. Environmental noise, loose wiring, or power supply ripples can push readings outside expected logical bounds, causing integer overflow or erratic actuator behavior.
Clamping Analog Sensor Readings
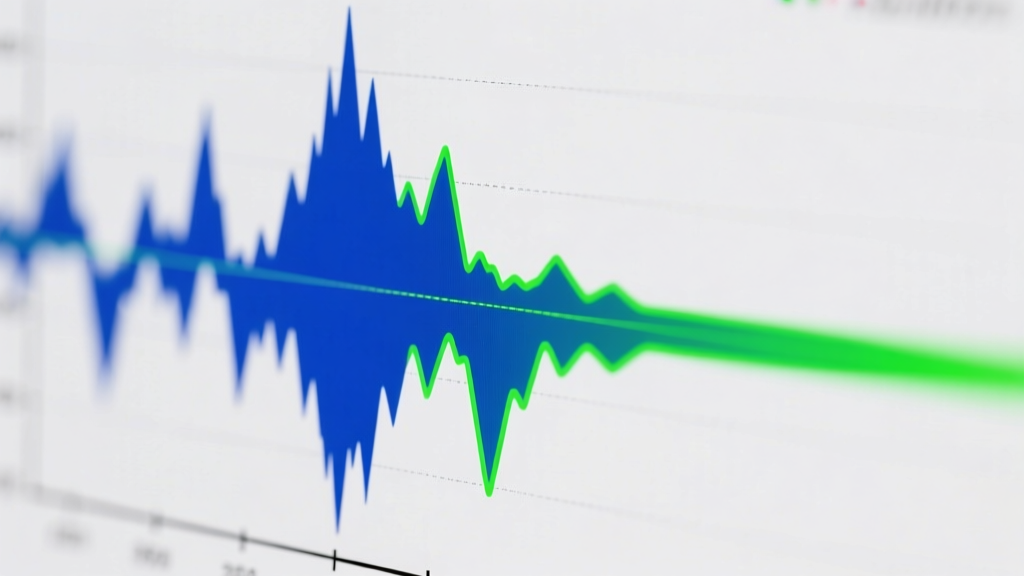
Microcontrollers read physical voltages through an Analog-to-Digital Converter. An Analog-to-Digital Converter transforms continuous physical quantities, like voltage from a potentiometer, into discrete digital numbers. The 10-bit Analog-to-Digital Converter on standard microcontrollers maps 0 to 5 volts into 1023 discrete steps, enabling precise firmware calculations.
Filtering Noise and Hardware Limits
When reading a potentiometer, the expected range is 0 to 1023. However, electromagnetic interference can occasionally push a reading to 1025 or higher. If this raw value is passed directly into a scaling algorithm, it can produce negative numbers or out-of-bounds array indices. Wrapping the analogRead() result in a constrain function guarantees the value remains strictly between 0 and 1023 steps.
int potValue = constrain(analogRead(A0), 0, 1023);Constraining Pulse Width Modulation (PWM) Outputs
Pulse Width Modulation is a technique that simulates analog voltage levels using rapid digital switching. By adjusting the duty cycle—the percentage of time the signal remains high—microcontrollers control motor speed and LED brightness using strictly digital pins.
Protecting Motors and LEDs
Standard analogWrite() commands on 8-bit resolution pins accept values from 0 to 255. If a calculated motor speed variable reaches 260 due to a sensor spike, passing 260 into the PWM register causes an 8-bit integer overflow. The value wraps around to 4, causing a high-speed motor to suddenly stall. Constraining the output variable to 255 prevents this catastrophic overflow.
int motorSpeed = calculateSpeed();
motorSpeed = constrain(motorSpeed, 0, 255);
analogWrite(9, motorSpeed);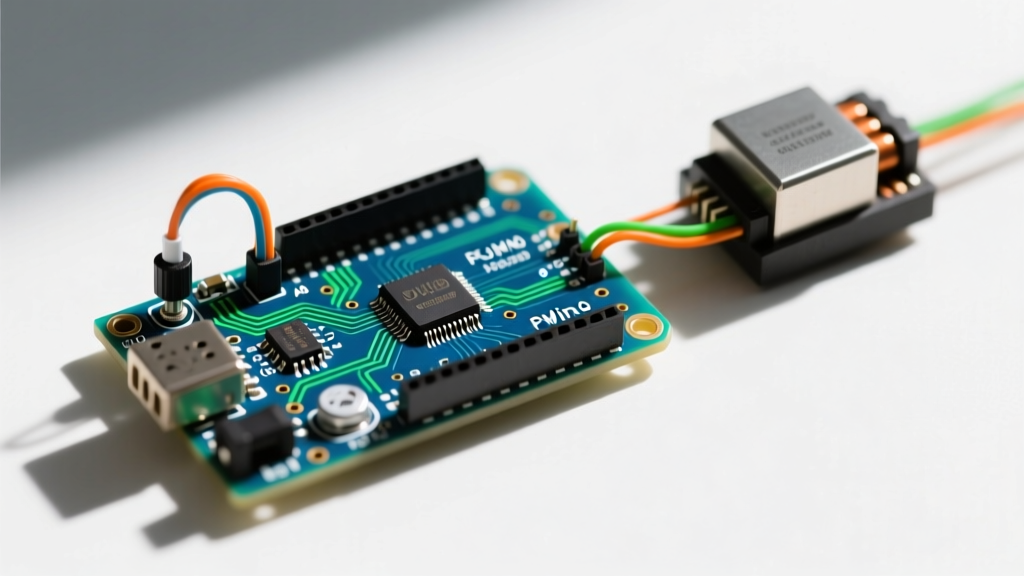
Combining Map and Constrain for Precision Control
Developers frequently use the map() function to translate a 10-bit sensor input (0–1023) to an 8-bit PWM output (0–255). The map() function performs linear interpolation but does not enforce boundaries. If the input exceeds 1023, the output will exceed 255. Therefore, chaining constrain() after map() is a mandatory best practice in robotics firmware.
int rawInput = analogRead(A0);
int mappedOutput = map(rawInput, 0, 1023, 0, 255);
int safePWM = constrain(mappedOutput, 0, 255);
Decision Framework: Value Limiting Methods
Choosing the right limiting method depends on execution speed, memory constraints, and code readability. The table below compares the primary approaches for restricting values in embedded C++.
| Method | Syntax | Execution Speed | Best Use Case |
|---|---|---|---|
constrain() |
constrain(x, a, b) |
Fast (Macro-based) | Standard sensor clamping and PWM limits |
if / else |
if(x>b) x=b; |
Fastest (Optimized) | High-frequency interrupt service routines |
std::clamp() |
std::clamp(x, a, b) |
Moderate | Modern C++17 environments (e.g., Arduino Giga R1) |
Frequently Asked Questions
How do you limit a value in Arduino?
You limit a value by passing it through the constrain(x, a, b) function, where x is your variable, a is the minimum allowed value, and b is the maximum allowed value. The function returns the restricted value, which you must assign back to your variable.
What is the difference between map and constrain in Arduino?
The map() function scales a value from one numerical range to another (e.g., 0–1023 to 0–255) using linear interpolation. The constrain() function strictly enforces hard boundaries, preventing a value from dropping below a minimum or exceeding a maximum, without altering the scale.
Can the constrain function handle floating-point numbers?
Yes. While often used with integers, the underlying macro supports floating-point data types. You can constrain a float variable, such as a temperature reading in Celsius, between 0.0 and 100.5 without data loss.
Final Implementation Steps
The constrain arduino function serves as a vital software shield against physical hardware anomalies, ensuring PWM signals and sensor readings remain within safe operational thresholds. By enforcing strict 0–1023 and 0–255 boundaries, you eliminate integer overflow bugs that cause erratic motor behavior and logic failures.
Next Step: Wire a 10k ohm potentiometer to analog pin A0 and an LED to PWM pin 9 on an Arduino Uno R4 Minima. Upload a sketch that maps the analog input to the LED brightness, wrapping both the input and output variables in constrain() functions. Open the serial monitor at 115200 baud to verify that physical voltage spikes no longer cause the PWM duty cycle to exceed 255.