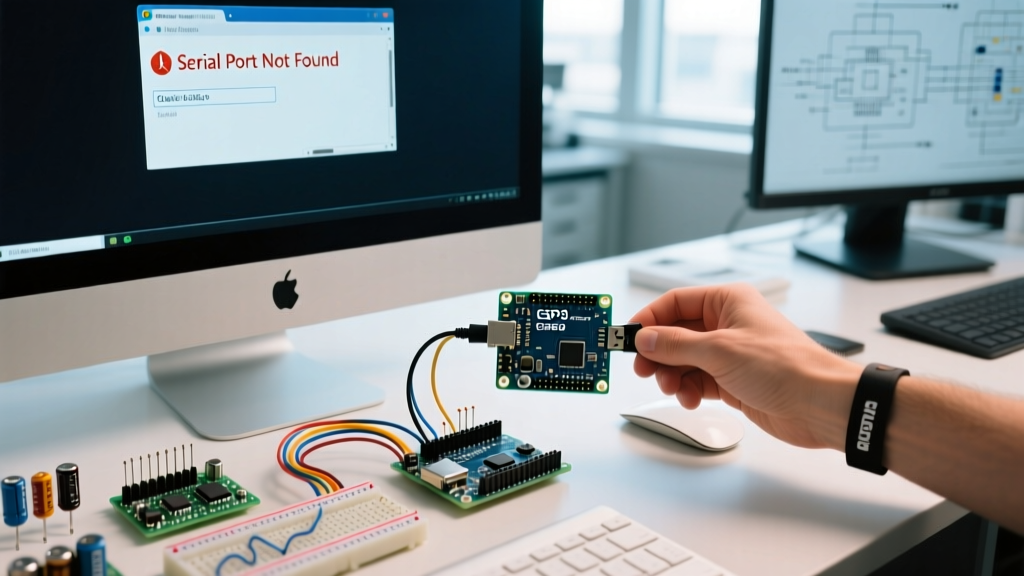

When your serial port Arduino connection drops or fails to appear in the IDE, it halts your entire prototyping workflow. Whether you are flashing an ATmega328P or debugging an ESP32 via UART, serial communication is the backbone of microcontroller development. In 2026, with the widespread adoption of Arduino IDE 2.3.x and newer USB-C hub architectures, serial enumeration failures have evolved. This quick reference FAQ and troubleshooting matrix cuts through the fluff to provide exact, actionable solutions for hardware, driver, and OS-level serial port failures.
Quick Diagnostic Matrix: Serial Port Arduino Failures
| Symptom | Board / Chipset | Root Cause | 10-Second Fix |
|---|---|---|---|
| Port greyed out in IDE Tools menu | Any | Charge-only USB cable (missing D+/D- lines) | Swap to a verified 28AWG data cable |
| Device shows as 'Unknown USB Device' | Clone Nano (CH340) | Missing or corrupted CH340 Windows driver | Install WCH CH341SER.EXE v3.8+ |
| Port connects but instantly disconnects | Uno R3 / Mega 2560 | USB Hub brownout (insufficient 500mA current) | Plug directly into motherboard rear I/O |
| Linux: Permission denied on /dev/ttyACM0 | Genuine Boards (CDC-ACM) | User not in 'dialout' group | Run: sudo usermod -a -G dialout $USER |
| Upload hangs at 'Uploading...' | Pro Micro / Leonardo | Native USB bootloader crashed | Double-tap reset button to force bootloader |
1. Hardware & Physical Connection FAQs
Why does my computer charge the Arduino but not detect the serial port?
You are using a charge-only USB cable. Inside a standard USB 2.0 cable, there are four wires: VCC (5V), GND, D+ (Data), and D- (Data). Charge-only cables omit the D+ and D- wires to save manufacturing costs. To verify your cable, look at the printed text on the rubber jacket. A proper data cable will typically read 28AWG/1P + 28AWG/2C. The '1P' indicates one twisted pair for data. If it only says '2C' or lacks the AWG specification entirely, discard it and use a verified data cable.
Can a USB hub cause the serial port to drop during compilation?
Yes. When an Arduino Uno R3 or Mega 2560 receives an upload command, the ATmega16U2 USB-to-Serial bridge chip resets the main microcontroller. This reset cycle causes a momentary spike in current draw. If you are using an unpowered USB 3.0 hub, the port may limit current to 100mA or experience a voltage brownout, causing the hub to drop the device entirely. Always plug your board directly into a rear motherboard USB port or use a powered hub rated for at least 2.4A total output.
Pro-Tip: The Capacitor Reset Trick
If your board's auto-reset circuit (DTR line) is broken, the serial port will connect, but uploads will fail with a 'Programmer is not responding' error. You can manually trigger the bootloader by placing a 100nF (0.1µF) ceramic capacitor between the RESET pin and the GND pin for exactly one second right after the IDE finishes compiling and says 'Uploading...'.
2. Driver & Chipset FAQs (CH340 vs. ATmega16U2)
How do I know which USB-to-Serial chip my board uses?
Identifying the bridge chip dictates your driver strategy. Look at the small SMD chip near the USB connector:
- ATmega16U2 (or 8U2): Found on genuine Arduino Uno R3 ($27) and Mega 2560 ($45). These use native CDC-ACM drivers built into Windows, macOS, and Linux. No extra drivers are needed.
- CH340G / CH340C: Found on 90% of clone boards (e.g., Elegoo, HiLetgo). The CH340G requires an external 12MHz crystal, while the newer CH340C (common in 2024-2026 batches) integrates the oscillator. Both require the WCH CH340 driver.
- FT232RL: Found on older clones and specialized FTDI breakout boards. Requires FTDI VCP drivers.
Where do I get the safe, official CH340 driver?
Do not download CH340 drivers from random third-party driver aggregator sites, as they often bundle adware. The definitive guide and safe driver links are maintained by the maker community. Refer to the SparkFun CH340 Driver Guide for the latest WCH official installer (CH341SER.EXE for Windows, CH341SER_MAC.ZIP for macOS). On macOS Sonoma and Sequoia, you must explicitly allow the kernel extension in System Settings > Privacy & Security after installation, followed by a full reboot.
3. OS & Arduino IDE 2.x FAQs
Why does the serial port show up in Device Manager but not in Arduino IDE 2.3?
Arduino IDE 2.x relies on a backend CLI process (arduino-cli) to enumerate serial ports. If the IDE crashed previously, a ghost instance of arduino-cli might be holding a lock on the COM port. Open Windows Task Manager, locate any lingering arduino-cli.exe processes, and 'End Task'. Restart the IDE, and the port will reappear in the Tools menu.
Linux: Why is my port named /dev/ttyUSB0 instead of /dev/ttyACM0?
This naming convention reveals your hardware. Genuine boards using the ATmega16U2 register as Communications Device Class (CDC) Abstract Control Model (ACM), resulting in /dev/ttyACM0. Clone boards using the CH340 or FTDI chips register as generic UART-to-USB bridges, resulting in /dev/ttyUSB0. If you receive a 'Permission Denied' error when opening the Serial Monitor, your Linux user lacks access to the serial hardware group. Fix this permanently by running sudo usermod -a -G dialout $USER in the terminal, then log out and log back in. For a deeper dive into Linux permissions, consult the Arduino Linux Getting Started Guide.
4. Serial Communication & Code FAQs
What causes garbled text in the Serial Monitor?
Garbled output (e.g., ??? or random symbols) is almost always a baud rate mismatch. If your sketch initializes Serial.begin(115200); but the IDE Serial Monitor dropdown is set to 9600 baud, the timing of the bits will be misinterpreted. Always ensure the software monitor matches the hardware initialization. For high-speed data logging in 2026, 115200 or 250000 baud are the most stable standards for ATmega328P hardware UART.
Why does SoftwareSerial drop characters at high speeds?
If you are using an Arduino Uno and relying on the SoftwareSerial library to create a secondary serial port on pins 10 and 11, you are limited by CPU interrupt overhead. The ATmega328P running at 16MHz cannot reliably bit-bang serial data above 57600 baud. Furthermore, the default software serial buffer is only 64 bytes. If your incoming data stream exceeds 64 bytes before your loop() calls read(), the buffer overflows and data is permanently lost. If you need reliable dual-serial communication, upgrade to an Arduino Mega 2560 (which has 4 hardware UARTs) or a Raspberry Pi Pico (RP2040), which features dedicated PIO state machines for flawless software UART emulation.
How do I clear 'Ghost' COM ports in Windows?
When you plug an Arduino into different USB ports, Windows assigns a new COM port number (e.g., COM3, COM4, COM5). Eventually, you may run out of available ports or experience IDE conflicts. To clear these 'ghost' ports:
- Open Windows Device Manager.
- Click 'View' in the top menu and select 'Show hidden devices'.
- Expand the 'Ports (COM & LPT)' section.
- Right-click and 'Uninstall device' on any greyed-out Arduino or USB-SERIAL CH340 entries.
For more advanced debugging techniques and monitor configurations, review the official Arduino IDE V2 Serial Monitor Documentation. Mastering these serial port nuances ensures your hardware prototyping remains uninterrupted and efficient.