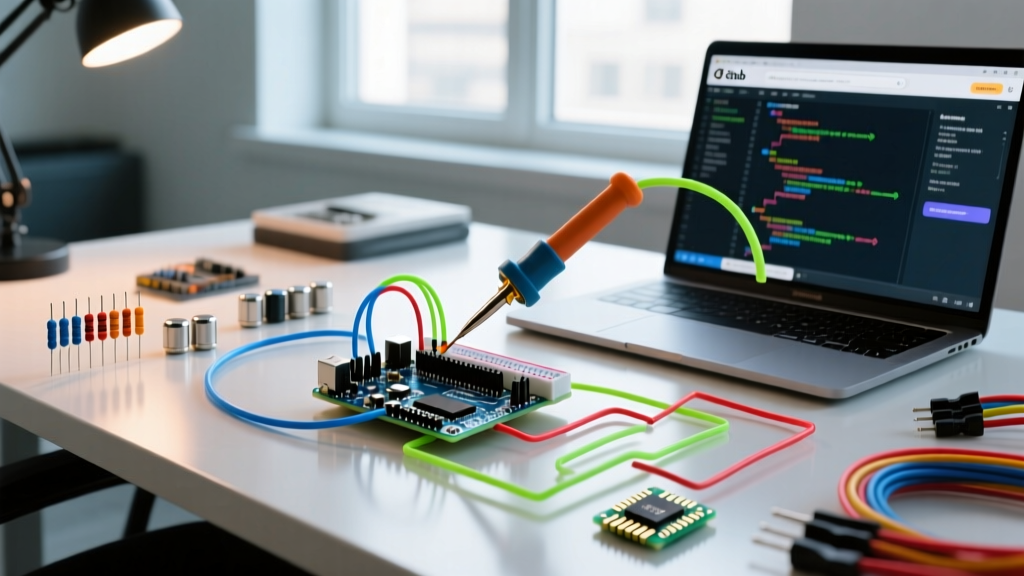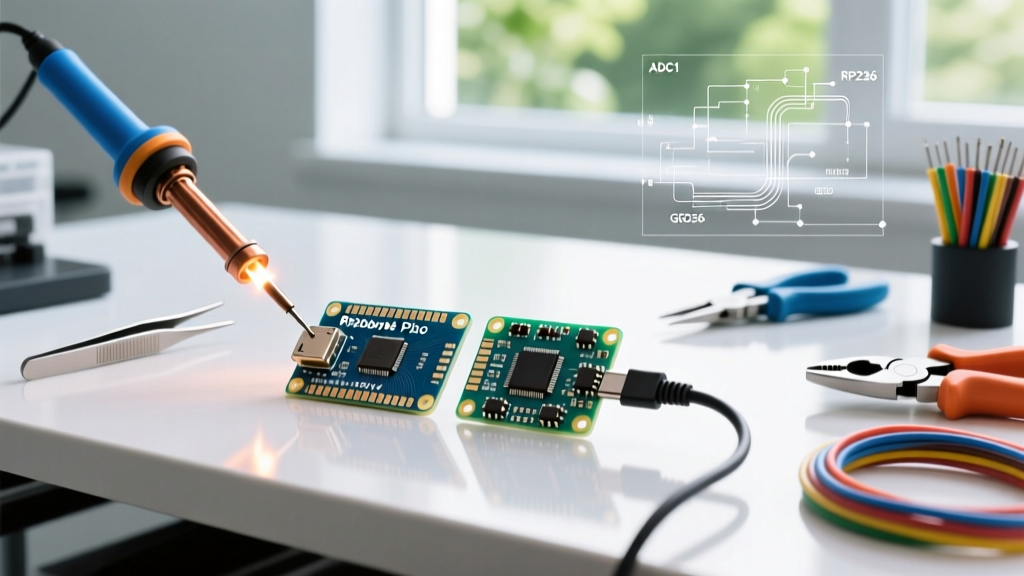

The 'Pico Arduino' Concept: Bridging Two Ecosystems
When makers search for a Pico Arduino solution, they are usually looking for a way to program the Raspberry Pi Pico using the familiar Arduino IDE and C++ syntax. However, it is critical to understand that 'Pico Arduino' is not a physical piece of hardware. It is a software abstraction layer. The Raspberry Pi Pico (powered by the RP2040) and the newer Pico 2 (powered by the RP2350) are natively designed for MicroPython and C/C++ via the Pico SDK. To use them in the Arduino ecosystem, you must install a third-party 'core' that translates standard Arduino functions (like digitalWrite() or analogRead()) into low-level hardware register calls specific to the Raspberry Pi silicon.
As of 2026, the Raspberry Pi Pico family remains a dominant force in the maker market, with the original Pico 1 retailing around $4 and the Pico 2 at $5. But leveraging them in the Arduino IDE requires navigating core selection, pinout mapping, and bootloader paradigms that differ vastly from traditional AVR-based Arduinos.
Choosing Your Core: Mbed OS vs. Arduino-Pico
The most common pitfall for beginners is selecting the wrong board package. There are two primary ways to run Arduino code on the RP2040/RP2350, and understanding the difference is vital for project stability.
| Feature | Official Arduino Mbed OS Core | Earle Philhower's Arduino-Pico Core |
|---|---|---|
| Maintainer | Arduino LLC | Earle Philhower (Community) |
| Underlying SDK | ARM Mbed OS | Native Raspberry Pi Pico SDK |
| Compilation Speed | Slow (Heavy abstraction) | Fast (Direct hardware mapping) |
| FreeRTOS Support | Limited / Experimental | Native, fully integrated |
| Filesystem (LittleFS) | Not supported | Fully supported via IDE menus |
| RP2350 (Pico 2) Support | No | Yes (ARM & RISC-V architectures) |
Expert Recommendation: For 99% of projects in 2026, you should use Earle Philhower's Arduino-Pico core. The official Mbed core has been largely deprecated for new RP2350 development and suffers from massive memory overhead. Philhower's core provides direct access to the PIO (Programmable I/O) state machines, USB host capabilities, and multicore FreeRTOS threading.
Hardware Abstraction Mismatches: What You Must Know
Because the Arduino API was originally designed for 8-bit AVR microcontrollers (like the ATmega328P), forcing a 32-bit dual-core Cortex-M0+ (RP2040) or Cortex-M33 (RP2350) into this paradigm creates hardware mismatches. A true 'Pico Arduino' expert must account for these three critical differences:
1. The ADC Resolution Trap (10-bit vs. 12-bit)
On a standard Arduino Uno, analogRead() returns a value between 0 and 1023 (10-bit resolution). The Raspberry Pi Pico features a 12-bit ADC, meaning it natively reads values from 0 to 4095.
By default, the Philhower core artificially scales the 12-bit reading down to 10-bit to maintain backward compatibility with legacy Arduino sketches. If you are building a precision sensor project (e.g., using an MPU6050 or high-res thermistor), you are throwing away data. Override this in your setup() function:
void setup() {
  analogReadResolution(12); // Unlocks full 0-4095 range
  Serial.begin(115200);
}
2. I2C and SPI Pin Mapping
Unlike the Uno, where I2C is hardcoded to A4 (SDA) and A5 (SCL), the RP2040/RP2350 features a flexible pin multiplexer. Almost any GPIO can be assigned to I2C or SPI. However, the Arduino-Pico core sets default fallback pins to mimic standard layouts:
- Default I2C (Wire): SDA = GP4, SCL = GP5
- Default I2C1 (Wire1): SDA = GP2, SCL = GP3
- Default SPI: SCK = GP18, MOSI = GP19, MISO = GP16, CS = GP17
If you are porting a shield designed for an Uno, you will need to physically rewire the I2C lines to GP4 and GP5, or use the Wire.setSDA(pin) command before calling Wire.begin().
3. PWM on Every Pin
AVR Arduinos only support analogWrite() on specific pins marked with a tilde (~). The Pico's hardware PWM slices allow every single GPIO (GP0 to GP28) to output hardware PWM. You are no longer restricted to 6 PWM channels; you have up to 16 independent PWM channels available simultaneously.
Step-by-Step: Installing the Philhower Core
To configure the Arduino IDE (v2.3+) for the Pico, follow this exact sequence to ensure the Board Manager indexes the correct JSON files.
- Open Arduino IDE and navigate to File > Preferences (or Arduino IDE > Settings on macOS).
- Locate the 'Additional boards manager URLs' field.
- Paste the following exact URL:
https://github.com/earlephilhower/arduino-pico/releases/download/global/package_rp2040_index.json - Open the Board Manager tab on the left sidebar, search for 'Raspberry Pi Pico/RP2040', and install the package by Earle F. Philhower, III.
- Go to Tools > Board and select Raspberry Pi Pico (for RP2040) or Raspberry Pi Pico 2 (for RP2350).
For deeper IDE configuration details, refer to the official Arduino Board Manager documentation.
Upload Paradigms: Serial vs. UF2 Bootloader
Traditional Arduinos use a serial bootloader triggered by a 1200bps DTR pulse. The Pico uses a completely different mechanism: the UF2 (USB Flashing Format) Mass Storage Bootloader. When the Pico is in BOOTSEL mode, it mounts as a USB flash drive on your computer. The Arduino IDE compiles your code into a .uf2 file and simply copies it to this virtual drive.
Troubleshooting 'No Port Found' Errors
The most common error when uploading to a Pico is 'Board at null is not available' or the IDE failing to find a COM port. This happens because the Pico does not expose a serial port until your sketch explicitly initializes Serial.begin() and the USB stack boots.
The Hardware Recovery Method:
- Unplug the Pico from your USB cable.
- Press and hold the white BOOTSEL button on the Pico board.
- While holding the button, plug the USB cable back into your computer.
- Release the BOOTSEL button. The Pico will now mount as an 'RPI-RP2' or 'RPI-RP3' drive.
- In the Arduino IDE, select the newly appeared 'UF2 Board' port and click Upload.
Enabling USB-Serial for Debugging
To ensure your Pico always shows up as a COM port for Serial Monitor debugging without needing to press BOOTSEL, you must configure the USB stack in the IDE. Navigate to Tools > USB Stack and select Pico SDK (default). Then, in your code, ensure you include the standard serial initialization:
void setup() {
  Serial.begin(115200);
  while (!Serial) { delay(10); } // Wait for USB serial to connect
}
Multicore Processing: The True Power of the Pico
Where the 'Pico Arduino' concept truly outshines traditional AVR boards is multicore execution. Both the RP2040 and RP2350 feature dual cores. Using the Philhower core, you can offload tasks to Core 1 without writing complex bare-metal SDK code.
Simply define a setup1() and loop1() function in your sketch. The Arduino-Pico core automatically maps setup() and loop() to Core 0, and the '1' variants to Core 1. This is invaluable for running high-frequency sensor polling on Core 1 while handling WiFi (on the Pico W) or display rendering on Core 0.
Summary: Mastering the Pico in the Arduino IDE
Treating the Raspberry Pi Pico as just another Arduino is a mistake that leads to inefficient code and hardware conflicts. By understanding the underlying abstraction of the Raspberry Pi Pico architecture, selecting the Philhower core, unlocking the 12-bit ADC, and mastering the UF2 bootloader recovery process, you transform a $4 microcontroller into a powerhouse that rivals boards costing five times as much. Whether you are building IoT nodes with the Pico W or high-speed data loggers with the Pico 2, the Arduino IDE remains a highly viable, professional-grade environment when configured correctly.