
The UART Protocol: TTL vs. RS-232 vs. USB
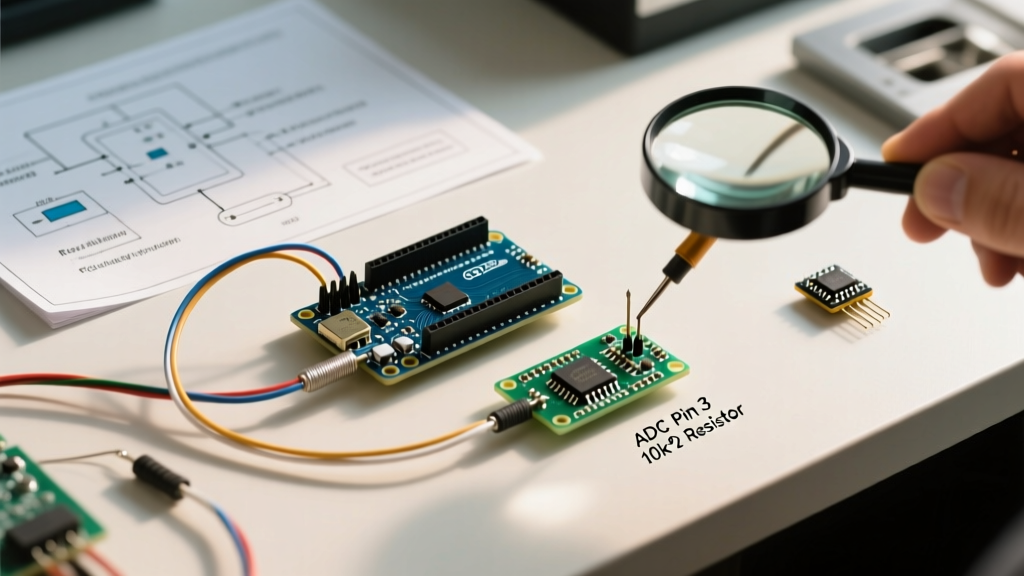
Integrating an Arduino serial printer into a maker project or commercial kiosk requires navigating a minefield of voltage levels, baud rate mismatches, and power delivery constraints. While the concept of sending text over a UART line is simple, the physical layer compatibility between modern microcontrollers (like the ESP32-S3 or RP2040) and legacy or generic thermal print engines is where most projects fail. Before writing a single line of C++, you must identify the physical serial protocol your printer utilizes.
| Protocol | Voltage Levels | Required Hardware | Typical Use Case |
|---|---|---|---|
| TTL UART | 0V (LOW) to 3.3V/5V (HIGH) | Direct wiring or Logic Level Shifter | DIY projects, Adafruit/SparkFun modules, generic 58mm POS |
| RS-232 | -3V to -15V (HIGH), +3V to +15V (LOW) | MAX3232 Transceiver IC | Industrial equipment, legacy Epson TM-T series |
| USB | 5V VBUS, 3.3V Data (D+/D-) | USB Host Shield (MAX3421E) | Modern retail POS, plug-and-play kiosks |
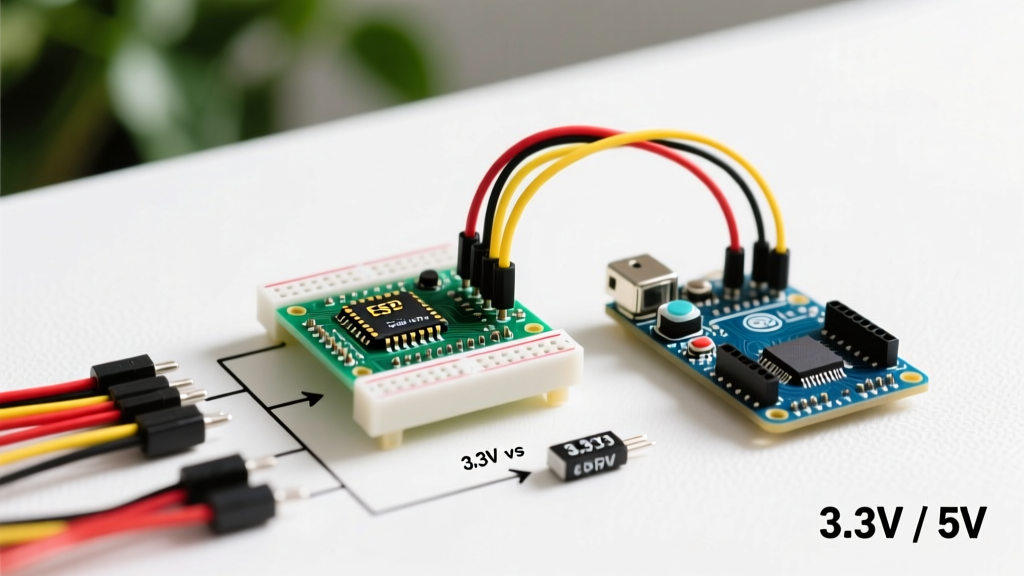
Voltage Logic Compatibility (The 3.3V vs 5V Trap)
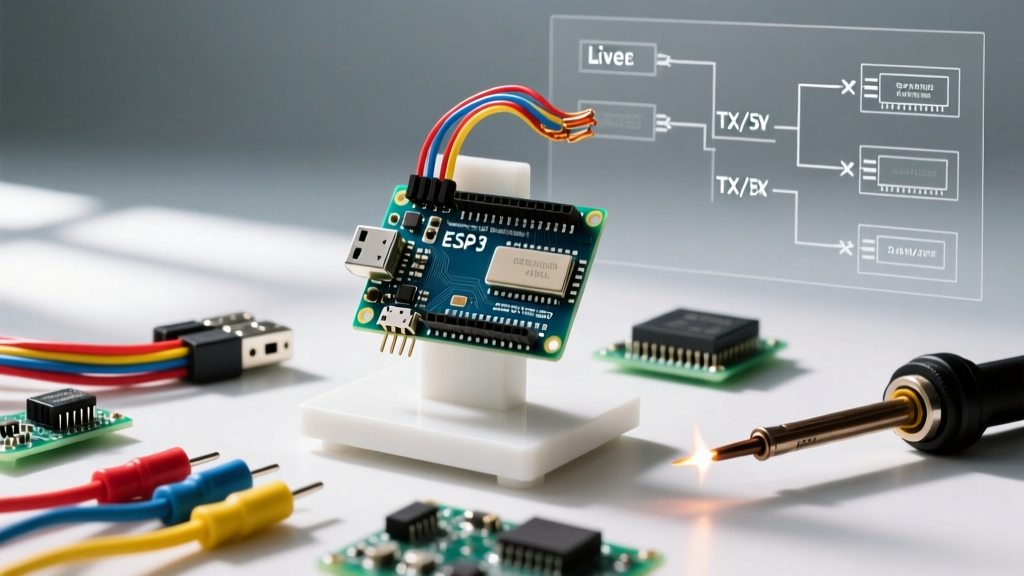
The most common catastrophic failure when wiring an Arduino serial printer is ignoring logic level thresholds. Older 8-bit AVR boards (Uno, Mega) operate at 5V logic. Modern 32-bit MCUs (ESP32, Raspberry Pi Pico) operate at 3.3V logic. Generic TTL thermal printers often feature 5V-tolerant RX pins, but their TX pins (used for status reporting like 'paper out') may output a hard 5V signal.
CRITICAL WARNING: Never connect a 5V TTL printer TX pin directly to a 3.3V MCU RX pin. This will instantly fry the GPIO pin and potentially destroy the microcontroller's internal voltage regulator.
Safe Interfacing Strategies
- Unidirectional (Print Only): If you only need to send data (MCU TX to Printer RX), and your MCU is 3.3V, most modern TTL printers will register 3.3V as a valid HIGH signal. If the printer strictly requires 5V, use a CD4050 non-inverting buffer or a BSS138 bi-directional logic level shifter ($1.50 on breakout boards) to step up the 3.3V TX signal to 5V.
- Bidirectional (Status Checks): If you must read the printer's 5V TX pin with a 3.3V MCU, use a simple resistor voltage divider. A 2.2kΩ resistor in series with the signal line, and a 3.3kΩ resistor to ground, will safely step 5V down to approximately 3.0V, which is safely above the 2.5V HIGH threshold of most 3.3V MCUs without risking damage.
- RS-232 Conversion: For industrial printers using DB9 connectors, you must use a MAX3232 breakout board to convert the +/- 12V RS-232 swings into safe 0-5V or 0-3.3V TTL logic. For a deeper dive into logic thresholds, consult the SparkFun Logic Levels Tutorial.
Power Delivery: The 2A Brownout Issue
A frequent symptom of Arduino serial printer integration is the MCU randomly resetting mid-print. This is rarely a software bug; it is a power brownout. Thermal print heads heat up microscopic elements to burn paper. When printing a solid black line or a dense QR code, a standard 58mm thermal printer can draw 1.5A to 2.5A of peak current.
The Arduino Uno's onboard 5V regulator can only safely supply about 500mA, and the USB port limits you to 500mA-900mA. Attempting to power the printer from the Arduino's 5V pin will cause a massive voltage sag, triggering the MCU's brownout detection (BOD) and forcing a reboot.
The Correct Power Architecture
- Use a dedicated 5V 2A (or 3A) switching power supply for the printer.
- Connect the PSU's 5V to the printer's VCC, and the PSU's GND to both the printer's GND and the Arduino's GND. A common ground is mandatory for UART communication.
- Solder a 1000µF electrolytic capacitor directly across the printer's VCC and GND terminals to buffer transient current spikes during heavy print jobs.
Hardware Serial vs. SoftwareSerial Limits
When managing an Arduino serial printer, the choice between Hardware UART and SoftwareSerial dictates your maximum reliable baud rate. According to the official Arduino Serial Reference, Hardware UART utilizes dedicated shift registers and interrupt handlers, allowing for flawless communication at high speeds.
Conversely, SoftwareSerial relies on pin-change interrupts and software timing loops. On a 16MHz ATmega328P (Uno), SoftwareSerial becomes highly unreliable above 38400 baud. If your printer defaults to 115200 baud, SoftwareSerial will output pure garbage. Furthermore, on ESP32 and RP2040 architectures, the standard SoftwareSerial library is either deprecated or highly unstable; you must use their native hardware UART ports (e.g., Serial1, Serial2) and map the GPIO pins accordingly.
Top Compatible Arduino Serial Printer Models (2026 Market)
Selecting the right hardware ensures library support and predictable behavior. Here are the top three thermal engines compatible with Arduino ecosystems:
1. Adafruit Mini Thermal Receipt Printer (PID: 597)
- Price: ~$49.95
- Protocol: TTL UART (5V tolerant)
- Default Baud: 19200
- Compatibility: Flawless with all 5V and 3.3V MCUs. Supported natively by the
Adafruit_Thermallibrary, which handles bitmap rendering, barcode generation, and text formatting. The Adafruit Learning System provides exhaustive wiring diagrams and ESC/POS command breakdowns for this specific model.
2. Generic 58mm POS Printer (QR701 / HOIN Engines)
- Price: $15.00 - $25.00 (AliExpress/Amazon)
- Protocol: TTL UART
- Default Baud: 9600 (often dip-switch configurable to 19200 or 115200)
- Compatibility: Excellent for budget projects. Requires the community-maintained
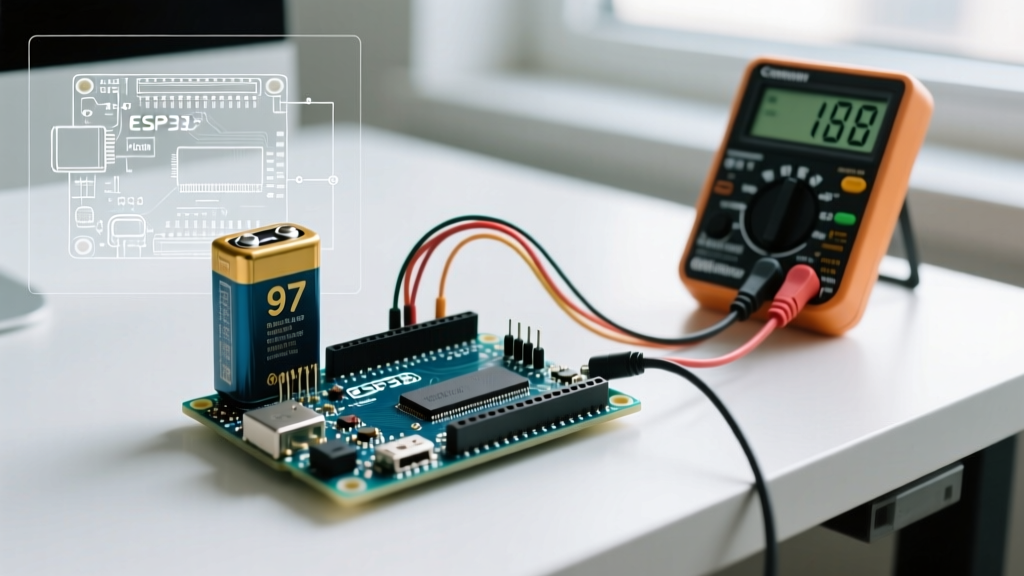
ZJ-58or genericEscPoslibraries. Note that the pinout on the 5-pin JST connector is rarely standardized; always verify the TX/RX pins with a multimeter before applying power.
3. Epson TM-T20III (Serial/RS-232 Variant)
- Price: ~$180.00
- Protocol: RS-232 (DB25 or RJ45 depending on adapter)
- Default Baud: 9600 to 115200 (Memory switch configurable)
- Compatibility: The gold standard for commercial kiosks. Requires a MAX3232 breakout board to interface with an Arduino. Supports full ESC/POS command sets, including advanced logo storage in the printer's internal NV-RAM, offloading bitmap processing from the MCU entirely.
Troubleshooting: Garbled Output & Mojibake
If your printer is feeding paper but printing illegible, random characters (mojibake), you are experiencing a baud rate mismatch or a parity error. Follow this diagnostic flow:
- Verify Hardware Baud Rate: Hold the printer's feed button while applying power to print the self-test configuration page. Look for the "Baud Rate" and "Parity" settings. Most generic printers default to 9600 N-8-1 (No parity, 8 data bits, 1 stop bit).
- Match the Library Initialization: Ensure your code matches the hardware.
printer.begin(9600);must align perfectly with the self-test page. - Check for Inverted Logic: Some obscure industrial printers use inverted UART logic (where 0V is HIGH and 5V is LOW). If your baud rate is correct but output is still garbled, initialize the serial port with inverted logic if your MCU supports it (e.g.,
Serial.begin(9600, SERIAL_8N1_INV)on ESP32) or use a hardware logic inverter IC like the 74HC04. - Ground Loop Noise: If the printer works on a desk but fails when mounted in a metal chassis, you may have a ground loop introducing noise into the TTL RX line. Use an optocoupler (like the 6N137) on the TX/RX lines to electrically isolate the MCU from the printer's noisy stepper motor ground.
Frequently Asked Questions
Can I use I2C or SPI instead of Serial?
No. Thermal printers are inherently UART/Serial devices. While you can find I2C-to-UART bridge ICs (like the SC16IS750), they add unnecessary latency and complexity. Stick to Hardware UART for the most reliable results.
Why does the printer print a solid black line and stop?
This is a thermal protection mechanism. If you attempt to print dense graphics without inserting a delay(100) or managing the print buffer, the thermal head overheats. The internal thermistor detects this and halts printing until it cools. Implement line-by-line printing delays in your sketch to prevent thermal throttling.