
Quick Reference: RPI to Arduino Protocol Matrix
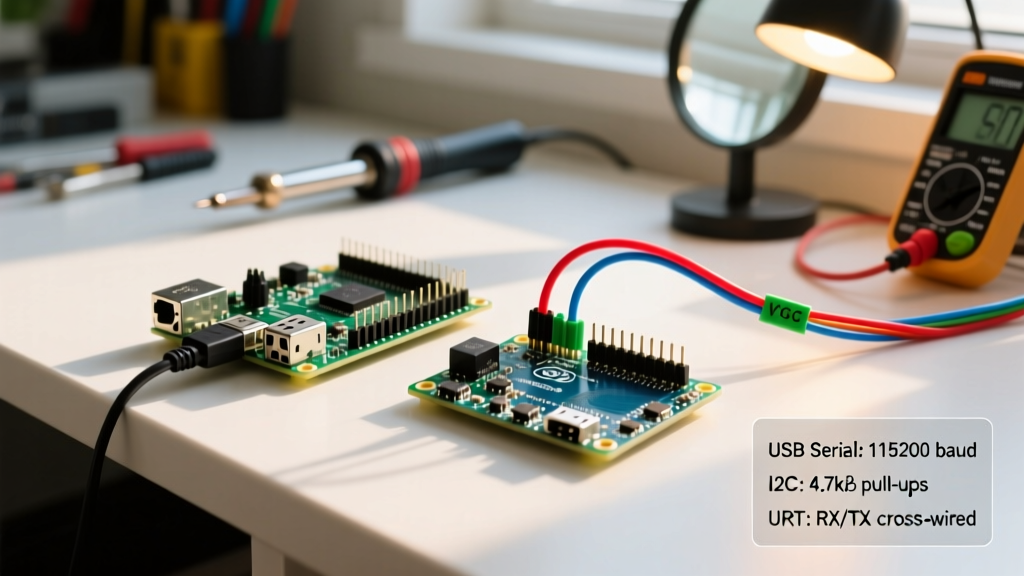
Combining a Raspberry Pi (RPi) with an Arduino leverages the best of both worlds: the Pi handles high-level networking, computer vision, and Linux-based processing, while the Arduino manages real-time analog sampling, PWM motor control, and strict timing interrupts. However, bridging the 3.3V logic of the RPi with the 5V logic of standard Arduinos requires careful protocol selection. Below is a quick-reference matrix for 2026 hardware configurations.
| Protocol | Max Practical Speed | Wiring Complexity | Level Shifter Required? | Best Use Case |
|---|---|---|---|---|
| USB Serial | 115,200 bps (Standard) / 2 Mbps (Native) | Low (1 Cable) | No (Handled by USB IC) | Telemetry, G-code streaming, prototyping |
| I2C Bus | 400 kHz (Fast Mode) | Medium (4 Wires) | Yes (Mandatory for 5V Arduinos) | Multi-device sensor networks, short-distance |
| UART (GPIO) | 115,200 bps to 921,600 bps | Medium (3-4 Wires) | Yes (If Arduino is 5V) | Headless Pi deployments, custom enclosures |
| SPI | Up to 10 MHz+ | High (5+ Wires) | Yes (Mandatory for 5V Arduinos) | High-speed data transfer, DMA buffering |
USB Serial Communication FAQs
Q: How do I establish a stable USB serial link without port mapping issues?
When you plug an Arduino Uno R3 or Nano into a Raspberry Pi, the Linux kernel assigns it a device node like /dev/ttyACM0 (for ATmega16U2/32U4 chips) or /dev/ttyUSB0 (for CH340/CP2102 clones). If you reboot the Pi or plug in a secondary USB device, these port assignments can swap, breaking your Python scripts.
Actionable Fix: Create a persistent udev rule. First, find your Arduino's Vendor ID (VID) and Product ID (PID) using lsusb. For an official Arduino Uno R3, the VID is 2341 and PID is 0043. Create a new rule file:
sudo nano /etc/udev/rules.d/99-arduino.rules
Insert the following line:
SUBSYSTEM=='tty', ATTRS{idVendor}=='2341', ATTRS{idProduct}=='0043', SYMLINK+='arduino_uno'
Reload the rules with sudo udevadm control --reload-rules && sudo udevadm trigger. Your Arduino will now consistently mount at /dev/arduino_uno, regardless of other USB peripherals. For Python implementation, the PySerial Documentation provides robust timeout and baudrate configurations essential for preventing buffer overflows during high-frequency sensor polling.
Q: Why am I getting a 'SerialException: Permission denied' error in Python?
By default, the Raspberry Pi's standard user (e.g., 'pi' or your custom username) lacks read/write permissions to serial TTY devices. While running your script with sudo works, it is a severe security risk and breaks virtual environment paths.
Actionable Fix: Add your user to the dialout group. Run sudo usermod -a -G dialout $USER, then completely log out and log back in (or reboot) for the group policy to take effect.
I2C Bus Integration FAQs
Q: Can I connect the RPi I2C pins directly to a 5V Arduino Uno?
CRITICAL HARDWARE WARNING: Never connect 5V Arduino I2C lines directly to the 3.3V Raspberry Pi GPIO header. The RPi's BCM2711 (Pi 4) and BCM2712 (Pi 5) SoCs are not 5V tolerant. Doing so will degrade the silicon and eventually destroy the I2C controller on the Pi.
The Raspberry Pi utilizes I2C Bus 1 on GPIO 2 (SDA) and GPIO 3 (SCL). The Pi's hardware includes 1.8kΩ pull-up resistors tied to 3.3V. Conversely, an Arduino Uno uses A4 (SDA) and A5 (SCL) with internal pull-ups tied to 5V. If connected directly, the Arduino's 5V pull-ups will backfeed 5V into the Pi's 3.3V SDA/SCL lines.
Q: What is the correct way to level-shift I2C between RPi and Arduino?
You must use a bidirectional logic level shifter. There are two primary approaches in 2026:
- BSS138 MOSFET Modules ($1.50 - $3.00): These generic breakout boards use N-channel MOSFETs to safely translate 3.3V to 5V. Wire the 'LV' (Low Voltage) side to the Pi's 3.3V pin and GPIO 2/3. Wire the 'HV' (High Voltage) side to the Arduino's 5V pin and A4/A5. Ensure both grounds are tied together.
- PCA9306 IC ($2.50 - $4.00): For custom PCB designs, the Texas Instruments PCA9306 is the industry-standard dedicated I2C level translator. It handles the complex capacitance and pull-up dynamics of the I2C bus far better than discrete MOSFETs, preventing bus lockups at 400 kHz Fast Mode speeds.
To verify the connection, enable I2C on the Pi via sudo raspi-config (Interface Options > I2C), install the tools via sudo apt install i2c-tools, and run i2cdetect -y 1. If the Arduino is programmed as an I2C slave (using the Arduino Wire Library) at address 0x08, it will appear in the matrix output.
Direct UART (GPIO) FAQs
Q: How do I configure UART on the Raspberry Pi 5 vs. Pi 4?
Connecting via direct UART (TX to RX, RX to TX, plus common Ground) frees up USB ports and allows for slimmer custom enclosures. However, the architectural shift in the Raspberry Pi 5 changes how UART is handled.
- Raspberry Pi 4: Uses the BCM2711 SoC. GPIO 14 (TX) and GPIO 15 (RX) are mapped to either
ttyS0(mini UART) orttyAMA0(PL011 hardware UART). You must disable the serial console inraspi-configwhile keeping the serial hardware enabled. - Raspberry Pi 5: Uses the RP1 southbridge chip. The UART routing is handled differently via the RP1 device tree. GPIO 14 and 15 still function as the primary UART header, but the device node is typically
ttyAMA0by default, and the mini UART is deprecated. Ensure yourconfig.txtincludesdtparam=uart0=onif the bus fails to initialize.
For an in-depth understanding of voltage thresholds when wiring UART without a level shifter, refer to the SparkFun Logic Levels Tutorial, which details why 3.3V TX to 5V RX usually works (due to TTL high thresholds), but 5V TX to 3.3V RX requires a voltage divider or level shifter.
Power Delivery & Hardware Failure Modes
Q: Can I power the Raspberry Pi from the Arduino's 5V pin?
No. This is a catastrophic failure mode. A standard Arduino Uno's 5V pin is backed by either the USB port's polyfuse (rated for ~500mA) or the onboard linear regulator (which will overheat and thermal-throttle at ~200mA if powered via the barrel jack). A Raspberry Pi 4 requires up to 3A (15W), and a Raspberry Pi 5 requires up to 5A (25W via USB-C PD). Attempting to backpower the Pi from the Arduino will result in severe brownouts, kernel panics, and potential SD card corruption.
Q: Can the Raspberry Pi power the Arduino?
Yes, but with caveats. The Raspberry Pi 4 and 5 USB ports can supply up to 1.2A (1200mA) total across all ports. An Arduino Uno R4 Minima typically draws around 300mA under moderate load (a few LEDs and sensors). This is perfectly safe. However, if your Arduino is driving high-current peripherals like NEMA 17 stepper motors or heavy servo arrays, you must power the Arduino's Vin pin or barrel jack from a dedicated external 7V-12V power supply, sharing only the Ground wire with the Raspberry Pi to maintain a common logic reference.
Troubleshooting Quick Checklist
- Garbage characters in serial monitor: Baud rate mismatch. Ensure both the Pi (PySerial) and Arduino (
Serial.begin()) are set to the exact same rate (e.g., 115200). Note that the Pi's mini UART (ttyS0) baud rate is tied to the core clock frequency; if the Pi CPU throttles, the baud rate drifts, causing data corruption. Always force the PL011 UART (ttyAMA0) for reliable communication. - I2C bus locking up randomly: Usually caused by missing pull-up resistors on the level shifter's high-voltage side, or wire capacitance exceeding 400pF. Keep I2C wires under 30cm (12 inches) and use twisted pairs for SDA/SCL.
- Python script crashes on Pi reboot: The Arduino auto-resets when the serial port is opened via the DTR line. If your Python script opens and closes the port rapidly, the Arduino will stuck in a reset loop. Disable auto-reset by placing a 10μF electrolytic capacitor between the Arduino's RESET and GND pins, or use a USB-to-Serial adapter that lacks the DTR line.