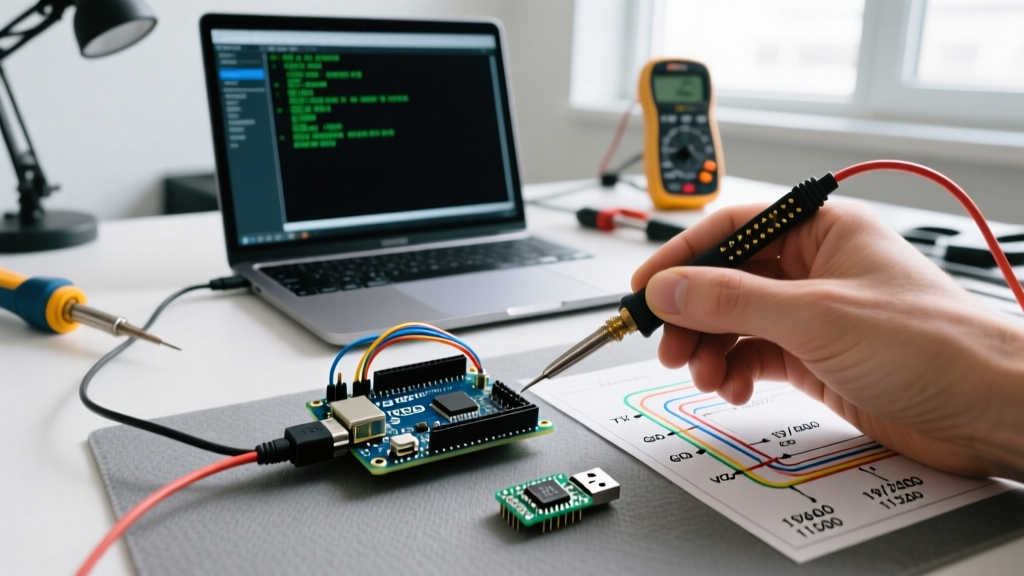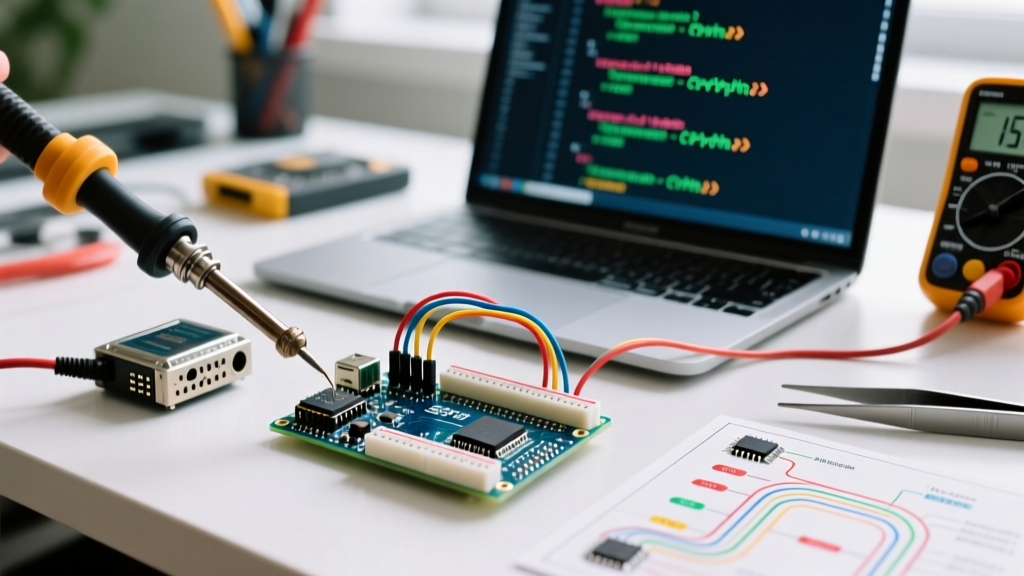

The Two Paradigms of Python on Arduino
When makers and engineers search for Arduino in Python, they are usually looking for one of two distinct architectures. Understanding the difference is critical before writing a single line of code:
- Host-Controlled (Tethered): The Arduino runs a C++ firmware (Firmata) that acts as a serial I/O slave. A Python script running on your PC (Windows, macOS, or Linux) sends commands over USB to toggle pins or read sensors.
- Native Execution (Standalone): The microcontroller runs a Python interpreter directly on the silicon. You write Python code, save it to the board's flash memory, and it executes independently of a PC.
In 2026, the landscape has shifted. The original pyfirmata library is largely abandoned and breaks on Python 3.10+ due to deprecated collections module calls. Furthermore, the rise of the RP2040 chip has made native Python execution on Arduino-branded hardware a reality. This tutorial covers both modern approaches with exact configurations, pricing, and edge-case troubleshooting.
Method 1: PC-to-Arduino Control via pyFirmata2
This method is ideal for data logging, computer vision integration (OpenCV), or complex GUI applications where the PC handles the heavy processing and the Arduino acts as a real-time I/O interface.
Hardware & Software Requirements
- Board: Arduino Uno R4 Minima (approx. $20) or classic Uno R3.
- Python Environment: Python 3.12+ installed on your host machine.
- Library:
pyFirmata2(a modern, maintained fork of the original library).
Step 1: Flash StandardFirmataPlus
Before Python can talk to the board, the Arduino must understand the Firmata protocol.
- Open the Arduino IDE (v2.3+).
- Navigate to File > Examples > Firmata > StandardFirmataPlus.
- Select your board and COM port, then click Upload.
Expert Tip: Always use StandardFirmataPlus instead of the base StandardFirmata. The Plus version includes critical support for I2C, OneWire, and stepper motors, which are frequently required in advanced sensor arrays.
Step 2: Python Environment & The Iterator Thread
Install the modern library via your terminal:
pip install pyFirmata2The most common failure mode for beginners is attempting to read analog sensors without starting the iterator thread. Without it, the serial buffer overflows within milliseconds, causing your Python script to hang indefinitely.
import pyfirmata2
import time

# Initialize the board (adjust COM port for Windows, e.g., 'COM3')
board = pyfirmata2.Arduino('/dev/ttyACM0')

# CRITICAL: Start the iterator thread to prevent serial buffer overflow
it = pyfirmata2.util.Iterator(board)
it.start()

# Configure pins
led_pin = board.get_pin('d:13:o') # Digital pin 13, Output
sensor_pin = board.get_pin('a:0:i') # Analog pin 0, Input

# Allow time for the iterator to sync
sensor_pin.enable_reporting()
time.sleep(1)

try:
    while True:
        # Read analog value (returns 0.0 to 1.0)
        raw_value = sensor_pin.read()
        if raw_value is not None:
            voltage = raw_value * 5.0
            print(f"Sensor Voltage: {voltage:.2f}V")

        # Toggle LED based on sensor threshold
        if raw_value and raw_value > 0.5:
            led_pin.write(1)
        else:
            led_pin.write(0)

        time.sleep(0.1)
except KeyboardInterrupt:
    board.exit()
Method 2: Native Execution via CircuitPython (RP2040)
If you need your project to run without a PC tethered via USB, you must use a board with enough RAM and flash to host a Python interpreter. The Arduino Nano RP2040 Connect (approx. $22) is the premier choice for this in the Arduino ecosystem.
Step 1: Bootloader & UF2 Flashing
The Nano RP2040 Connect ships with an Arduino-specific bootloader. To use CircuitPython, we leverage the native RP2040 UF2 USB mass-storage flashing method.
- Connect the Nano RP2040 Connect to your PC via a data-capable USB-C cable (charge-only cables will fail silently).
- Double-tap the reset button quickly. The onboard RGB LED will pulse, and a new USB drive named
RPI-RP2will appear on your computer. - Download the latest CircuitPython
.uf2file for the Arduino Nano RP2040 Connect from the CircuitPython Official Downloads page. - Drag and drop the
.uf2file onto theRPI-RP2drive. The board will automatically reboot and mount as a new drive namedCIRCUITPY.
Step 2: Writing code.py
CircuitPython executes any file named code.py or main.py located in the root of the CIRCUITPY drive upon boot. Create code.py and add the following hardware abstraction code:
import board
import digitalio
import analogio
import time

# Map physical pins to Python objects
led = digitalio.DigitalInOut(board.LED)
led.direction = digitalio.Direction.OUTPUT

# The Nano RP2040 Connect uses A0 for the first analog pin
sensor = analogio.AnalogIn(board.A0)

def get_voltage(pin):
    # RP2040 ADC is 12-bit (0-65535 in CircuitPython scaling), 3.3V logic
    return (pin.value * 3.3) / 65536

while True:
    voltage = get_voltage(sensor)
    print(f"A0 Voltage: {voltage:.3f}V")

    if voltage > 1.65:
        led.value = True
    else:
        led.value = False

    time.sleep(0.2)
Save the file. The code will execute immediately. You can view the print() outputs by connecting to the board's serial REPL using a terminal emulator like PuTTY or screen at 115200 baud.
Architecture Comparison Matrix
Choosing between tethered Firmata and native CircuitPython depends entirely on your project's computational and physical constraints.
| Feature | pyFirmata2 (PC-Tethered) | CircuitPython (Native RP2040) |
|---|---|---|
| Processing Power | Unlimited (Uses Host PC CPU/GPU) | Limited to 133MHz Dual-Core ARM Cortex-M0+ |
| Latency | 10ms - 50ms (Serial USB overhead) | < 1ms (Direct memory access) |
| Offline Capability | None (Requires Host PC) | Full standalone operation |
| Library Ecosystem | Full PyPI (NumPy, OpenCV, Pandas) | Adafruit CircuitPython Bundle (Hardware specific) |
| Ideal Use Case | Robotics vision, complex data logging | Wearables, remote IoT sensors, standalone kiosks |
Advanced Troubleshooting & Edge Cases
Serial Port Locking (Linux/macOS)
When using pyFirmata2 on Linux or macOS, you may encounter a SerialException: could not open port. This occurs when the OS-level modem manager intercepts the USB serial device, thinking it is a dial-up modem.
The Fix: On Ubuntu/Debian systems, remove the modem manager service if you do not use legacy dial-up networking:
sudo apt-get remove modemmanagerAlternatively, add a custom udev rule to ignore the Arduino's specific Vendor ID (VID) and Product ID (PID).
Baud Rate Bottlenecks in Firmata
The standard Firmata protocol communicates at 57600 baud by default. If you are streaming high-frequency analog data (e.g., reading an accelerometer at 1kHz), the serial buffer will drop packets. While the Firmata Protocol GitHub Repository supports higher baud rates, pushing the Uno R3's ATmega328P beyond 115200 baud via USB-Serial often results in corrupted framing. If you require high-speed data telemetry via Python, bypass Firmata entirely and write a custom C++ sketch that outputs raw CSV over Serial at 250000 baud, using Python's pyserial library to parse the incoming stream.
CircuitPython Memory Allocation Errors
The RP2040 has 264KB of SRAM, but CircuitPython's garbage collector can struggle with large, dynamically allocated arrays in while True loops. If your native Python script crashes with a MemoryError, pre-allocate your arrays using the array module or ulab (CircuitPython's NumPy equivalent) rather than appending to standard Python lists on every loop iteration.
Summary
Integrating Arduino in Python is no longer a hacky workaround; it is a robust engineering workflow. By leveraging pyFirmata2 for heavy-lifting PC applications and CircuitPython for standalone edge devices, you can utilize Python's vast ecosystem without sacrificing real-time hardware control. Always ensure your serial buffers are managed via iterator threads, and verify your USB cables support data transfer when flashing UF2 bootloaders.