
Mastering Data Output: How to Print Arduino Sensor Readings
Microcontroller projects live and die by their ability to output data accurately. Whether you are debugging a complex sketch, building a standalone environmental logger, or creating a physical receipt system, knowing how to print Arduino sensor readings is a foundational skill. In 2026, with the proliferation of high-resolution I2C displays and low-cost TTL thermal printers, makers have more output options than ever before. However, each method comes with specific hardware constraints, memory footprints, and wiring requirements.
This comprehensive guide details the three most critical methods to print Arduino data: the Serial Monitor for debugging, I2C OLEDs for real-time dashboards, and TTL thermal printers for physical logging. We will cover exact wiring, memory management, and advanced formatting techniques to ensure your data is presented flawlessly.
Method 1: The Serial Monitor (Debugging & Data Logging)
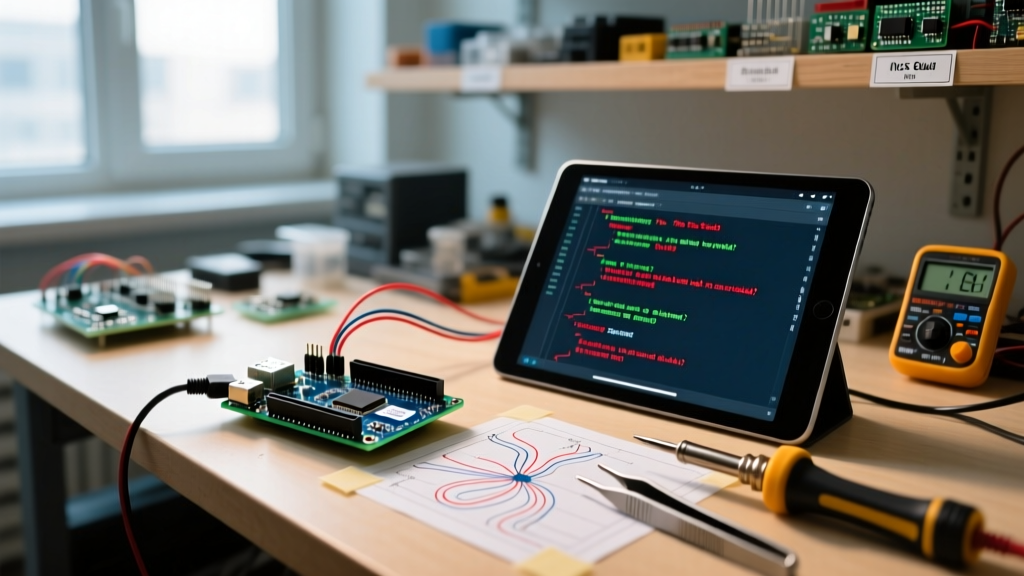
The most fundamental way to print Arduino data is via the hardware UART (Universal Asynchronous Receiver-Transmitter) to the IDE Serial Monitor. While it requires a USB connection, it remains the gold standard for real-time debugging and CSV data logging.
Optimizing Baud Rates for Modern Workflows
Historically, tutorials defaulted to a baud rate of 9600. In 2026, this is unnecessarily slow for high-frequency sensor polling. For classic boards like the Uno R3 (ATmega328P), 115200 baud is the optimal standard, reducing transmission latency by over 90%. For native USB boards (like the Leonardo or Micro), you can push this to 250000 baud or higher without hardware UART limitations.
void setup() {
  Serial.begin(115200);
  while (!Serial) { ; // Wait for serial port to connect (Native USB only)
  }
}

void loop() {
  int sensorVal = analogRead(A0);
  Serial.print('Raw ADC: ');
  Serial.print(sensorVal, DEC);
  Serial.print(' | Hex: ');
  Serial.println(sensorVal, HEX);
  delay(50);
}
⚠️ Troubleshooting Callout: The 'Garbage Text' Failure Mode
If your Serial Monitor outputs unreadable symbols (e.g., '���'), you have a baud rate mismatch. Ensure the dropdown menu in the bottom right corner of the Arduino IDE exactly matches the value in yourSerial.begin()function.
For deeper technical specifications on serial communication buffers and hardware UART registers, consult the official Arduino Serial Reference.
Method 2: Printing to I2C OLED Displays (Real-Time Dashboards)
When your project needs to operate independently of a PC, an I2C OLED display is the ideal solution. The most ubiquitous and cost-effective model is the SSD1306 128x64 pixel OLED, typically priced between $4.00 and $6.00 from electronics retailers.
Wiring and I2C Addressing
The SSD1306 communicates via I2C, requiring only four connections to an Arduino Uno R3:
- VCC: 5V (or 3.3V, depending on the breakout board's voltage regulator)
- GND: Ground
- SCL: A5 (Hardware I2C Clock)
- SDA: A4 (Hardware I2C Data)
Most SSD1306 modules default to the I2C hex address 0x3C. However, some manufacturers map it to 0x3D. Always run an I2C scanner sketch first to confirm the address before initializing your display code.
The SRAM Bottleneck: A Critical Memory Warning
When you print Arduino variables to a 128x64 OLED using the Adafruit_SSD1306 library, the library allocates a framebuffer in the microcontroller's SRAM. A 128x64 monochrome display requires exactly 1,024 bytes of RAM (128 * 64 / 8 bits).
The classic ATmega328P chip only has 2,048 bytes (2KB) of total SRAM. This means the display buffer alone consumes 50% of your available memory. If your sketch uses large arrays, String objects, or extensive serial buffers, you will experience memory overflows, leading to random reboots or corrupted print outputs. For memory-intensive dashboard projects in 2026, consider upgrading to the Arduino Uno R4 Minima, which features an RA4M1 processor with 32KB of SRAM, entirely eliminating this bottleneck.
For detailed wiring diagrams and library installation steps, refer to the Adafruit Monochrome OLED Breakouts Guide.
Method 3: Interfacing with TTL Thermal Printers (Physical Logs)
For applications requiring permanent, physical records—such as DIY point-of-sale systems, seismograph loggers, or ticket dispensers—a TTL Serial Thermal Printer is the ultimate tool. The industry standard for makers is the Adafruit Mini Thermal Receipt Printer (Product ID: 597), retailing for approximately $50.00.
Power Requirements and Logic Level Shifting
The most common point of failure when integrating thermal printers is inadequate power delivery. These printers utilize a heating element that draws a peak current of 2.0 Amps during printing.
- Never power the printer from the Arduino's 5V pin. The voltage regulator will overheat, and the MCU will brown out and reset.
- Solution: Use a dedicated 5V to 9V DC power supply capable of delivering at least 2.5A, sharing a common ground with the Arduino.
Because the printer's RX pin expects 3.3V to 5V TTL logic, you can connect the Arduino's digital TX pin (e.g., Pin 5 using SoftwareSerial) directly to the printer's RX pin. Leave the printer's TX pin disconnected unless you need to read paper status flags.
#include 'Adafruit_Thermal.h'
#include 'SoftwareSerial.h'

#define TX_PIN 6 // Arduino transmit
#define RX_PIN 5 // Arduino receive (unused but required for init)

SoftwareSerial mySerial(RX_PIN, TX_PIN);
Adafruit_Thermal printer(&mySerial);

void setup() {
  mySerial.begin(19200);
  printer.begin();
  printer.setFont('B');
  printer.println('ElectricalFlux Log:');
  printer.feed(2);
}
For comprehensive hardware specs and paper loading techniques, review the Adafruit Thermal Printer Learning System documentation.
Comparison Matrix: Choosing the Right Print Output
Selecting the correct output method depends on your project's power budget, environment, and data permanence requirements.
| Feature | Serial Monitor (UART) | I2C OLED (SSD1306) | TTL Thermal Printer |
|---|---|---|---|
| Primary Use Case | Debugging, PC Data Logging | Standalone Dashboards, UI | Physical Receipts, Permanent Logs |
| Approx. Cost (2026) | $0 (Requires PC) | $4.00 - $6.00 | $50.00 + Paper |
| Peak Power Draw | N/A (Bus powered) | ~20mA | 2.0A (During heating) |
| MCU Memory Impact | Minimal (Serial Buffer) | High (1KB SRAM Buffer) | Low (Streamed via UART) |
| Data Permanence | Volatile (Digital) | Volatile (Digital) | Permanent (Physical) |
Advanced Formatting: The Floating-Point Pitfall
When you print Arduino sensor data that involves decimals (like temperature from a BME280), you will quickly encounter a quirk in the AVR-GCC compiler used by classic Arduino boards. The standard C function sprintf() does not natively support the %f float formatter on ATmega chips to save flash memory.
If you attempt to use sprintf(buffer, 'Temp: %f', tempC);, the output will simply print a question mark or zero. To format floats into strings before printing them to an OLED or Thermal printer, you must use the dtostrf() function:
float temperature = 23.45;
char tempStr[10];
// Convert float to string: value, min width, precision, buffer
dtostrf(temperature, 6, 2, tempStr);
printer.print('Temperature: ');
printer.println(tempStr);
Troubleshooting Common Print Failures
1. OLED Display Shows 'Snow' or Static
This usually indicates an I2C bus collision or a missing pull-up resistor. While most SSD1306 breakout boards include 4.7kΩ pull-up resistors on the SDA and SCL lines, chaining multiple I2C devices can lower the resistance too much, corrupting the data stream. If this occurs, remove the pull-ups from one of the secondary modules.
2. Thermal Printer Prints Faded or Streaked Text
Faded printing is almost exclusively a power delivery issue. If the printer lacks the 2A peak current during the heating cycle, the voltage drops, and the thermal elements fail to reach the required temperature. Upgrade your power supply or add a 1000µF electrolytic capacitor across the printer's VIN and GND terminals to smooth out transient current spikes.
3. Serial Data Drops Characters at High Speeds
If you are printing Arduino data at 250000 baud and noticing dropped characters, the receiving PC's UART buffer may be overflowing. Implement a hardware handshake (RTS/CTS) if your USB-to-Serial adapter supports it, or introduce a micro-delay (delayMicroseconds(50)) between heavy print loops to allow the host OS to process the incoming COM port buffer.