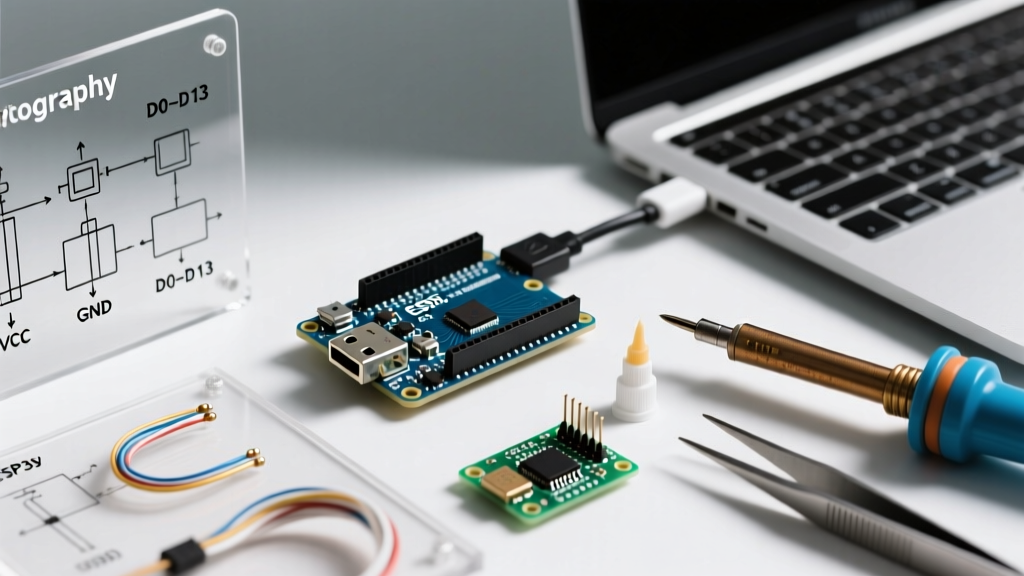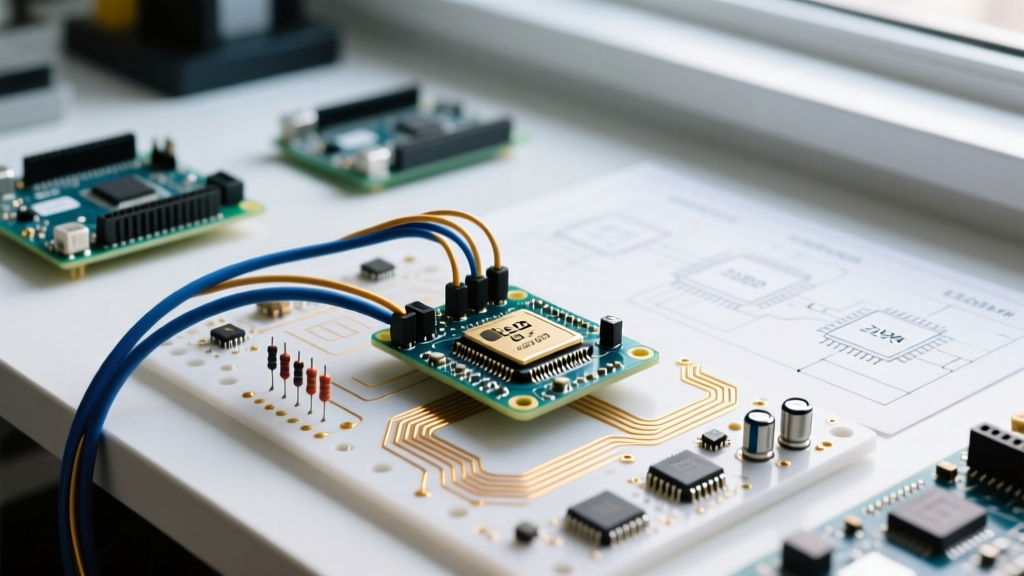

The Bottleneck: Why Migrate from 8-Bit AVR SPI?
For over a decade, the 8-bit ATmega328P microcontroller (the heart of the classic Arduino Uno) has been the default starting point for makers. However, as sensor resolutions increase and TFT displays demand higher refresh rates, the hardware limitations of legacy 8-bit architectures become glaringly obvious. The Serial Peripheral Interface (SPI) on an ATmega328P is hard-capped at a maximum clock speed of 8 MHz (half of its 16 MHz system clock). Furthermore, it lacks Direct Memory Access (DMA) and deep FIFO buffers, forcing the CPU to manually handle every single byte transferred.
If you are pushing high-bandwidth peripherals—such as W25Q128JV 128Mbit SPI flash memory, ILI9488 480x320 TFT displays, or multi-channel 24-bit ADCs—your legacy serial peripheral interface Arduino setup is likely bottlenecking your entire system. Migrating to a modern 32-bit ARM Cortex-M7 or M4 MCU is no longer just an optimization; it is a necessity for high-performance embedded projects in 2026.
Hardware Architecture: Legacy AVR vs. Modern 32-Bit ARM
When upgrading your serial peripheral interface Arduino ecosystem, you are generally choosing between high-performance community boards and enterprise-grade maker hardware. Below is a technical comparison of the legacy baseline versus two popular 32-bit upgrade paths: the NXP-based Teensy 4.1 and the STM32-based Arduino Portenta H7.
| Feature | ATmega328P (Uno R3) | NXP i.MX RT1062 (Teensy 4.1) | STM32H747 (Portenta H7) |
|---|---|---|---|
| Max SPI Clock | 8 MHz | Up to 30 MHz (practical) | Up to 50 MHz (practical) |
| DMA Support | None (CPU bound) | Hardware DMA (eDMA) | DMA with MDMA chaining |
| FIFO Depth | 1 Byte (Shift Register) | 16 Words (64 Bytes) | 32 Bytes (TX/RX independent) |
| Native Logic Level | 5.0V | 3.3V | 3.3V |
| Typical Board Cost | ~$27.00 | ~$34.95 | ~$112.00 |
As highlighted in the PJRC Teensy SPI Library documentation, the inclusion of hardware DMA allows the microcontroller to offload byte-shifting to a dedicated peripheral. This means your main CPU loop can continue processing sensor fusion algorithms or audio DSP while the SPI controller autonomously pushes a 100KB framebuffer to a display.
Voltage Translation: The 5V to 3.3V Trap
The most common failure point when migrating an older serial peripheral interface Arduino project to a 32-bit board is voltage logic mismatching. Legacy 5V boards required level shifters to communicate with modern 3.3V SPI peripherals. Many makers rely on cheap, generic BSS138 MOSFET-based bidirectional logic level shifters (often sold in 10-packs for under $5).
Critical Warning: BSS138 level shifters suffer from severe parasitic gate capacitance. While they work fine for I2C at 400 kHz or SPI at 1 MHz, they will aggressively round off square waves and cause bit-errors at SPI clock speeds above 4 MHz. Do not use them for high-speed SPI.The Upgrade Path: If you must interface a 5V legacy shield with a 3.3V 32-bit MCU, replace passive MOSFET shifters with dedicated active translation ICs like the Texas Instruments SN74LVC8T245 or the TXB0108. These ICs feature built-in one-shot edge-rate accelerators that maintain sharp signal edges well past 50 MHz, costing roughly $1.20 to $1.80 per IC on DigiKey or Mouser.
Software Migration: Embracing SPISettings and DMA
Migrating your codebase requires moving away from hardcoded register manipulation and blocking transfers. The modern Arduino SPI Reference standardizes high-speed configuration using the SPISettings object.
1. Defining the Transaction Parameters
Never assume default SPI modes. Always explicitly define Clock Polarity (CPOL) and Clock Phase (CPHA). For example, many Bosch MEMS sensors (like the BME280) require SPI_MODE0, while certain Sharp Memory LCDs require SPI_MODE3 (CPOL=1, CPHA=1).
SPISettings highSpeedSPI(24000000, MSBFIRST, SPI_MODE0);

void setup() {
  SPI.begin();
  pinMode(CS_PIN, OUTPUT);
}
2. Transitioning to Non-Blocking DMA Transfers
On 8-bit AVRs, SPI.transfer(buffer, size) is a blocking loop. On 32-bit ARM boards (like the Teensy 4.1 or Portenta H7), this same function call can be routed through DMA. To achieve true non-blocking execution, you must implement an EventResponder or DMA interrupt callback.
- Step 1: Allocate a DMA-capable memory buffer. On ARM Cortex-M7 architectures, ensure the buffer is placed in tightly coupled memory (TCM) or properly aligned in RAM to avoid cache-coherency faults.
- Step 2: Trigger the transfer using the DMA-enabled library functions (e.g.,
SPIClass::transfer()with a callback function pointer). - Step 3: Yield the CPU. Do not use
delay(); instead, use a state machine or RTOS task notification to wait for the DMA completion interrupt.
Signal Integrity at High Clock Speeds
When you upgrade your serial peripheral interface Arduino setup to run at 24 MHz or higher, physics becomes your primary adversary. At these frequencies, standard jumper wires and long breadboard traces act as transmission lines, leading to signal ringing, crosstalk, and phantom clock edges that corrupt data.
To maintain signal integrity during your migration, adhere to these strict PCB and wiring layout rules:
- Trace Length Matching: Keep the SCK (Clock) and MOSI/MISO traces as short as possible. For 24 MHz SPI, keep traces under 10 cm. For 48 MHz+ QSPI, keep them under 3 cm and match their lengths within a 5% tolerance.
- Series Termination Resistors: Solder 33Ω to 47Ω surface-mount resistors in series with the SCK and MOSI lines, placed as close to the MCU's transmitting pins as possible. This dampens high-frequency ringing caused by trace inductance and pin capacitance.
- Dedicated Ground Returns: Never rely on a single shared ground wire for a high-speed SPI bus. Route a dedicated ground trace directly alongside the SCK line to provide a tight, low-inductance return path for the high-frequency switching currents.
Troubleshooting Common Migration Failures
Even with perfect code, hardware migrations introduce edge cases. As noted in the Analog Devices guide to SPI interfaces, bus contention and timing misalignment are the primary culprits in failed deployments.
Failure Mode 1: MISO Bus Contention
Symptom: The MCU reads 0xFF or 0x00 consistently, or the bus locks up when a second SPI device is added.
Cause: The secondary peripheral is not properly tri-stating its MISO (Master In Slave Out) pin when its Chip Select (CS) is HIGH. Cheap logic shifters or damaged optocouplers often fail to release the MISO line.
Fix: Verify with an oscilloscope that the MISO line goes high-impedance when CS is deasserted. If not, insert a 74LVC1G125 tri-state buffer on the MISO line of the offending peripheral.
Failure Mode 2: The Floating CS Pin
Symptom: Random data corruption during MCU boot-up or reset.
Cause: During the bootloader phase or hardware reset, the MCU's GPIO pins float. If the SPI peripheral's CS pin is pulled low by a weak external pulldown, the peripheral will interpret bootloader noise on the SCK pin as valid data, corrupting its internal state machine.
Fix: Always place a 10kΩ pull-up resistor on the CS line of every SPI slave device, tying it directly to the peripheral's VCC (3.3V), ensuring it remains deselected until the MCU explicitly initializes the GPIO.
Failure Mode 3: Clock Phase Shift Due to Long Wires
Symptom: Data is shifted by one bit, or the LSB is consistently dropped.
Cause: At 30 MHz, a 15cm dupont wire introduces enough propagation delay and capacitance to skew the SCK edge relative to the MOSI data setup time.
Fix: Reduce the SPI clock speed by one divisor step (e.g., from 30 MHz to 15 MHz) to increase the setup/hold time margins, or redesign the physical layout to eliminate flying leads entirely.
Conclusion
Migrating your serial peripheral interface Arduino projects from 8-bit legacy boards to 32-bit ARM architectures unlocks massive bandwidth and frees up CPU cycles via DMA. By respecting 3.3V logic thresholds, utilizing proper active level translation, and treating high-speed SPI traces as RF transmission lines, you can build robust, high-throughput embedded systems capable of handling the demanding peripherals of modern maker projects.