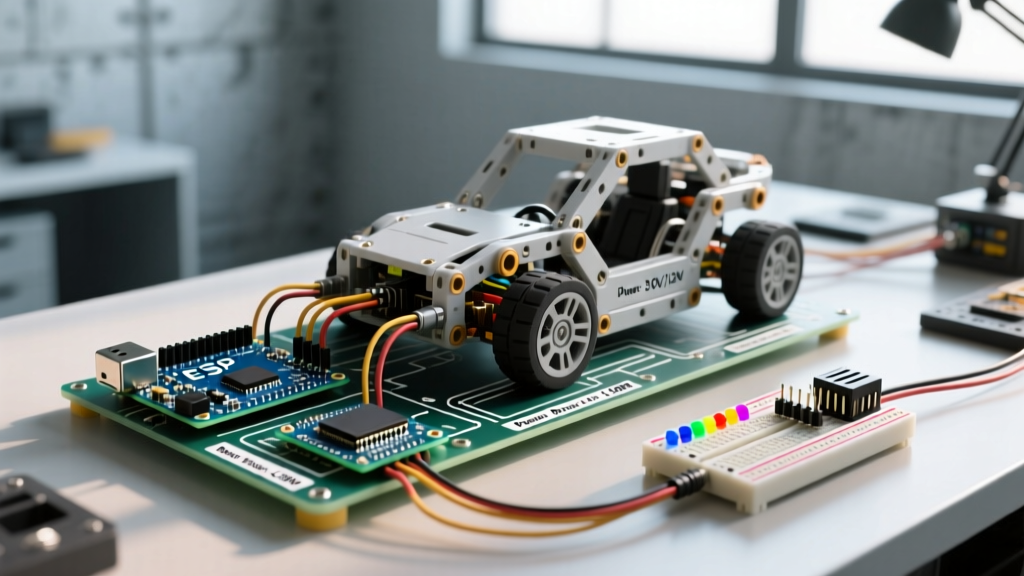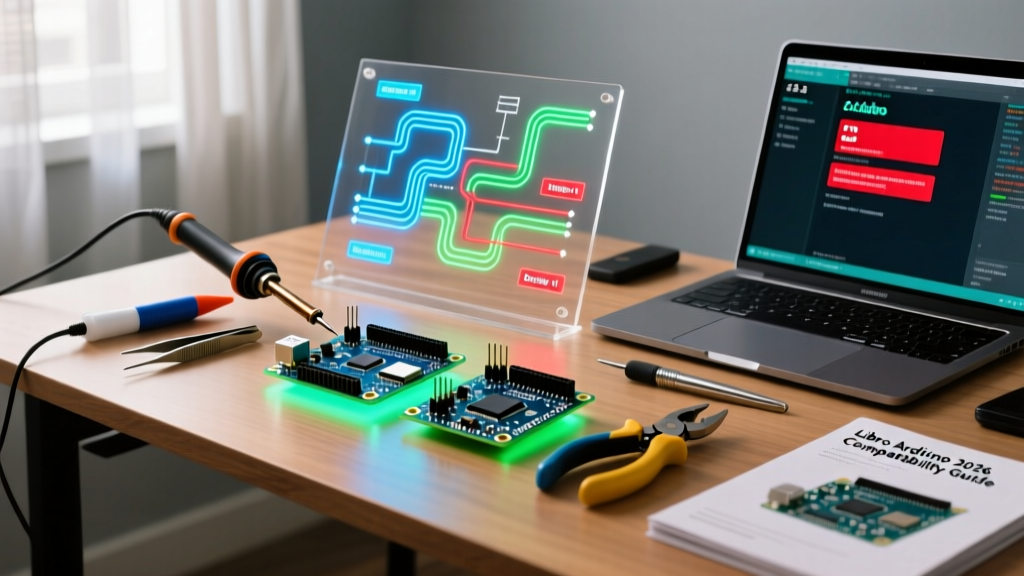

The Legacy 'Libro Arduino PDF' Dilemma in 2026
When searching for a comprehensive libro arduino pdf to learn microcontroller programming, many Spanish-speaking makers and global hobbyists downloading translated guides encounter a massive roadblock. The vast majority of free PDF books circulating online were written between 2014 and 2019, targeting the classic 8-bit ATmega328P architecture (Arduino Uno R3) and Arduino IDE 1.8.x. Fast forward to 2026, and the maker landscape has shifted dramatically toward 32-bit ARM Cortex-M4 boards like the Arduino Uno R4 Minima ($27.50) and Wi-Fi-enabled ESP32-S3 modules like the Nano ESP32 ($21.00).
If you blindly copy-paste code from an older libro arduino pdf into Arduino IDE 2.3.x targeting modern hardware, you will immediately face compilation errors, pinout mismatches, and logic-level voltage conflicts. This compatibility guide bridges the gap between legacy PDF tutorials and modern microcontroller ecosystems, ensuring your learning journey doesn't stall at a fatal compilation error.
Architecture Shifts: AVR vs. ARM and RISC-V
The most common failure point when adapting older PDF resources is architecture dependency. Legacy books heavily utilize direct port manipulation and AVR-specific header files. When you attempt to compile these sketches for a modern Renesas RA4M1 (Uno R4) or ESP32-S3, the compiler throws errors because the underlying silicon is entirely different.
The avr/pgmspace.h Fatal Error
Older PDFs teach you to store large strings or lookup tables in flash memory using PROGMEM and the avr/pgmspace.h library to save precious 2KB SRAM. On 32-bit boards with 32KB+ SRAM, this is unnecessary, and the AVR header simply does not exist.
The 2026 Fix: Wrap your legacy code in preprocessor directives to maintain cross-compatibility.
#if defined(__AVR__)
  #include
  const char myString[] PROGMEM = "Legacy PDF String";
#else
  const char myString[] = "Modern 32-bit String";
#endif
Board Compatibility Matrix: PDF Era vs. 2026 Hardware
Before wiring up a circuit from your downloaded libro arduino pdf, consult this compatibility matrix to avoid frying modern sensors or triggering brownout resets.
| Feature | Legacy PDF Standard (Uno R3) | Modern Equivalent (Uno R4 Minima) | Edge Case / Migration Fix |
|---|---|---|---|
| Logic Level | 5V TTL | 5V Tolerant (Native 3.3V) | Use a bi-directional logic level converter ($1.50) for strict 3.3V I2C sensors. |
| DAC Output | None (PWM only) | 12-bit True DAC on A0 | Remap analogWrite() to true analog out; adjust resolution from 8-bit to 12-bit. |
| I2C Speed | 100kHz / 400kHz | Up to 1MHz | Old PDF displays may fail at 1MHz; force Wire.setClock(400000); in setup. |
| Interrupts | Pins 2 & 3 only | All digital pins | Update attachInterrupt() to use digitalPinToInterrupt() macro. |
Resolving Deprecated Library Conflicts
A classic libro arduino pdf will almost certainly include projects using the DHT11 temperature sensor or parallel LCD screens. The libraries recommended in these texts are often deprecated or conflict with modern board manager packages.
The I2C LCD Address Hardcoding Trap
Many PDF tutorials instruct readers to initialize an I2C LCD using LiquidCrystal_I2C lcd(0x27, 16, 2);. However, modern PCF8574 backpack manufacturers frequently ship modules with the 0x3F address, or even custom addresses if the A0/A1/A2 jumper pads are bridged. Hardcoding this from a PDF results in a blank, backlit screen.
Actionable Advice: Always run an I2C Scanner sketch before initializing your display. According to the official Arduino documentation, utilizing the Wire library's scanner snippet will output the exact hexadecimal address of your specific module in the Serial Monitor, saving you hours of troubleshooting.
Sensor Library Upgrades
If your PDF book uses the legacy dht.h library, abandon it. It blocks the main loop during reading and causes watchdog resets on ESP32 boards. Instead, migrate to the Adafruit Unified Sensor Library ecosystem, which uses non-blocking I2C/SPI polling and standardizes data structures across hundreds of modern sensors.
Step-by-Step Sketch Migration Workflow
Follow this standardized workflow when porting a project from an older PDF guide to a modern development board:
- Audit the Includes: Check for
avr/*headers and replace them with cross-platform equivalents or conditional compilation blocks. - Verify Board Manager URLs: Ensure you have the latest Arduino Renesas Core or Espressif ESP32 Core installed via the Boards Manager. Do not rely on legacy IDE 1.8.x bundled cores.
- Check Pin Definitions: Older PDFs often use analog pins as digital I/O (e.g.,
pinMode(14, OUTPUT)). Modern cores prefer theA0notation. Update all pin mappings to use theAxconstants. - Adjust PWM Resolution: If the PDF uses
analogWrite(pin, 255)for max brightness, note that the Uno R4 defaults to 8-bit but supports 12-bit. If you migrated to an ESP32, you must useledcAttach()andledcWrite()instead of the deprecatedanalogWrite(). - Monitor Power Draw: Legacy books assume the 5V rail can source 500mA via USB. Modern ultra-thin USB-C cables and laptop power delivery handshakes may limit current. Always use a powered hub for motorized PDF projects.
Expert Maker Tip: If your downloaded libro arduino pdf includes Fritzing wiring diagrams, double-check the I2C pinouts. Many older diagrams show SDA/SCL on A4/A5 for the Uno. While the Uno R4 maintains this legacy mapping for backward compatibility, the Nano ESP32 uses entirely different native I2C pins (A4/A5 are NOT I2C on the Nano ESP32). Always consult the official pinout cheat sheet for your specific 2026 board.
FAQ: Common PDF Code Compilation Errors
Why does my PDF code say 'Serial was not declared in this scope'?
Some ultra-legacy PDFs target the ATtiny85 using the SoftwareSerial library, assuming no native USB. If you are compiling for an Uno R4 or ESP32, ensure you haven't accidentally selected an ATtiny board profile in the IDE Tools menu, and verify that #include isn't conflicting with native hardware serial definitions.
How do I fix 'stray \'\302\' in program' errors?
This is a formatting artifact caused by copying code directly from a PDF document. PDFs often replace standard ASCII quotation marks with 'smart quotes' or insert hidden non-breaking spaces. Paste your copied code into a plain text editor (like Notepad++ or VS Code) and use 'Find and Replace' to strip all non-ASCII characters before pasting it into Arduino IDE 2.3.x.
Can I use 5V sensors with the 3.3V Nano ESP32?
While some 5V sensors (like the HC-SR04 ultrasonic module) might tolerate 3.3V triggers, their 5V echo pin will fry the ESP32-S3 GPIO. You must use a voltage divider (e.g., 1kΩ and 2kΩ resistors) or a dedicated level shifter to safely interface 5V legacy PDF components with modern 3.3V microcontrollers.