
The Paradigm Shift: Why Migrate from Discrete LEDs?
For over a decade, the standard 5mm through-hole LED paired with a 220Ω current-limiting resistor has been the default indicator for maker projects. However, as project complexity scales, discrete wiring becomes a bottleneck. Managing dozens of individual GPIO pins, soldering hundreds of resistors, and dealing with the physical bulk of discrete components is no longer viable for high-density lighting arrays in 2026.
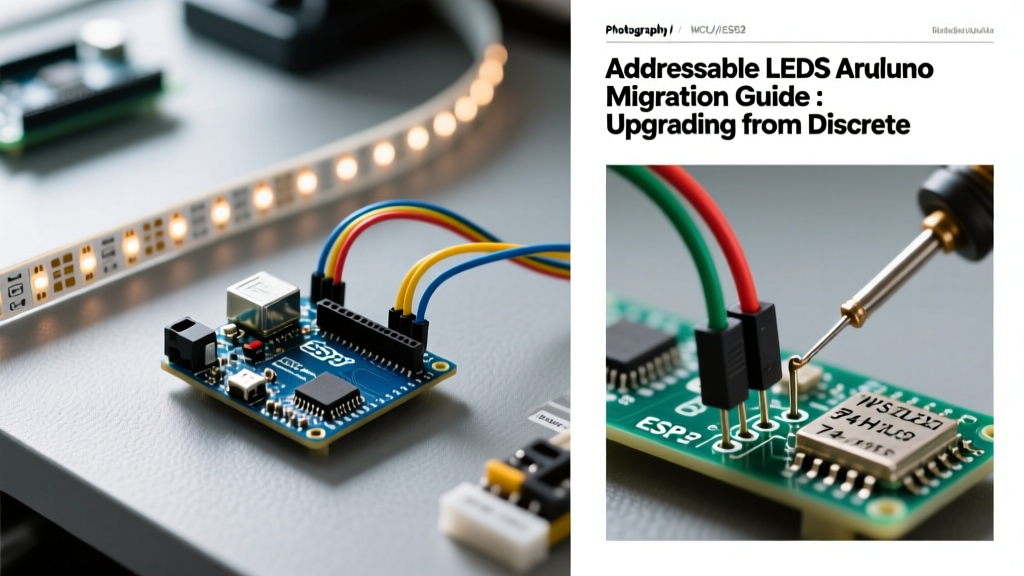
Migrating to addressable LEDs (like the WS2813 or SK6812 RGBW) transforms your LEDs Arduino architecture. Instead of requiring one microcontroller pin per light, addressable strips use a single data line to control thousands of pixels independently. With the cost of WS2813 strips dropping below $5 per meter in 2026, the economic and technical argument for upgrading from discrete LEDs is undeniable.
Diagnostic Checklist: Is it Time to Upgrade?
- You are running out of GPIO pins on your Arduino Uno or Mega just for basic illumination.
- Your project requires smooth color transitions, chasing effects, or individual pixel mapping.
- You are spending more time soldering resistors and managing wire rats-nests than writing firmware.
- You need to drive more than 20 individual lights simultaneously without exceeding the ATmega328P’s 200mA total VCC/GND limit.
Hardware Comparison Matrix: Discrete vs. Addressable
Before rewriting your sketch, you must select the correct addressable protocol. While the WS2812B (NeoPixel) was the legacy standard, modern 2026 upgrades heavily favor the WS2813 (which features a backup data line for single-pixel failure tolerance) or the SK6812 (which adds a dedicated warm-white diode for better color rendering).
| Feature | Standard 5mm Discrete | WS2812B (Legacy) | WS2813 (Modern Upgrade) | APA102 (DotStar) |
|---|---|---|---|---|
| Control Protocol | Direct GPIO / PWM | Single-Wire NRZ | Dual-Wire NRZ (Redundant) | SPI (Clock + Data) |
| GPIO Pins Required | 1 per LED | 1 for entire chain | 1 for entire chain | 2 for entire chain |
| Max Refresh Rate | Instant (Hardware PWM) | ~400 Hz | ~2000 Hz | ~20,000 Hz |
| 2026 Cost (per 60px/m) | ~$8.00 (LEDs + Resistors) | ~$4.50 / meter | ~$6.00 / meter | ~$14.00 / meter |
| Single Pixel Failure | Only that LED dies | Chain breaks (all subsequent off) | Bypassed (chain continues) | Chain breaks |
Power Architecture Upgrades: The #1 Migration Failure Point
The most common mistake makers make when migrating from discrete LEDs to addressable strips is attempting to power the array via the Arduino’s onboard 5V regulator or USB port. A standard discrete LED draws roughly 10-15mA. A single WS2813 pixel at full white draws 60mA. A 1-meter strip of 60 LEDs/m will pull 3.6 Amps—enough to instantly vaporize the Arduino Uno’s internal polyfuse or trace.
Calculating Your Power Budget
Use this formula for your upgrade: Total Pixels × 0.06A = Required Amperage. Always add a 20% safety overhead. For a 144 LEDs/meter strip (5 meters), the math is: 720 pixels × 0.06A = 43.2A. In this scenario, you must upgrade to a dedicated switching power supply, such as the Mean Well LRS-300-5 (5V, 60A), which retails for approximately $45 in 2026.
Power Injection and Decoupling
- Decoupling Capacitor: Solder a 1000µF, 10V (or higher) electrolytic capacitor directly across the main power supply terminals (VCC and GND). This buffers the initial current surge when all pixels turn on simultaneously, preventing brownouts.
- Wire Gauge: Do not use 24 AWG jumper wires for power. Use 18 AWG silicone wire for main power runs, and inject power into the strip’s copper pads every 1.5 meters to prevent voltage drop and color shifting (where far-end LEDs appear yellow/orange due to insufficient voltage).
Logic Level Translation: 3.3V vs 5V Microcontrollers
Addressable LEDs require a data signal voltage (VIH) of at least 0.7 × VDD. For a 5V LED strip, the data line must see a minimum of 3.5V to register a logical HIGH. If you are migrating from an older 5V Arduino Uno to a modern 3.3V board (like the Arduino Nano 33 IoT, Teensy 4.1, or ESP32-S3), your 3.3V logic will fail to drive the LEDs reliably, resulting in flickering or random color noise.
The SN74AHCT125 Solution
Do not rely on software workarounds or simple transistor switches, which introduce timing delays that break the strict NRZ protocol of the LEDs. Instead, integrate a Texas Instruments SN74AHCT125 quad level-shifter IC. According to the Texas Instruments SN74AHCT125 Datasheet, this chip accepts 3.3V logic on the input and outputs a clean 5V signal when powered by 5V, preserving the nanosecond-precision timing required by the FastLED Library Documentation.
Wiring Tip: Connect the 5V supply to the SN74AHCT125 VCC, tie the Output Enable (OE) pins to GND, and route your MCU’s data pin through the chip before hitting the LED strip’s DIN pad.
Software Migration: Rewriting the Sketch
Migrating your code means abandoning digitalWrite() and hardware PWM pins in favor of memory-mapped pixel arrays. The industry standard for this is the FastLED library, which offers superior math functions and color palettes compared to the older Adafruit NeoPixel library (detailed in the Adafruit NeoPixel Überguide).
Memory Constraints on Legacy Hardware
When migrating an existing project on an ATmega328P-based Arduino Uno, you must account for SRAM limitations. The ATmega328P has only 2KB of SRAM. FastLED requires 3 bytes of memory per pixel. Therefore, the absolute maximum number of pixels you can drive on an Uno is roughly 600 before you crash the stack. If your upgrade requires more pixels, you must migrate your compute hardware to an Arduino Mega (8KB SRAM) or an ESP32-S3 (512KB+ PSRAM).
// Legacy Discrete Code
void loop() {
  digitalWrite(ledPin1, HIGH);
  delay(500);
  digitalWrite(ledPin1, LOW);
}

// Modern FastLED Migration Code
#include <FastLED.h>
#define DATA_PIN 6
#define NUM_LEDS 144
CRGB leds[NUM_LEDS];

void setup() {
  FastLED.addLeds<WS2813, DATA_PIN, GRB>(leds, NUM_LEDS);
  FastLED.setBrightness(128); // Limit to 50% to save power
}

void loop() {
  fill_gradient_RGB(leds, 0, CRGB::Blue, NUM_LEDS-1, CRGB::Purple);
  FastLED.show();
}
Real-World Edge Cases & Troubleshooting
During physical migration, makers frequently encounter three specific edge cases that are rarely documented in basic tutorials:
1. The 'Sacrificial First Pixel' Phenomenon
The first LED in an addressable chain is highly susceptible to voltage spikes and data-line ringing, often burning out its internal data-out IC. If your first pixel is dead but the rest of the strip works, the signal is failing to pass through. Fix: Always place a 330Ω to 470Ω resistor directly on the data wire, as close to the DIN pad of the first pixel as possible. This dampens high-frequency ringing.
2. Ground Loops and Data Corruption
If you are using a separate 5V power supply for the LEDs and powering the Arduino via USB from a laptop, the data signal has no common ground reference. The LEDs will interpret the data line as noise. Fix: You must connect the GND of the external LED power supply directly to the GND pin on the Arduino. The data signal requires a shared ground plane to measure the voltage differential accurately.
3. SK6812 RGBW White Channel Blowout
If you upgrade to SK6812 RGBW strips, be aware that turning on the dedicated White diode alongside the RGB diodes pushes the current draw per pixel from 60mA to 80mA. If your power supply is sized only for standard WS2812B math, engaging the white channel will cause a brownout, resulting in the microcontroller resetting randomly. Always size your PSU for 80mA/pixel when using RGBW variants.
Migration Cost Breakdown (2026 Estimates)
Transitioning a standard 3-meter lighting project from discrete components to a modern addressable architecture involves an upfront investment in power and logic management, but saves hours of assembly time.
- WS2813 Strip (3m, 60px/m): $18.00
- Mean Well LRS-100-5 (5V 20A PSU): $22.50
- SN74AHCT125 Level Shifter IC: $1.20
- 18 AWG Silicone Wire & 1000µF Capacitor: $9.00
- Total Hardware Upgrade Cost: ~$50.70
By upgrading your LEDs Arduino infrastructure to addressable protocols, you eliminate physical wiring bottlenecks, unlock advanced algorithmic lighting effects, and future-proof your projects against single-point pixel failures.