
Building a robust Human-Machine Interface (HMI) for microcontroller projects used to mean wrestling with 16x2 character LCDs and clunky membrane keypads. Today, the landscape has shifted dramatically toward capacitive touchscreens and rich graphical interfaces. However, as visual complexity increases, so does the risk of tangled, blocking code that ruins both user experience and hardware responsiveness. If you are developing an Arduino HMI in 2026, your primary challenge is no longer just making pixels appear on a screen; it is optimizing your development workflow to separate UI rendering from hardware-critical logic.
In this guide, we will dissect the two dominant workflow paradigms for modern maker and prosumer HMIs: the offloaded rendering model using Nextion displays, and the integrated high-performance model using LVGL on ESP32-S3 hardware. By the end, you will have a concrete framework for choosing the right toolchain, structuring your firmware, and cutting your development time in half.
The Core Bottleneck in Traditional HMI Development
The most common failure mode in DIY and prototyping HMIs is the synchronous execution trap. Many developers write their UI update logic directly inside the main loop() alongside sensor polling and motor control. When a temperature sensor requires a 50ms blocking read, or a serial buffer waits for a touchscreen coordinate, the UI framerate plummets. Touch events are missed, animations stutter, and the system feels unresponsive.
An optimized workflow demands architectural separation. You must decouple the presentation layer from the hardware abstraction layer. Depending on your budget, timeline, and performance requirements, you will generally choose between two distinct workflow paths: Nextion (Hardware-offloaded UI) or LVGL (Software-rendered UI on a powerful MCU).
Workflow Path 1: Nextion and the Offloaded UI Model
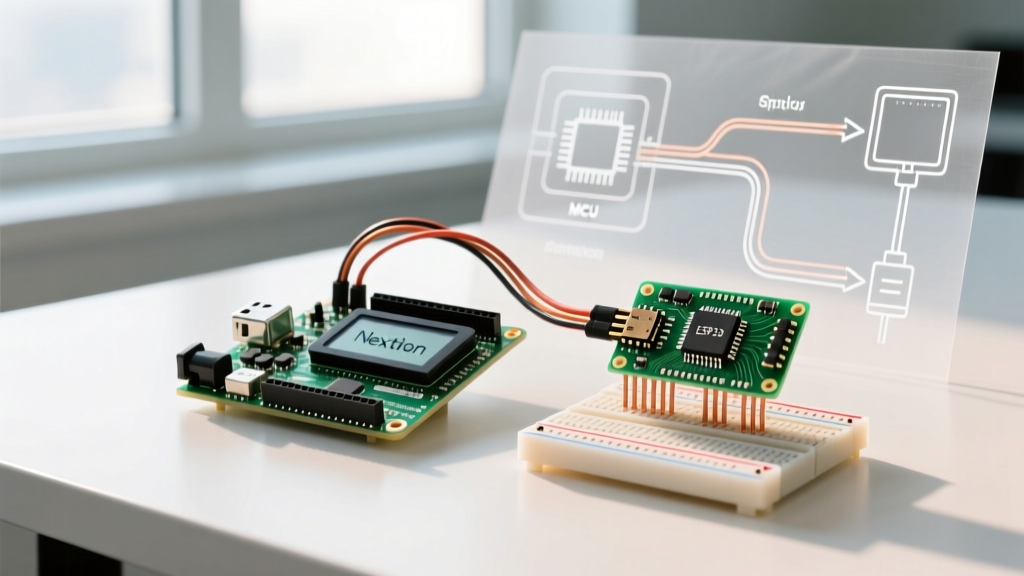
Nextion displays feature an onboard ARM Cortex-M0 MCU that handles all graphics rendering, touch detection, and asset management. Your Arduino or ESP32 only needs to send short serial strings to update variables or receive touch coordinates. This makes Nextion the undisputed king of rapid prototyping and low-power microcontrollers (like the ATmega328P or RP2040) that lack the RAM for framebuffer rendering.
Optimizing the Nextion Workflow
To truly optimize your Nextion workflow, you must move beyond basic serial printing and adopt a structured, non-blocking communication protocol.
- Ditch the Default Baud Rate: Nextion displays ship at 9600 baud. For complex screens with multiple progress bars and text fields, this causes serial buffer overflows. Always initialize your display at 115200 or 921600 baud using the
bauds=115200instruction in yourprogram.sfile or via an initialization string. Refer to the Nextion Instruction Set for exact syntax. - Use Trigger-Based Libraries: Avoid polling
Serial.read()manually. Use libraries likeEasyNextionLibrarywhich utilize a non-blocking trigger system. The display sends a specific byte sequence when a button is pressed, and the library fires a dedicated function without halting the main loop. - Leverage the Simulator: The Nextion Editor includes a built-in simulator. Build and test your touch logic, page transitions, and variable math entirely on your PC before flashing the
.tftfile to the physical hardware. This alone saves hours of iterative hardware flashing.
Recommended Hardware: The Nextion NX4832K035_011R (3.5-inch Intelligent series) remains a staple in 2026, costing approximately $52. It includes a built-in RTC and GPIO breakout, further reducing the load on your main Arduino.
Workflow Path 2: LVGL and the Integrated Powerhouse Model
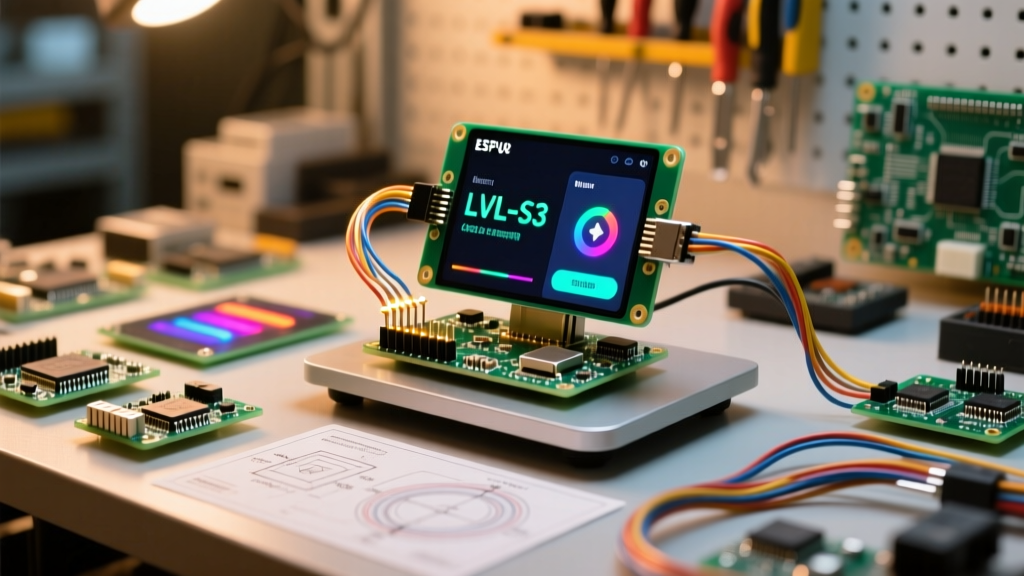
If your project requires fluid 60fps animations, custom fonts, complex widgets, or integration with cloud APIs, offloading to a secondary display MCU becomes a bottleneck. Enter LVGL (Light and Versatile Graphics Library) paired with an ESP32-S3. By 2026, LVGL v9 has matured into an industry-standard framework, and visual editors like SquareLine Studio have completely eliminated the need to manually code widget coordinates in C++.
Optimizing the LVGL Workflow
The LVGL workflow shifts the burden of rendering to your main microcontroller, requiring careful memory management and task scheduling.
- Visual UI Design: Use SquareLine Studio to design your interface. You can drag and drop widgets, assign styles, and link event callbacks visually. Export the project directly into your PlatformIO or Arduino IDE
uifolder. - Hardware Selection: Do not use standard SPI displays for complex LVGL dashboards; the bandwidth is too low. Instead, use an ESP32-S3 board with a parallel RGB interface or 8-bit MCU interface. The Sunton ESP32-S3 8048S050C (5-inch, 800x480 RGB) is widely available for around $35 and includes integrated PSRAM.
- Memory Configuration: LVGL v9 requires significant RAM for draw buffers. In your
lv_conf.hfile, set#define LV_MEM_CUSTOM 1to force LVGL to allocate its memory pools in the ESP32-S3's external PSRAM, preserving the precious internal SRAM for your application logic and WiFi stacks.
For deep configuration details and rendering engine tweaks, always consult the LVGL Official Documentation.
Comparison Matrix: Nextion vs. LVGL Workflows
| Feature | Nextion (Offloaded) | LVGL + ESP32-S3 (Integrated) |
|---|---|---|
| Primary Workflow Tool | Nextion Editor (Proprietary) | SquareLine Studio / Figma-to-LVGL |
| Hardware Cost (Avg) | $45 - $85 (Display heavy) | $30 - $50 (MCU + LCD combo) |
| MCU Requirements | Any (ATmega, RP2040, ESP) | High RAM/Flash (ESP32-S3, Teensy 4.1) |
| Animation Framerate | 30fps (Limited by internal MCU) | 60fps (Hardware accelerated via DMA) |
| Firmware Architecture | Simple Serial State Machine | Dual-Core FreeRTOS required |
| Best For | Industrial panels, low-pin-count MCUs | Consumer IoT, rich media dashboards |
Architecting a Non-Blocking HMI with FreeRTOS
Regardless of whether you choose Nextion or LVGL, professional-grade Arduino HMI development in 2026 requires a multitasking operating system. The ESP32's dual-core architecture is perfectly suited for this. The most optimized workflow assigns Core 1 strictly to hardware polling, sensor reading, and network tasks, while Core 0 handles the UI rendering and touch processing.
Implementing Message Queues
Never let your hardware tasks directly call UI update functions. Instead, use FreeRTOS message queues. When a sensor reads a new temperature value on Core 1, it packages the data and sends it to the queue. The UI task on Core 0 checks the queue during its render cycle and updates the screen if new data is available.
Pro-Tip for Interrupts: If you are reading high-speed encoders or flow sensors via hardware interrupts, never use standard queue functions. Always use
xQueueSendToBackFromISR()to prevent watchdog resets and kernel panics. See the Espressif FreeRTOS API Reference for ISR-safe queue implementations.
Example Task Separation Strategy
- Task 1 (Core 1 - Hardware): Reads I2C BME280 sensors every 1000ms. Pushes struct containing Temp/Humidity to
xQueueSensorData. - Task 2 (Core 0 - UI): Runs
lv_timer_handler()every 5ms for LVGL (or checksEasyNextiontriggers). PeeksxQueueSensorDataand updates text labels without blocking the render loop. - Task 3 (Core 1 - Network): Handles MQTT publishing every 5 seconds, pulling data from a separate telemetry queue.
Final Thoughts on Workflow Efficiency
Optimizing your Arduino HMI workflow is ultimately about recognizing the boundaries of your hardware and choosing the right abstraction layer. If your goal is to deploy a rugged, reliable control panel using a simple microcontroller, the Nextion ecosystem's hardware-offloaded workflow will save you from memory and timing nightmares. If your vision involves a sleek, smartphone-like interface with fluid transitions and cloud connectivity, investing the time to master LVGL, SquareLine Studio, and FreeRTOS on an ESP32-S3 will yield a vastly superior product. By structuring your firmware around non-blocking queues and dedicating specific cores to specific tasks, you transform your HMI from a laggy prototype into a responsive, commercial-grade interface.