
The State of MIDI and Microcontrollers in 2026
Building a custom synthesizer, sequencer, or effects controller requires a robust bridge between physical interfaces and digital logic. The MIDI Arduino ecosystem remains the most accessible entry point for makers, but navigating the physical and protocol layers can be fraught with compatibility pitfalls. While the MIDI 1.0 specification was established decades ago, the physical transport layers have evolved significantly. As of 2026, makers must choose between legacy 5-pin DIN, modern 3.5mm TRS Type-A, and native USB MIDI. Each requires specific hardware considerations, voltage leveling, and library support to ensure zero-latency, error-free performance.
This compatibility guide breaks down the exact microcontroller architectures, isolation circuits, and software stacks required to build reliable MIDI instruments. According to the MIDI Association, proper electrical isolation and precise baud rate adherence are non-negotiable for preventing ground loops and data corruption.
Microcontroller Architecture Matrix
Not all Arduino-compatible boards handle MIDI equally. The primary bottleneck is UART availability and native USB support. Below is a compatibility matrix for the most popular maker boards used in MIDI projects.
| Board / MCU | Native USB MIDI | Hardware UARTs | Typical Price (2026) | Best Use Case |
|---|---|---|---|---|
| Arduino Uno R3 (ATmega328P) | No (Requires 16U2 bridge hack) | 1 | $27.00 | Basic DIN-5 MIDI Thru/Filter |
| Arduino Leonardo (ATmega32U4) | Yes (Class-Compliant) | 1 | $20.00 | USB MIDI Controllers |
| ESP32-S3 DevKit | Yes (Native USB OTG) | 3 | $8.00 | Complex Sequencers, WiFi MIDI |
| Teensy 4.1 (Cortex-M7) | Yes (High-Speed 480Mbps) | 8 | $32.00 | Polyphonic Synths, High-Density SysEx |
The ATmega328P UART Bottleneck
If you use a standard Arduino Uno or Nano (ATmega328P), you face a critical limitation: there is only one hardware UART. MIDI requires a strict baud rate of 31,250 bps. If you assign the hardware UART to the MIDI DIN port, you lose the ability to use Serial.print() for debugging via the USB serial monitor. While SoftwareSerial exists, it is highly unreliable at 31,250 baud and will drop notes during heavy SysEx dumps. For any project requiring simultaneous MIDI I/O and serial debugging, upgrade to an ESP32-S3 or Teensy.
DIN-5 MIDI: Optocoupler Isolation and Wiring
The 5-pin DIN connector remains the standard for connecting legacy hardware synthesizers. However, you cannot simply wire the MIDI TX/RX pins directly to your Arduino's digital pins. The MIDI specification mandates current-loop signaling and galvanic isolation to prevent ground loops, which can introduce severe audio hum or even damage equipment.
The Transmitter (TX) Circuit
The Arduino must act as a current source. You will need a 5V supply, a 220Ω resistor, the Arduino TX pin, and the MIDI DIN Pin 4 and Pin 5.
- DIN Pin 5: Connect to Arduino TX via a 220Ω current-limiting resistor.
- DIN Pin 4: Connect to 5V via a second 220Ω resistor.
- DIN Pin 2: Connect to GND (Shield).
The Receiver (RX) Circuit
The receiver requires an optocoupler to isolate the incoming MIDI device's ground from your Arduino's ground. While older tutorials recommend the 6N138 optocoupler, its slow switching speed and high propagation delay can mangle MIDI Clock signals at high tempos (180+ BPM) and corrupt high-speed MIDI 2.0 packets.
Expert Recommendation: Use a Toshiba TLP2362 or Sharp PC900 logic-output optocoupler. These are specifically designed for high-speed digital isolation and cost under $1.50 on Mouser or DigiKey. They provide clean, sharp rising edges that the Arduino's UART hardware can easily latch onto without framing errors.
TRS Type-A: The Modern 3.5mm Standard
To save space on compact pedals and desktop modules, the industry has widely adopted the 3.5mm TRS (Tip-Ring-Sleeve) connector for MIDI. However, compatibility issues plagued the early days of TRS MIDI due to competing pinouts (Type-A vs. Type-B). Fortunately, the MIDI Association TRS specification standardized Type-A as the official standard.
Wiring TRS Type-A
- Tip: Current Source (Equivalent to DIN Pin 4)
- Ring: Current Sink (Equivalent to DIN Pin 5)
- Sleeve: Ground / Shield (Equivalent to DIN Pin 2)
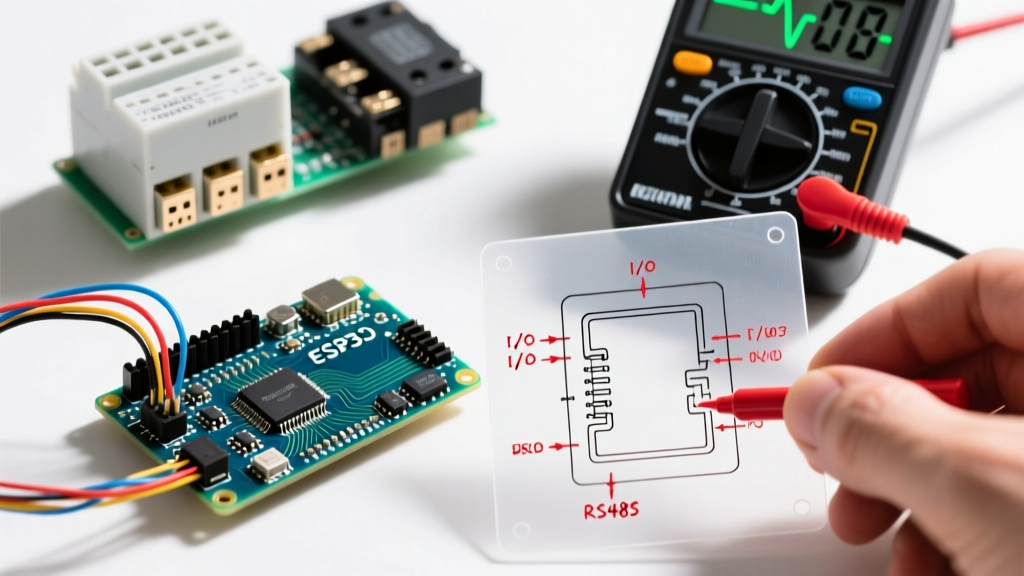
Warning: Legacy gear from early 2010s manufacturers (like older Arturia or Korg models) sometimes uses Type-B, which swaps the Tip and Ring. Always verify the pinout of your target synthesizer with a multimeter before wiring your Arduino TRS jack. Sending 5V into a synth's UART ground pin via a Type-B mismatch can fry the receiving microcontroller.
USB MIDI: Native vs. Bridge Architectures
Connecting your Arduino directly to a DAW (Ableton, Logic, Bitwig) via USB requires the microcontroller to enumerate as a Class-Compliant USB MIDI device.
The ATmega16U2 Bridge Trap
Boards like the Arduino Uno R3 use a secondary chip (the ATmega16U2) to convert USB to Serial. Out of the box, this chip enumerates as a standard CDC/ACM Serial port, not a MIDI device. To make it MIDI-compatible, you must flash custom firmware (like HIDUINO) onto the 16U2 via ICSP headers. This is a tedious process that permanently breaks standard Arduino IDE uploading until you restore the original firmware. Avoid this architecture entirely for USB MIDI.
The Native USB Solution
For seamless USB MIDI, use boards with native USB hardware. The ATmega32U4 (Arduino Leonardo, Micro, or Pro Micro) natively supports USB HID and MIDI descriptors. For advanced projects, the ESP32-S3 features native USB OTG, allowing it to act as a USB device while simultaneously handling WiFi/Bluetooth BLE MIDI routing.
Software Library Compatibility
Selecting the right library depends entirely on your physical transport layer.
- Hardware Serial (DIN / TRS): The FortySevenEffects MIDI Library is the undisputed industry standard for hardware UART MIDI. It handles parsing, SysEx chunking, and Active Sensing flawlessly. It supports all AVR, ESP32, and ARM architectures.
- Native USB MIDI: If using an ATmega32U4, the built-in
MIDIUSBlibrary works but lacks advanced routing. For ESP32-S3 or RP2040 boards, theAdafruit_TinyUSBlibrary provides robust, low-latency USB MIDI descriptors and is highly recommended for custom controller builds. - Teensy Ecosystem: PJRC's Teensy MIDI implementation is baked directly into the Teensyduino core, offering zero-config USB MIDI with massive 480Mbps throughput capabilities.
Troubleshooting Edge Cases and Failure Modes
Baud Rate Drift and Ceramic Resonators
MIDI operates at an unforgiving 31,250 bps. This requires precise timing. Many cheap, third-party Arduino Nano clones use ceramic resonators instead of quartz crystal oscillators to save pennies on the BOM. Ceramic resonators have a frequency tolerance of ±0.5% to ±1.0%. Over a long MIDI cable run, or when chaining multiple devices via MIDI Thru, this clock drift accumulates, resulting in UART framing errors (the Arduino reads a 'Note On' as garbage data). Always verify your board uses a 16.000 MHz quartz crystal before deploying it in a live performance rig.
Ground Loops in DIN Wiring
If you hear a 60Hz hum in your audio chain when connecting your Arduino to a mixer via a synthesizer, you have a ground loop. This happens if you mistakenly connect DIN Pin 2 (Ground) to the Arduino's ground on the transmitter side. The MIDI spec dictates that Pin 2 is only connected on the receiver side. On the transmitter side, Pin 2 should be left unconnected (floating) or tied to the cable shield only at one end.
Latency in USB Polling
USB is a polled protocol, not an interrupt-driven one like hardware UART. Standard Full-Speed USB (12 Mbps) polls endpoints every 1ms. If you are building a drum trigger interface where sub-millisecond latency matters, 1ms of USB jitter can alter the 'feel' of the instrument. To mitigate this, ensure your DAW's audio buffer is optimized, or upgrade to a High-Speed USB microcontroller like the Teensy 4.1, which drastically reduces polling intervals.