
The Challenge of Audio on Microcontrollers
When makers search for ways to make an Arduino play sound, they quickly hit a hardware wall. Standard ATmega328P-based boards like the Arduino Uno lack a dedicated Digital-to-Analog Converter (DAC) and have limited SRAM (just 2KB), making native audio processing nearly impossible without external help. Whether you are building a retro arcade cabinet, an interactive art installation, or a voice-prompt security system, you generally have two viable paths: using a dedicated MP3 decoding module like the DFPlayer Mini, or leveraging the microcontroller's internal timers to generate 8-bit Pulse Width Modulation (PWM) audio.
This comprehensive guide breaks down both methods, providing exact wiring schematics, component values, and edge-case troubleshooting to ensure your audio project works on the first upload.
Method 1: DFPlayer Mini (High-Fidelity MP3 Playback)
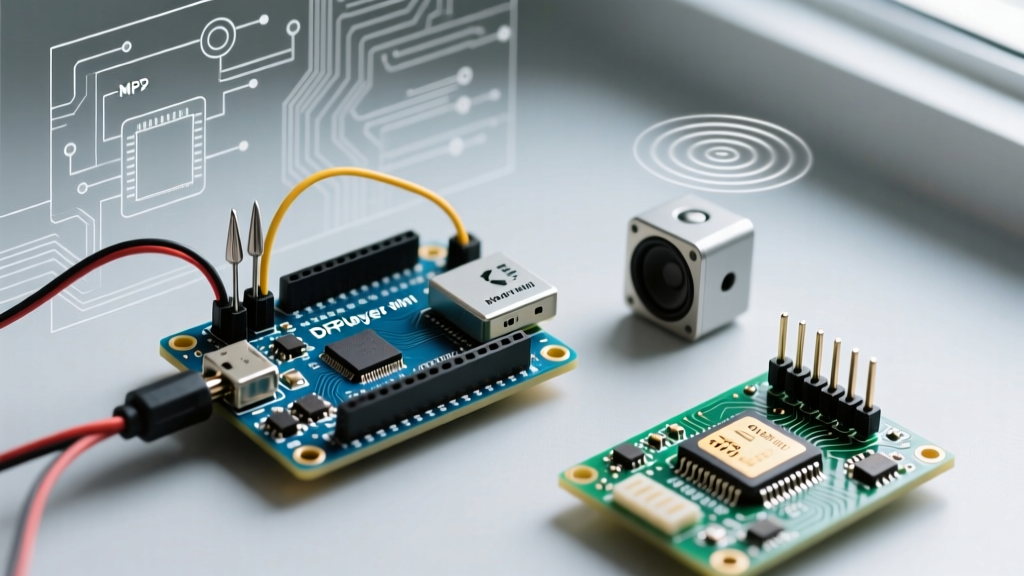
The DFPlayer Mini is a low-cost (~$2.50 for clones, ~$6.50 for genuine DFRobot units) serial MP3 module. It offloads all audio decoding to its onboard chipset, communicating with the Arduino via a simple UART serial connection. It supports 8kHz to 48kHz sample rates and can drive a 3W speaker directly via its internal amplifier.
Required Hardware
- DFPlayer Mini module (YX5200 or MH2024K-16S chipset)
- MicroSD Card (8GB to 32GB, Class 10)
- 1kΩ Resistor (Crucial for logic level shifting)
- 10kΩ Potentiometer (Optional, for analog volume control)
- 8-Ohm 3W Speaker
Wiring Matrix
| DFPlayer Pin | Arduino Uno Pin | Notes & Requirements |
|---|---|---|
| VCC | 5V | Can handle 3.3V to 5V input. |
| GND | GND | Ensure a solid common ground. |
| RX | Pin 11 (via 1kΩ) | The 1kΩ resistor prevents 5V logic from damaging the 3.3V RX pin. |
| TX | Pin 10 | Direct connection (3.3V out is read as HIGH by 5V Arduino). |
| SPK_1 | Speaker (+) | Do not connect to ground; this is a bridged amplifier output. |
| SPK_2 | Speaker (-) | Do not connect to ground. |
⚠️ CRITICAL WARNING: The 1kΩ RX Resistor
Skipping the 1kΩ resistor on the RX line is the number one cause of dead DFPlayer modules. The Arduino Uno outputs 5V on its digital pins, but the DFPlayer's RX pin is strictly 3.3V tolerant. Feeding 5V directly into the RX pin will degrade the internal ESD diodes over time, leading to erratic serial communication or total module failure.
Edge Case: The Fake Chip Epidemic
If you buy cheap DFPlayer clones online, you will likely receive a board with the MH2024K-16S chip instead of the original YX5200-24SS. The MH2024K chip has a known bug where it ignores the first serial command sent after power-up. To fix this in your code using the official DFRobot library, always send a dummy volume command before your play command:
#include "SoftwareSerial.h"
#include "DFRobotDFPlayerMini.h"

SoftwareSerial mySoftwareSerial(10, 11); // RX, TX
DFRobotDFPlayerMini myDFPlayer;

void setup() {
  mySoftwareSerial.begin(9600);
  myDFPlayer.begin(mySoftwareSerial);

  // Dummy command to wake up fake MH2024K chips
  myDFPlayer.volume(15);
  delay(50);

  // Actual play command
  myDFPlayer.play(1);
}
Method 2: Direct 8-Bit PWM DAC (Retro Audio & Beeps)
If you only need simple sound effects, retro 8-bit chiptunes, or basic voice prompts, you can force the Arduino to play sound directly from its digital pins using Timer1 and Pulse Width Modulation. This method requires no external MP3 decoder, but it demands strict audio file formatting and an external RC low-pass filter to smooth the PWM square wave into an analog audio signal.
The RC Low-Pass Filter Math
PWM audio on an Arduino Uno typically runs at a carrier frequency of roughly 31.25kHz (when modifying Timer1 registers). To strip away this high-frequency carrier and leave only the audio waveform, you need a passive RC (Resistor-Capacitor) filter. According to Arduino's analog output documentation, calculating the cutoff frequency ($f_c$) is essential:
$$f_c = \frac{1}{2 \pi R C}$$
Using a 1kΩ resistor and a 10nF (0.01µF) ceramic capacitor yields a cutoff frequency of approximately 15.9kHz. This perfectly preserves audio signals up to 12kHz while aggressively attenuating the 31.25kHz PWM carrier noise.
PWM Wiring & TMRpcm Library
- Connect Arduino Pin 9 to one leg of a 1kΩ resistor.
- Connect the other leg of the resistor to the positive terminal of your speaker (or an audio amplifier input).
- Connect a 10nF capacitor between the speaker's positive terminal and GND.
- Connect the speaker's negative terminal to GND.
To handle the heavy lifting of reading WAV files from an SD card and manipulating the hardware timers, use the widely respected TMRpcm library. Note that Pin 9 is hardcoded for Timer1 PWM on the Uno.
Comparison Matrix: DFPlayer vs. PWM DAC
| Feature | DFPlayer Mini (MP3) | Direct PWM (TMRpcm) |
|---|---|---|
| Audio Quality | High (16-bit/320kbps MP3) | Low/Medium (8-bit WAV) |
| Arduino Resource Usage | Minimal (UART Serial only) | Heavy (Timer1 & SPI Bus locked) |
| File Format | MP3, WAV, WMA | Strictly 8-bit Unsigned WAV |
| Speaker Drive | Built-in 3W Amplifier | Requires external amp for volume |
| Cost (Approx. 2026) | $2.50 - $6.50 | $0.10 (Passive components) |
MicroSD Card Preparation: The Hidden Bottleneck
Regardless of which method you choose, 90% of "Arduino play sound" failures stem from improper SD card formatting. MicroSD cards larger than 32GB default to the exFAT file system, which neither the DFPlayer nor the standard Arduino SD library can read.
Step-by-Step SD Formatting
- Format to FAT32: Use a dedicated tool like GUIFormat (guiformat) on Windows, as the native Windows formatter hides FAT32 options for cards larger than 32GB.
- Allocation Unit Size: Set this strictly to 32,768 bytes (32kB). Smaller cluster sizes cause severe SPI bus read timeouts, resulting in stuttering audio.
- DFPlayer Folder Structure: The YX5200 chipset requires MP3s to be placed in a root folder named exactly
mp3, with filenames formatted as 4-digit numbers (e.g.,0001.mp3,0002.mp3). Alternatively, you can use up to 99 folders named01to99, each containing up to 255 tracks.
Troubleshooting: Ground Loop Hum and Hiss
When integrating audio into larger projects (like motorized robots or LED matrices), you will likely encounter a loud 60Hz hum or high-frequency alternator whine. This is a ground loop issue caused by shared return paths for high-current components and sensitive audio grounds.
The Fix: Implement a star-ground topology. Run a dedicated ground wire from the Arduino's GND pin directly to the audio amplifier or DFPlayer GND, completely separate from the ground wires powering motors or high-draw LED strips. If the hum persists, insert a 100µF electrolytic capacitor across the VCC and GND pins of the DFPlayer Mini to smooth out voltage sags triggered by SD card read spikes.