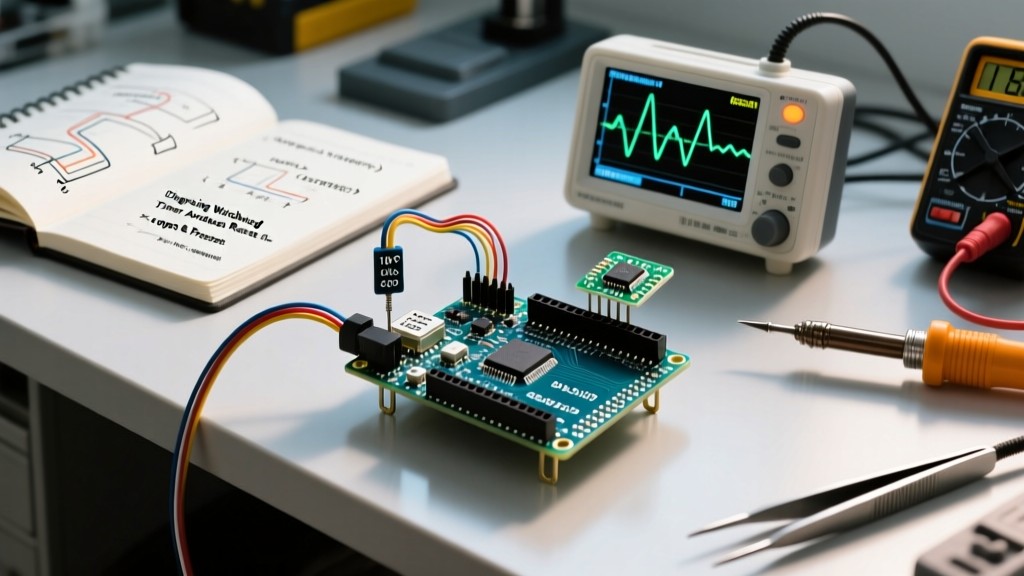

The Anatomy of a Watchdog Timer Arduino Failure
When deploying a watchdog timer Arduino systems can occasionally enter a catastrophic infinite reset loop, rendering the microcontroller completely unresponsive to new code uploads. The Watchdog Timer (WDT) is a critical hardware safety net designed to reset the MCU if the main firmware hangs or enters a deadlock. However, diagnosing why the WDT is triggering—or why the board is stuck in a boot-loop after a WDT event—requires a deep understanding of register-level operations, bootloader behaviors, and peripheral bus lockups.
In 2026, while modern IDE environments and updated bootloaders have mitigated some legacy issues, hardware edge cases involving I2C bus capacitance, SPI DMA stalls, and Task Watchdog Timer (TWDT) misconfigurations on newer architectures like the ESP32-S3 remain prevalent. This guide provides an expert-level diagnostic framework for isolating and resolving WDT-induced failures across AVR, ESP32, and RP2040 platforms.
The "Infinite Reset Loop" Bootloader Trap
The most common point of failure for ATmega328P-based boards (like the Uno R3 or Nano) occurs immediately after a WDT timeout. When the WDT expires, it pulls the reset line low. The MCU restarts and jumps to the bootloader. If the bootloader does not explicitly clear the WDT control registers, the timer remains active with its shortest default timeout (typically 16ms). The bootloader is then reset by the WDT before it can ever jump to the user sketch, creating an infinite hardware loop.
The Register-Level Fix (ATmega328P)
To break this loop, your sketch must clear the MCUSR (Microcontroller Unit Status Register) and disable the WDT as the absolute first operations in the setup() function. According to the AVR Libc Watchdog Reference, relying solely on wdt_disable() is insufficient if the WDE (Watchdog Enable) fuse is set or if the bootloader leaves the timer in an interrupted state.
#include <avr/wdt.h>

void setup() {
  // 1. Clear the reset flag to prevent immediate re-trigger
  MCUSR = 0x00;
  // 2. Disable the watchdog timer immediately
  wdt_disable();

  // ... Initialize Serial, Pins, and Peripherals ...

  // 3. Re-enable WDT with a safe 2-second timeout
  wdt_enable(WDTO_2S);
}

void loop() {
  // Execute main tasks
  wdt_reset(); // Pet the dog
}
Diagnostic Tip: If your board is already stuck in a loop and you cannot upload this fix via USB, you must perform an "Upload Using Programmer" using an ISP tool (like a USBasp, costing around $4.50) to bypass the bootloader entirely, or hold the reset button down and release it exactly when the IDE reports "Done Compiling."
Diagnostic Matrix: WDT Loop vs. Brownout vs. Hard Fault
Makers frequently misdiagnose random reboots as WDT failures when they are actually power-related. Use this matrix to isolate the root cause based on serial output and pin behavior.
| Symptom | Watchdog Reset | Brownout Detection (BOD) | Null Pointer / Stack Overflow |
|---|---|---|---|
| Trigger Condition | Main loop exceeds WDT timeout (e.g., 2s) | VCC drops below threshold (e.g., 2.7V for ATmega328P) | Out-of-bounds array access or deep recursion |
| MCUSR Register Flag | WDRF (Bit 3) is HIGH |
BORF (Bit 2) is HIGH |
EXTRF (Bit 1) or no flag (Hard Fault) |
| Serial Output Behavior | Cuts off mid-character, restarts cleanly | Garbage characters or sudden stop, slow restart | Instant crash, often no restart without manual reset |
| Hardware Fix | Optimize code, increase WDT timeout | Add bulk capacitance (100µF+) near VCC pin | Refactor code, check pointer logic, increase stack |
Edge Case Diagnoses: When the Sketch is Too Slow
If the WDT is properly initialized but still triggering, the issue lies in peripheral blocking. The wdt_reset() command is not being reached within the allocated window.
1. I2C Bus Lockups Blocking Execution
The I2C protocol is highly susceptible to noise and capacitance issues. If an I2C slave device (like an OLED display or BME280 sensor) stretches the clock line or fails to acknowledge, the Arduino Wire.h library can hang indefinitely waiting for a response. If this hang exceeds your WDT timeout, the system resets.
The 2026 Fix: Modern Arduino IDE cores include timeout mechanisms. You must explicitly define them in your setup to prevent infinite blocking:
Wire.begin();
Wire.setWireTimeout(25000, true); // 25ms timeout, auto-clear bus
Setting the second parameter to true forces the hardware I2C peripheral to reset its internal state machine upon timeout, preventing the SDA/SCL lines from remaining locked low.
2. ISR Starvation and Interrupt Blocking
Watchdog timers on AVR chips are often tied to the interrupt vector. If you have a poorly written Interrupt Service Routine (ISR) that disables global interrupts (cli()) and fails to re-enable them, or if an ISR takes longer than 50µs to execute, the WDT reset flag may not be processed correctly. Furthermore, calling wdt_reset() inside an ISR is considered an anti-pattern; the WDT is meant to verify that the main loop is progressing, not just that interrupts are firing.
Architecture Comparison: AVR vs. ESP32 vs. RP2040
As makers migrate from 8-bit AVR chips (priced around $2.45 for an ATmega328P-PU) to 32-bit alternatives, WDT implementation changes drastically. Below is a comparison of hardware watchdog behaviors across popular 2026 maker architectures.
| Feature | ATmega328P (AVR) | ESP32-S3 (Xtensa) | RP2040 (Cortex-M0+) |
|---|---|---|---|
| WDT Type | Single Hardware WDT | TWDT (Task) & RWDT (RTC) | Single Hardware Watchdog |
| Max Timeout | 8 Seconds | Up to 60+ Seconds (TWDT) | ~8.3 Seconds (24-bit counter) |
| Bootloader Conflict | High (Optiboot legacy) | None (ROM bootloader handles it) | Low (UF2 bootloader clears it) |
| Reset Action | Full System Reset | Core Panic / Task Abort | Full System Reset |
| Debugging Ease | Difficult (Requires ISP) | Excellent (Core Dump via Serial) | Good (SWD / Picoprobe) |
ESP32 Task Watchdog Timer (TWDT) Nuances
On the ESP32, the TWDT monitors specific FreeRTOS tasks rather than the entire hardware chip by default. If your loop() function blocks (e.g., waiting on a delay() or a network socket), the IDLE task is starved, and the TWDT triggers a core panic. According to the Espressif Task Watchdog Timer API, you must subscribe the IDLE task to the TWDT and ensure your application yields control using yield() or vTaskDelay() instead of blocking delay() calls. Failing to yield in a tight while() loop on an ESP32 will result in a TG1WDT_SYS_RST panic in the serial monitor.
Advanced Recovery: Bootloader Upgrades
If you are maintaining legacy hardware or custom PCBs using the ATmega328P, the most robust long-term fix for WDT boot-loops is upgrading the bootloader. The standard Optiboot Bootloader Repository (version 8.0 and later) includes native WDT clearing routines upon startup. Flashing Optiboot 8.0+ via an ISP programmer ensures that even if the WDT triggers a reset, the bootloader will cleanly disable the timer before attempting to handshake with the Arduino IDE over UART. This entirely eliminates the "bricked board" scenario and allows seamless over-the-air or USB recovery without manual reset-button timing.
Summary Checklist for WDT Diagnostics
- Verify Register Clearing: Ensure
MCUSR = 0andwdt_disable()are the very first lines insetup(). - Audit Blocking Calls: Search your code for
while(!Serial), infinitewhile()loops, and unprotected I2C/SPI transactions. - Implement Peripheral Timeouts: Use
Wire.setWireTimeout()and set HTTP client timeouts to values at least 500ms shorter than your WDT window. - Measure Power Stability: Use an oscilloscope to check for VCC dips below the BOD threshold during high-current events (e.g., WiFi transmission or motor starting), which mimic WDT resets.
- Update Bootloaders: Flash Optiboot 8.0+ on AVR boards to natively handle WDT reset flags.
By treating the watchdog timer not just as a safety net, but as a diagnostic tool for identifying hidden blocking operations and power instabilities, you can build significantly more resilient embedded systems.